Section 4
4-16 © Copyright 2009 GBC. All rights reserved. Advanced Punch Service Manual
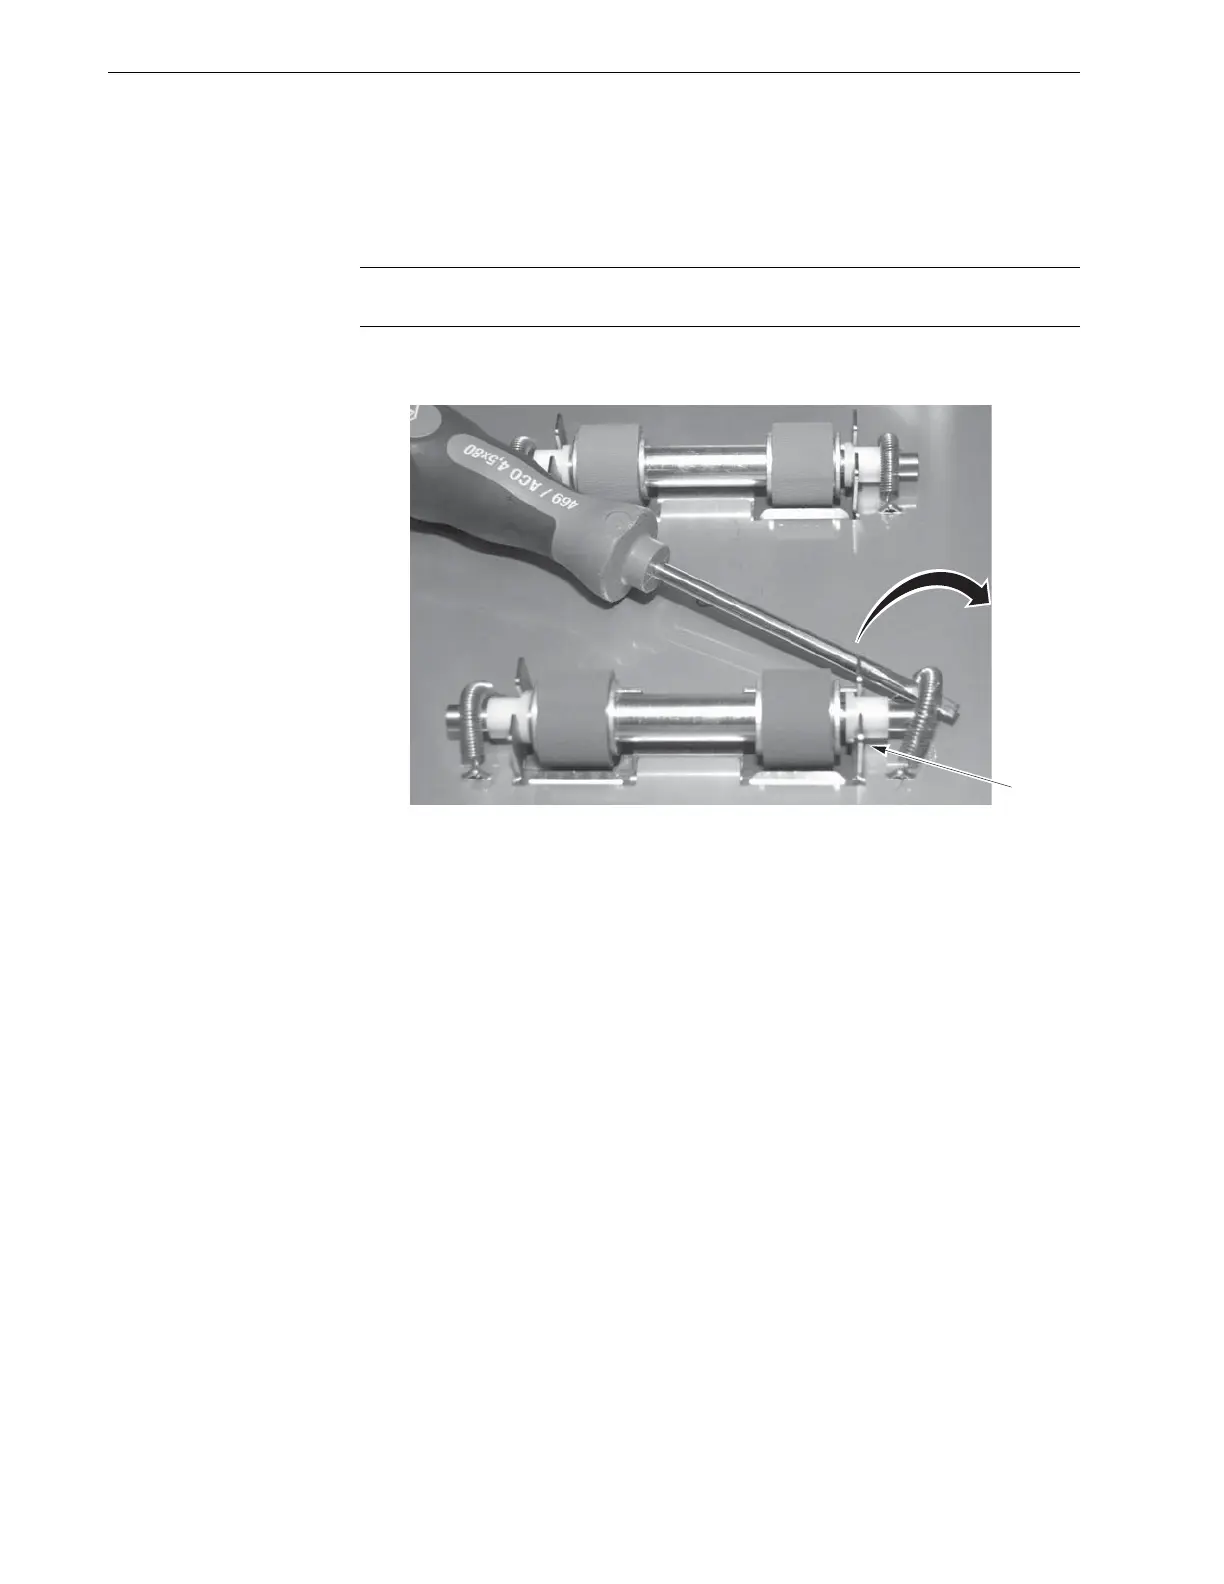
4.5.1 Idler Roller Removal
This procedure refers to the idler rollers [3] shown in Figure 4.16 that are easily removed
as assemblies.
Note: This procedure does not apply to the Aligner panel idler rollers. See “Aligner
Panels” on page 4-17.
1. Lift the retaining spring [1] over the end of the idler roller shaft.
Figure 4.17 Releasing Idler Roller Retaining Spring.
2. Pull the released shaft end out of the bushing fork [2], releasing the opposite
end of the shaft from the other retaining spring.
3. To install idler roller assemblies reverse the steps.
Installation Note:
• Make sure the flat surface of the bushing aligns in the fork.
• Rollers are non-directional so it does not matter which end goes in each fork.
• After the assembly is in place, gently pull the assembly outward and release
to ensure it moves freely in the fork.