4
Operating instructions HERMA 400 A
PPLICATOR DESCRIPTION
3.28 US (130519) 43/154
Overview
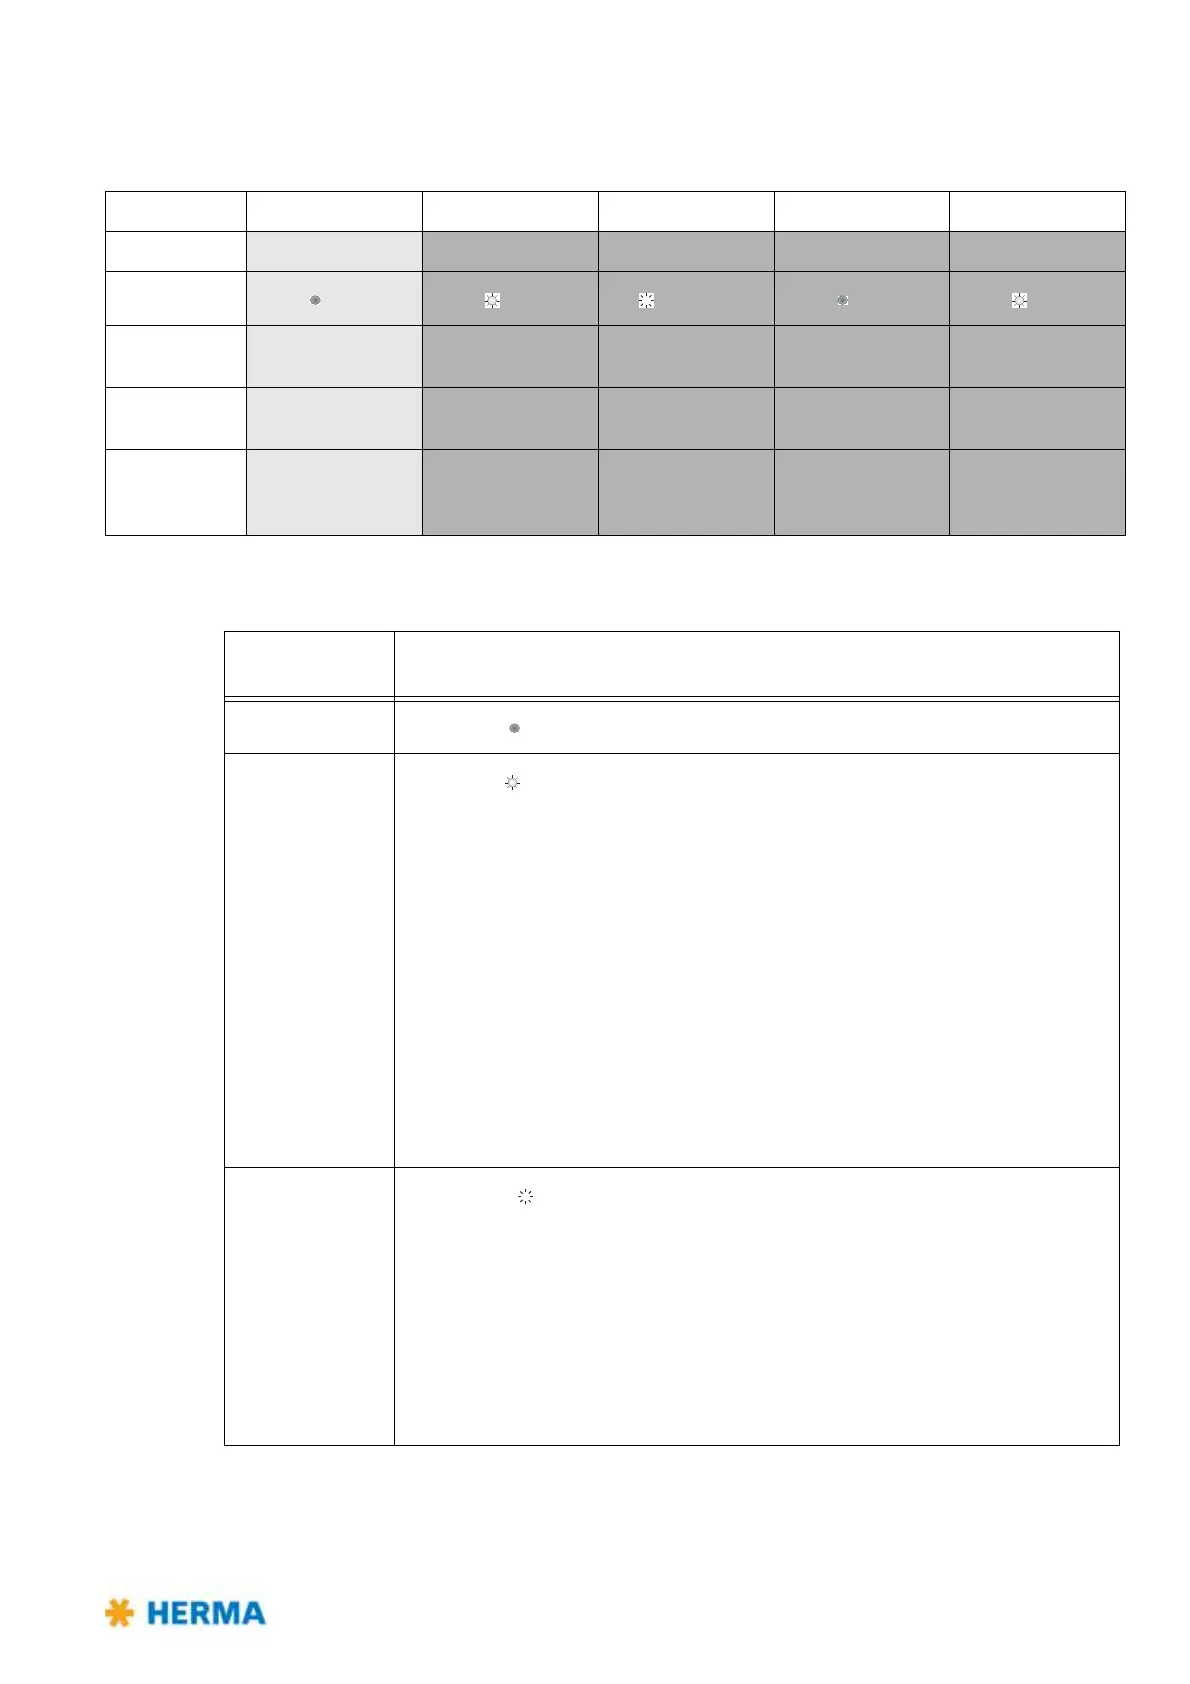
Buttonpress <2s >2s, <10s >10s, <15s >15s, <20s >20s
Function
Basic state Teaching Label material Offset Factory setting
LED
(off) (on) (blinking) (off) (on)
End
— after end of
function
after 10s after 10s after end of
function
Action
— Release button Buttonpress
changes material
1x button = +1
1x button >2s = -1
Release button
Result
— Blink code 2x = OK
Blink code 4x = not
successful
LED color:
green = paper
red = metal
Blink code at
changing = offset
Blinkcode 2x
Buttonpress
duration
Function triggered / activated
<2s
LED is off
, no function.
>2s, <10s
LED is on
, teaching function active (self-learning of backing paper
thickness).
After releasing the button a fast blinking of
the LED signals the begin of the
teach procedure. After end of function a blink code is shown:
2x blinking slowly (teaching successful), or
4x blinking slowly (teaching not
successful).
If the teaching was not successful the procedure must be repeated. Make sure
the s
ensor is positioned into the gap between the labels and the subsurface is
clean (no glue remainders or the like). When using a moving beak you may have
to make sure that it is in extracted position.
Note: You can call up an animat
ion in our service portal herma.com/
machines , item "Startup/How to?", that illustrates this procedure.
>10s, <15s
LED blinks
, setting the type of label (paper or metal).
Every buttonpress changes the label type.
The label type set is indicated via the color of the LED:
green = paper, red = metal
The end of function is reached automatically 10 seconds after the last releasing
of the
button.