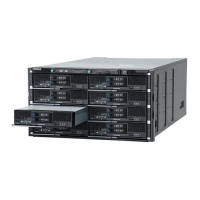
15. Turn off LID LED for identifying the target blade. See Identify LED (LID)
on/off procedure on page 4-7 section.
Notice:
Do not install the server blade without the top cover. The server chassis
has a mechanical security to prevent installation without the top cover.
Bypassing this security feature can cause serious server chassis or server
blade damage.
Removing a full-wide server blade
1. Put on an anti-static wrist strap.
2. Connect Web console. See Web console login procedure on page 4-3
section.
3. Power the target server blade off. See Power down procedure on page
4-58 section.
4. Turn on LID LED for identifying the target blade. See Identify LED (LID)
on/off procedure on page 4-7 section.
5. Turn on the maintenance mode from web console. See Maintenance mode
on/off procedure on page 4-10 section.
6. Identify F/W version and take notes of it. See F/W version identification
procedure on page 4-22 section.
7. When you remove a CB 520X B1/B2/B3 in SMP configuration, remove the
2-blade SMP connection board or 4-blade SMP connection board. See
Removing an SMP connection board on page 5-8 section.
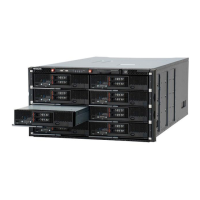
8. Release the blue lock tab and pull the lever, as shown below.
9. Holding the server blade, carefully slide out from the chassis and place it
on an anti-static mat.
Figure 5-3 Removing the full-wide server blade
Notice:
5-6
Replacing parts
Hitachi Compute Blade 500 Series System Service Manual

 Loading...
