Page 34 Setup Manual
C.2 Focus and Scan Area
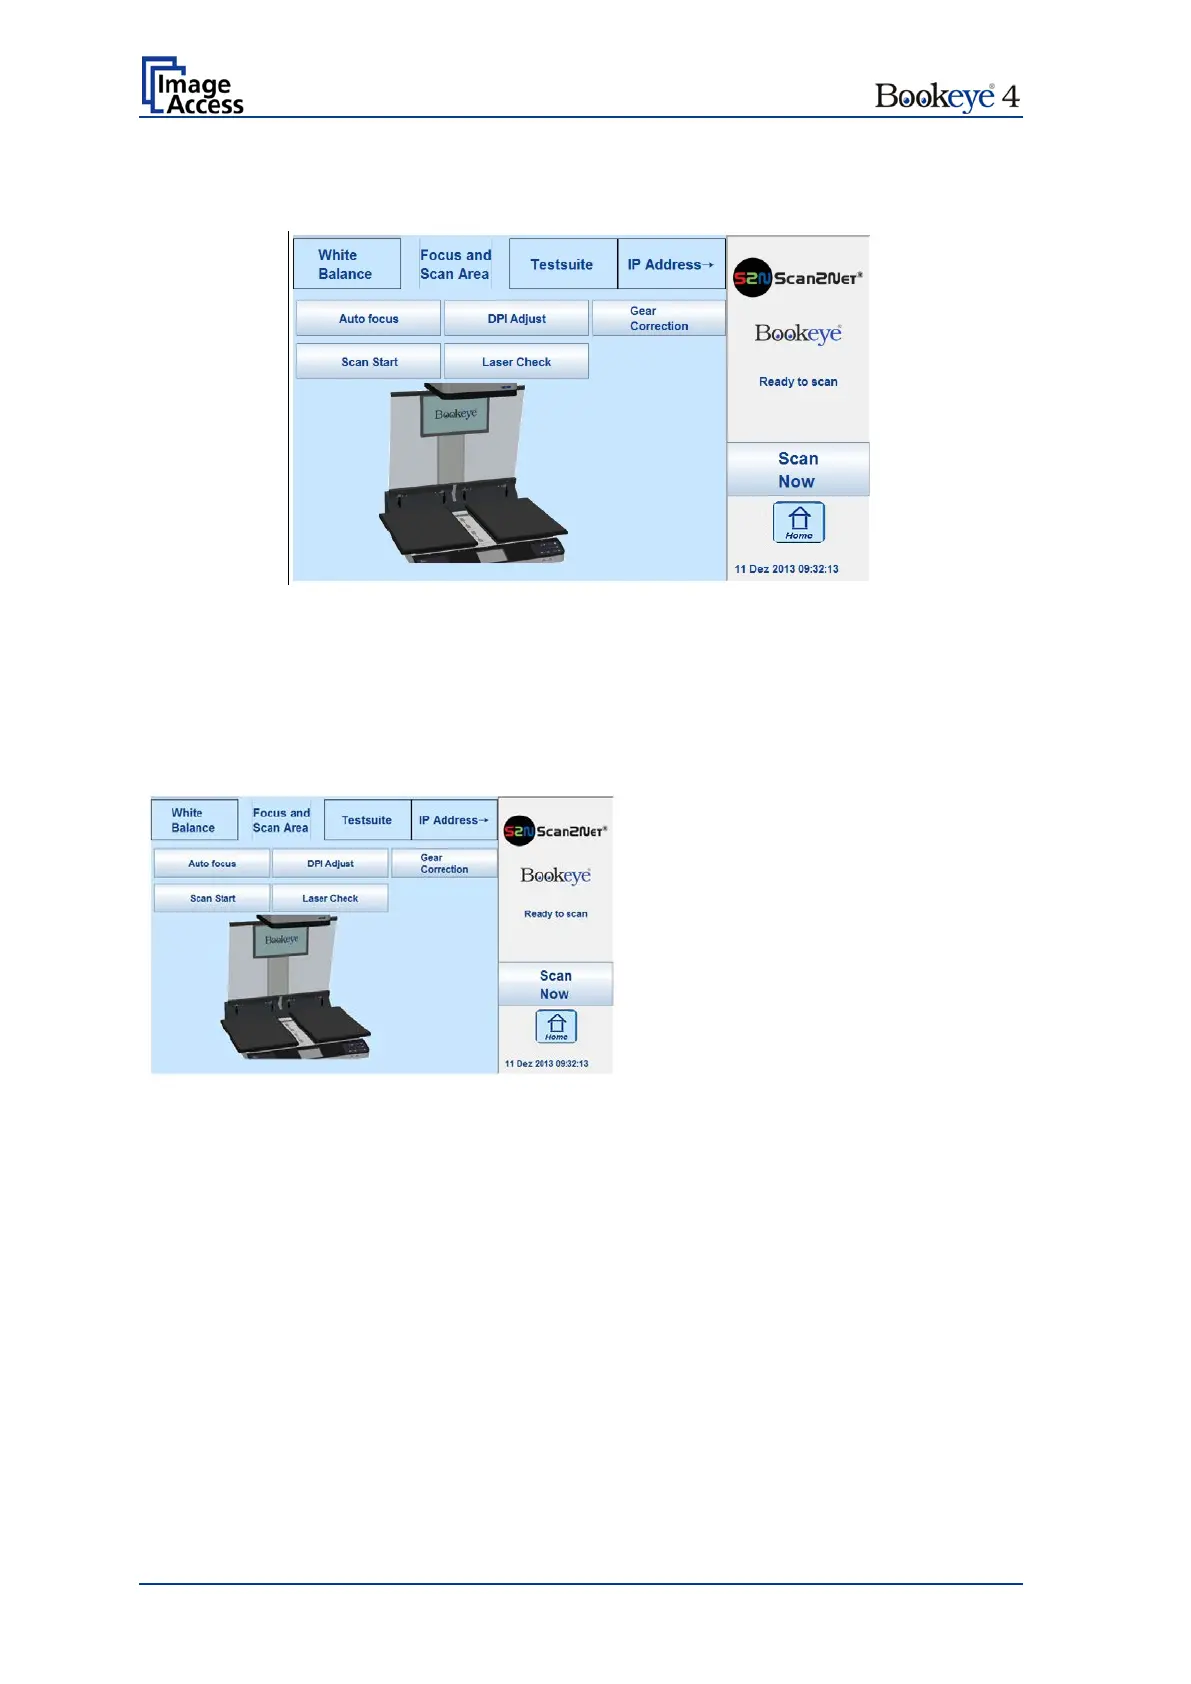
Picture 10: Focus and Scan Area menu
The Focus and Scan Area menu contains five buttons for measurement purposes.
When touching one of the five buttons, the picture on the touchscreen changes. It shows
how the book cradles and/or the reference target must be positioned.
C.2.1 Auto focus Scan Start DPI Adjust Gear Correction
Picture 11: Book cradles position
When measuring either auto focus, scan start, DPI adjust or gear correction; the
touchscreen always shows the same picture.
The book cradles must be opened and in flat position and in the lowest position in order to
make the reference foil on the device body visible for the camera.
Touching the Next Step button starts the measurement. The lamps light up and the
measurement will take approximately 10 seconds, depending on the selected element.
During the measurement, a small clock icon is displayed on the touchscreen.
The results of the measurements are displayed on the touchscreen.
Touching the Back button returns to the Focus and Scan Area menu.

 Loading...