Page 72 Setup Manual
D.4.3.2 Time Zone
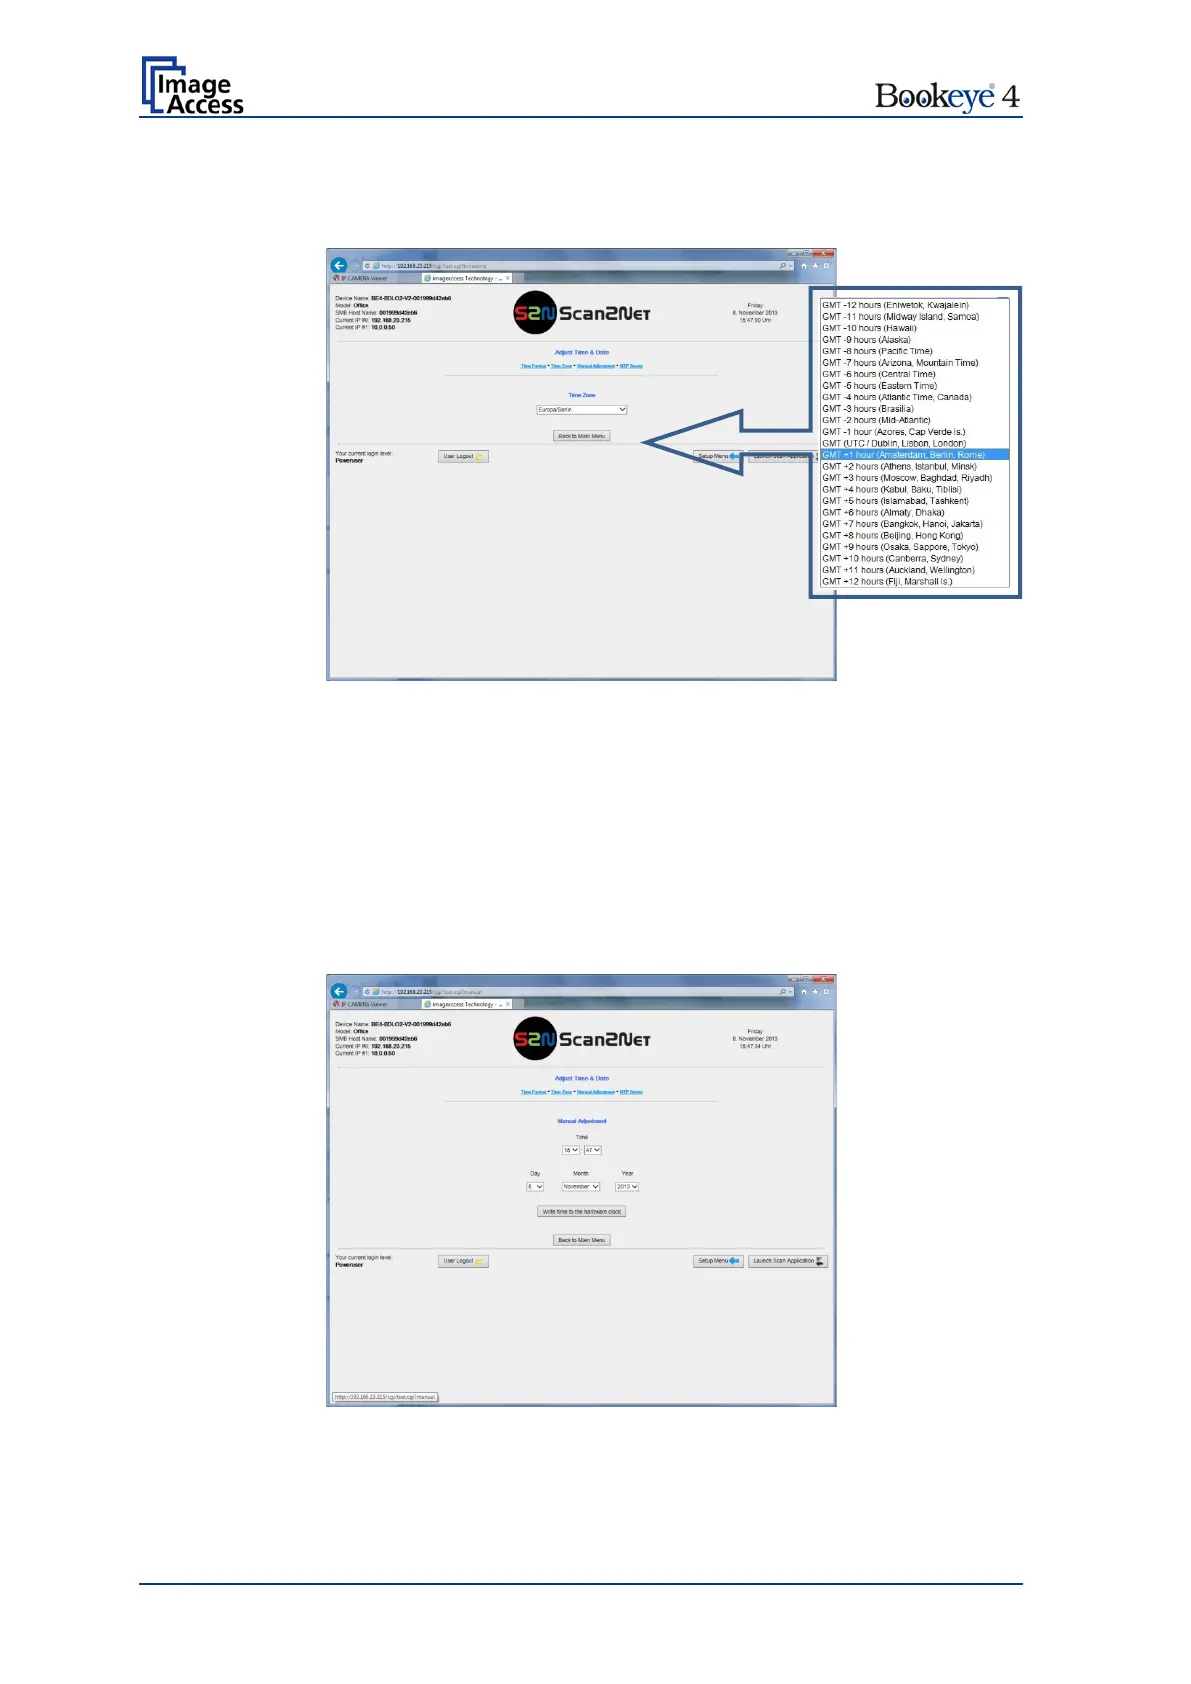
Use the function Time Zone to define the time zone for the internal clock of the scanner.
Picture 50: Time Zone screen
Click on the selection arrow. A list opens.
Select the desired time zone from the list. The list will close and the selected setting is
effective immediately.
D.4.3.3 Manual Adjustment
Use the function Manual Adjustment to set time and date to be displayed in the headline
of the Scan2Net user interface.
Picture 51: Manual Adjustment
To set a value, click on the selection arrow beside the respective value.
Select from the list. The new value will be transferred directly to the system clock and is
displayed in the headline of the Scan2Net interface.

 Loading...


