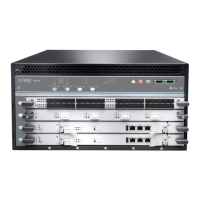
7. Slide the FPC all the way into the card cage until you feel resistance.
8. Grasp both ejector handles and rotate them clockwise simultaneously until the FPC
is fully seated.
Figure 61: Reinstalling an FPC
OK
MASTER
FAN
ONLINE
OFFLINE
0
0
1
0
2
2
1
0
1
1
PEM
FAIL
FAIL
FAIL
FAIL
ESD
OK
OK
OK
ACO/LT
YELLOW ALARM
RED ALARM
NC
NO
C
NC
NO
C
MX240
REO
RE1
0
1
2
3
SCB
SCB
g004406
Related
Documentation
Tools Required to Install the MX240 Router with a Mechanical Lift on page 172•
• Removing Components from the MX240Router Before Installingit with a Lift on page 172
• Installing the MX240 Router By Using a Mechanical Lift on page 177
• Preventing Electrostatic Discharge Damage to an MX240 Router on page 444
Tools Required to Install the MX240 Router without a Mechanical Lift
To install the router, you need the following tools and parts:
•
Phillips (+) screwdrivers, numbers 1 and 2
•
7/16-in. nut driver
•
ESD grounding wrist strap
Related
Documentation
Removing Components from the MX240 Router Before Installing it without a Lift on
page 183
•
• Installing the MX240 Chassis in the Rack Manually on page 189
• Reinstalling Components in the MX240 Router After Installing it without a Lift on
page 190
Removing Components from the MX240 Router Before Installing it without a Lift
To make the router light enough to install manually, you first remove most components
from the chassis. The procedures in this section for removing components from the
chassis are for initial installation only, and assume that you have not connected power
183Copyright © 2017, Juniper Networks, Inc.
Chapter 16: Installing the MX240 Router

 Loading...