3. Disconnect the cable from the console or auxiliary device.
4. Plug the RJ-45 end of the replacement serial cable into the CONSOLE or AUX port.
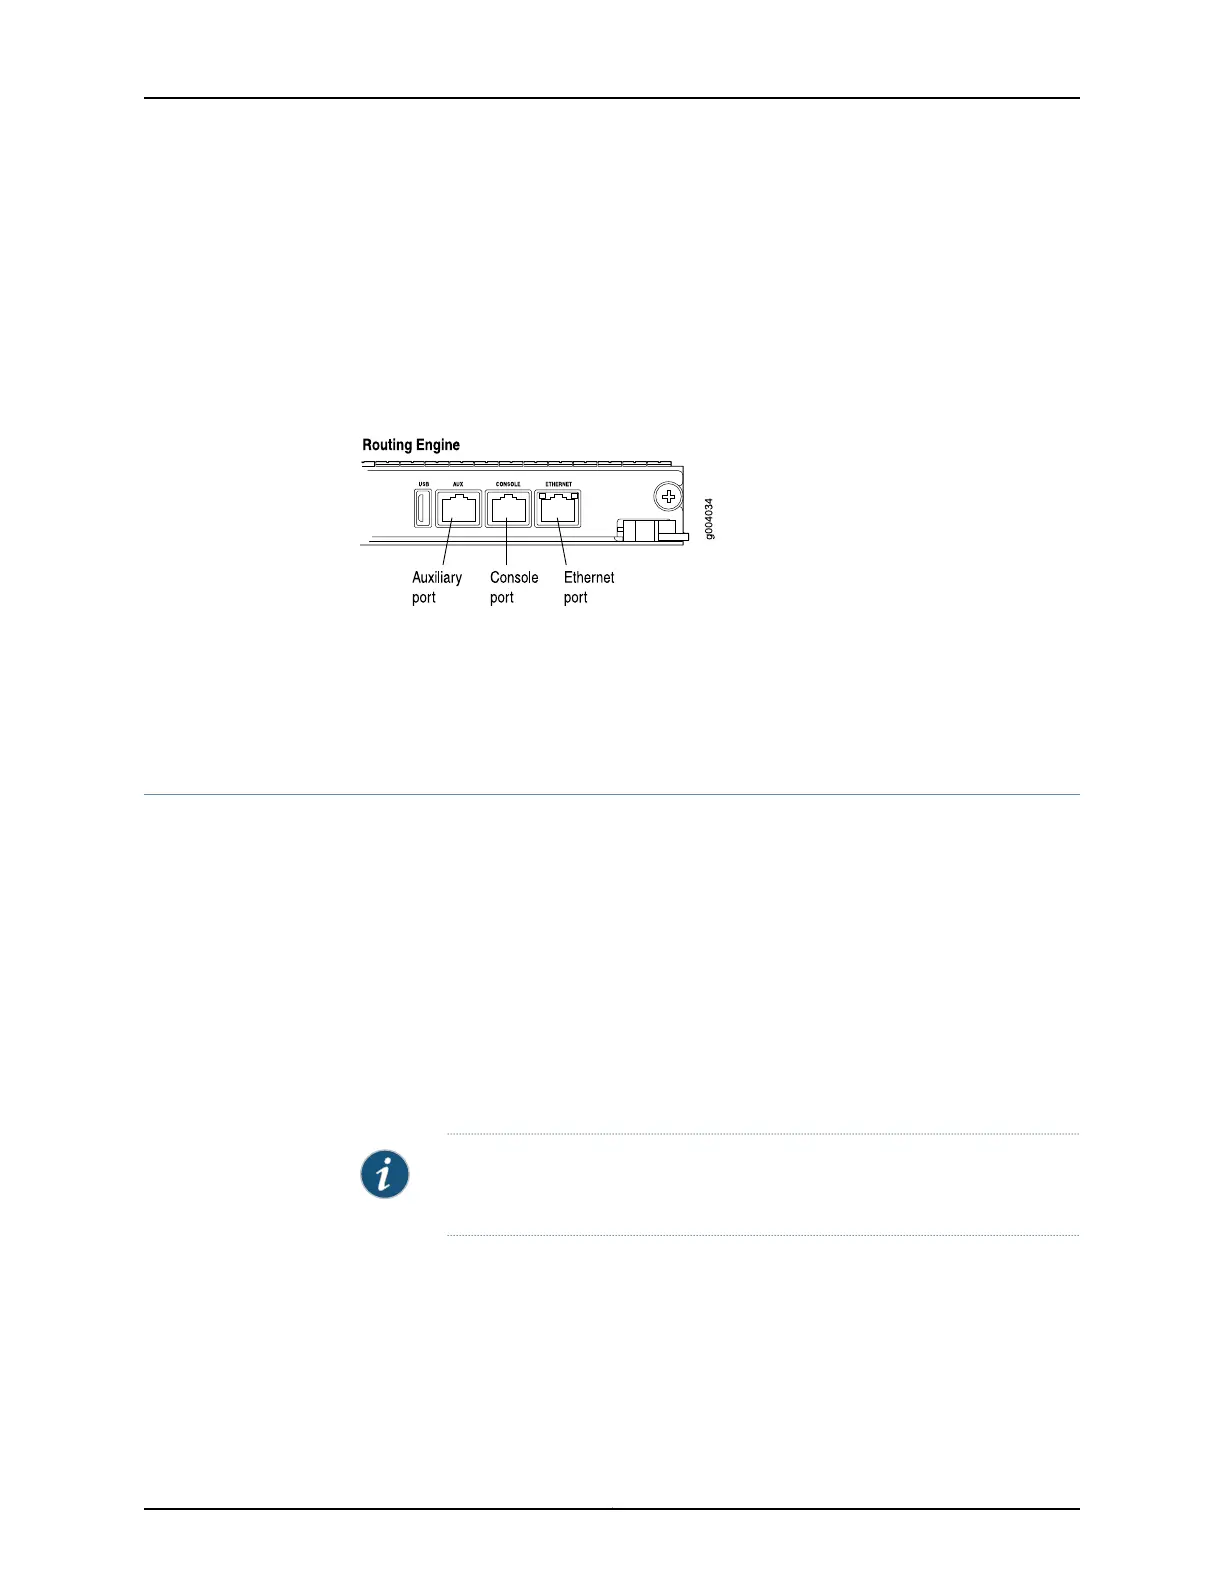
Figure 124 on page 287 shows the external device ports on the Routing Engine.
5. Plug the female DB-9 end into the console or auxiliary device's serial port.
Figure 124: Auxiliary and Console Ports
Related
Documentation
Preventing Electrostatic Discharge Damage to an MX240 Router on page 444•
• Routing Engine Interface Cable and Wire Specifications for MX Series Routers on
page 122
Upgrading to the RE-S-X6-64G Routing Engine in a Redundant Host Subsystem
A redundant host subsystem consists of a master Routing Engine (RE0) and a backup
Routing Engine (RE1). To upgrade the host subsystem to use the RE-S-X6-64G Routing
Engine, you must first uninstall the backup Routing Engine and install the RE-S-X6-64G
Routing Engine, which then becomes the backup Routing Engine. You then switch over
this backup Routing Engine to make it the master Routing Engine. Replace the other
Routing Engine and configure it as the backup Routing Engine.
Ensure that the Switch Control Board in the chassis is SCBE2 because the RE-S-X6-64G
Routing Engine is not compatible with the Switch Control Boards SCBor SCBE. To upgrade
the Switch Control Board to SCBE2, see “Replacing an MX240 SCB” on page 355 or
Replacing an MX480 SCB or Replacing an MX960 SCB,depending on thechassison which
the Routing Engine is being upgraded.
NOTE: Save the router configuration before proceeding with the Routing
Engine upgrade.
287Copyright © 2017, Juniper Networks, Inc.
Chapter 24: Replacing Host Subsystem Components