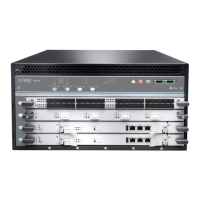
CHAPTER 16
Installing the MX240 Router
•
Installing an MX240 Router Overview on page 171
•
Tools Required to Install the MX240 Router with a Mechanical Lift on page 172
•
Removing Components from the MX240 Router BeforeInstalling it with a Lift on page 172
•
Installing the MX240 Router By Using a Mechanical Lift on page 177
•
Reinstalling Components in the MX240 Router After Installing it with a Lift on page 179
•
Tools Required to Install the MX240 Router without a Mechanical Lift on page 183
•
Removing Components from the MX240 Router Before Installing it without a
Lift on page 183
•
Installing the MX240 Chassis in the Rack Manually on page 189
•
Reinstalling Components in the MX240 Router After Installing it without a Lift on page 190
Installing an MX240 Router Overview
To install the MX240 router:
1. Prepare your installation site as described in “MX240 Site Preparation Checklist” on
page 111.
2. Review the safety guidelines and warnings.
•
General Safety Guidelines for Juniper Networks Devices
•
General Safety Warnings for Juniper Networks Devices
3. Unpack the router and verify the parts.
a. Unpacking the MX240 Router on page 163
b. Verifying the MX240 Router Parts Received on page 165
4. Install the mounting hardware.
•
Installing the MX240 Router Mounting Hardware for a Rack or Cabinet on page 167
•
Moving the Mounting Brackets for Center-Mounting the MX240 Router on page 169
171Copyright © 2017, Juniper Networks, Inc.

 Loading...