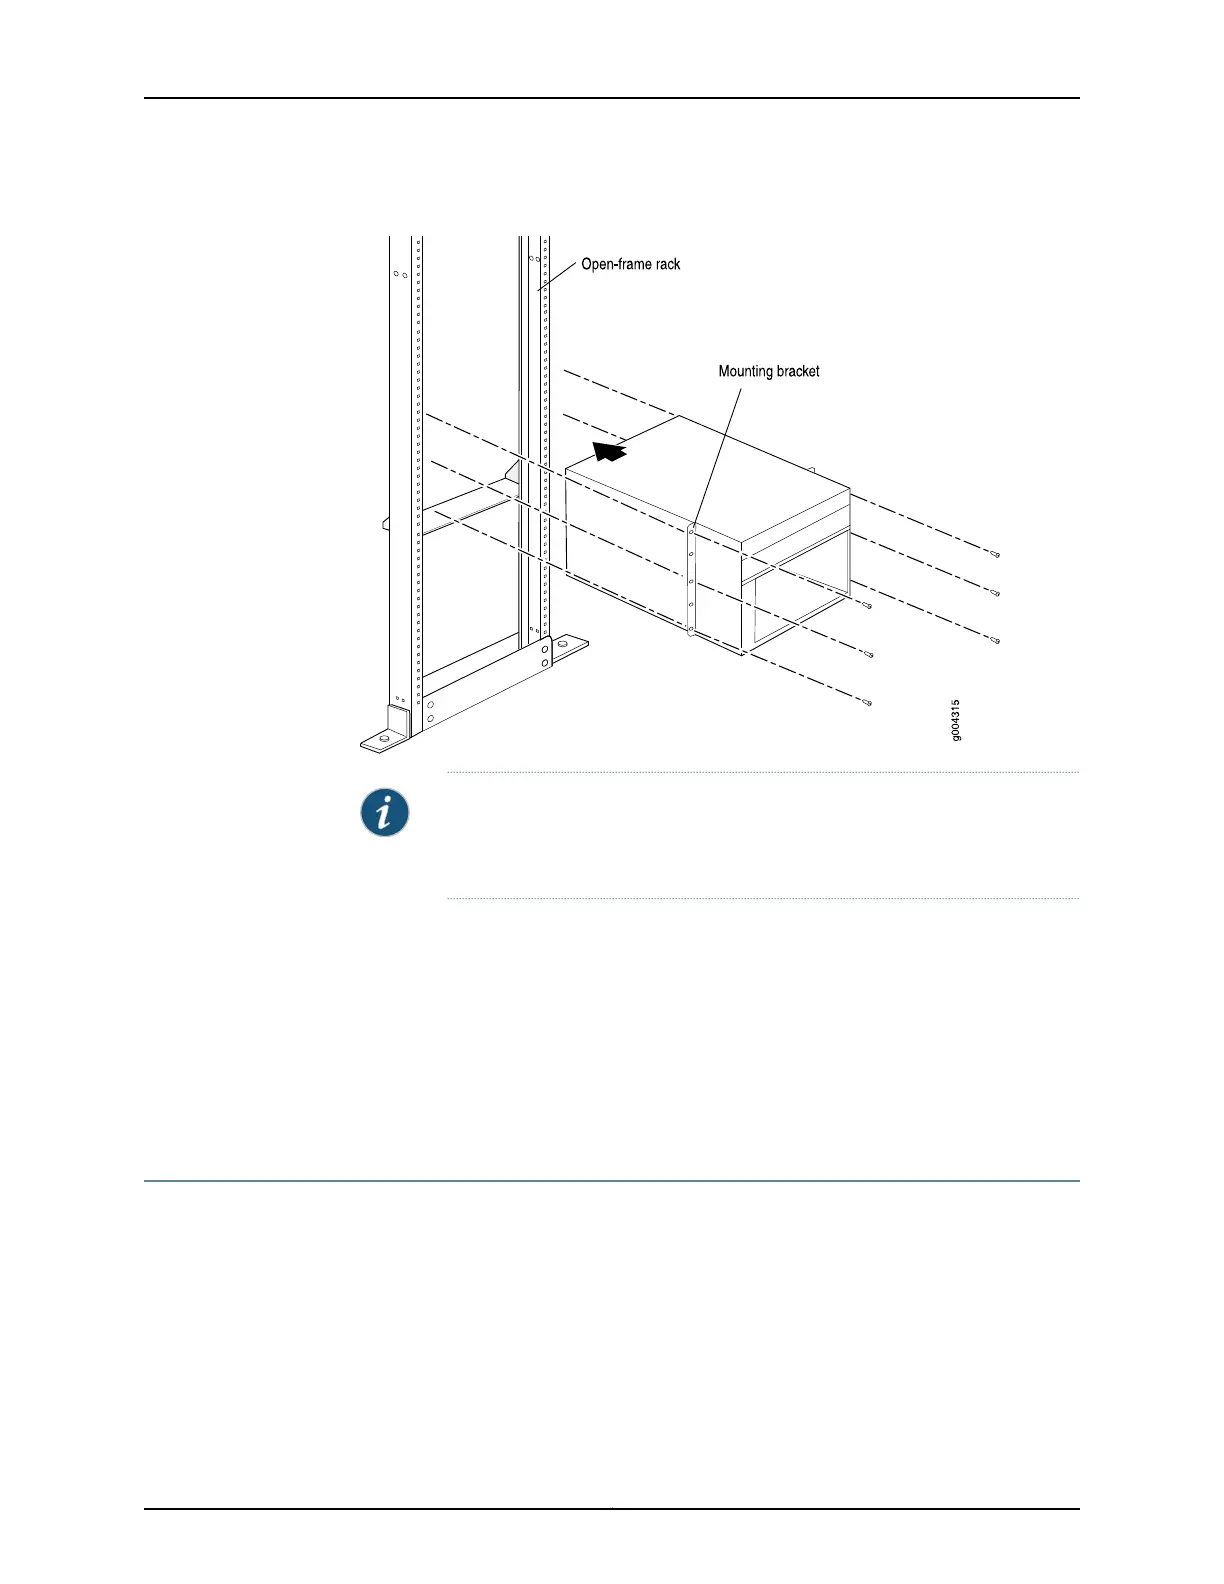
Figure 67: Installing the Router in the Rack
NOTE: This illustration depicts the router being installed in an open-frame
rack. For an illustration of the mounting hardware required for a four-post
rack or cabinet, see Figure 49 on page 168.
Related
Documentation
MX240 Site Preparation Checklist on page 111•
• Tools Required to Install the MX240 Router without a Mechanical Lift on page 183
• Removing Components from the MX240 Router Before Installing it without a Lift on
page 183
• Reinstalling Components in the MX240 Router After Installing it without a Lift on
page 190
Reinstalling Components in the MX240 Router After Installing it without a Lift
After the router is installed in the rack, you reinstall the removed components before
booting and configuring the router. The following procedures describe how to reinstall
components in the chassis, first in the rear and then in the front:
1.
Reinstalling the Power Supplies After Installing the MX240 Router without a
Lift on page 191
2.
Reinstalling the Fan Tray After Installing the MX240 Router without a Lift on page 191
3.
Reinstalling the SCBs After Installing the MX240 Router without a Lift on page 192
Copyright © 2017, Juniper Networks, Inc.190
MX240 3D Universal Edge Router Hardware Guide