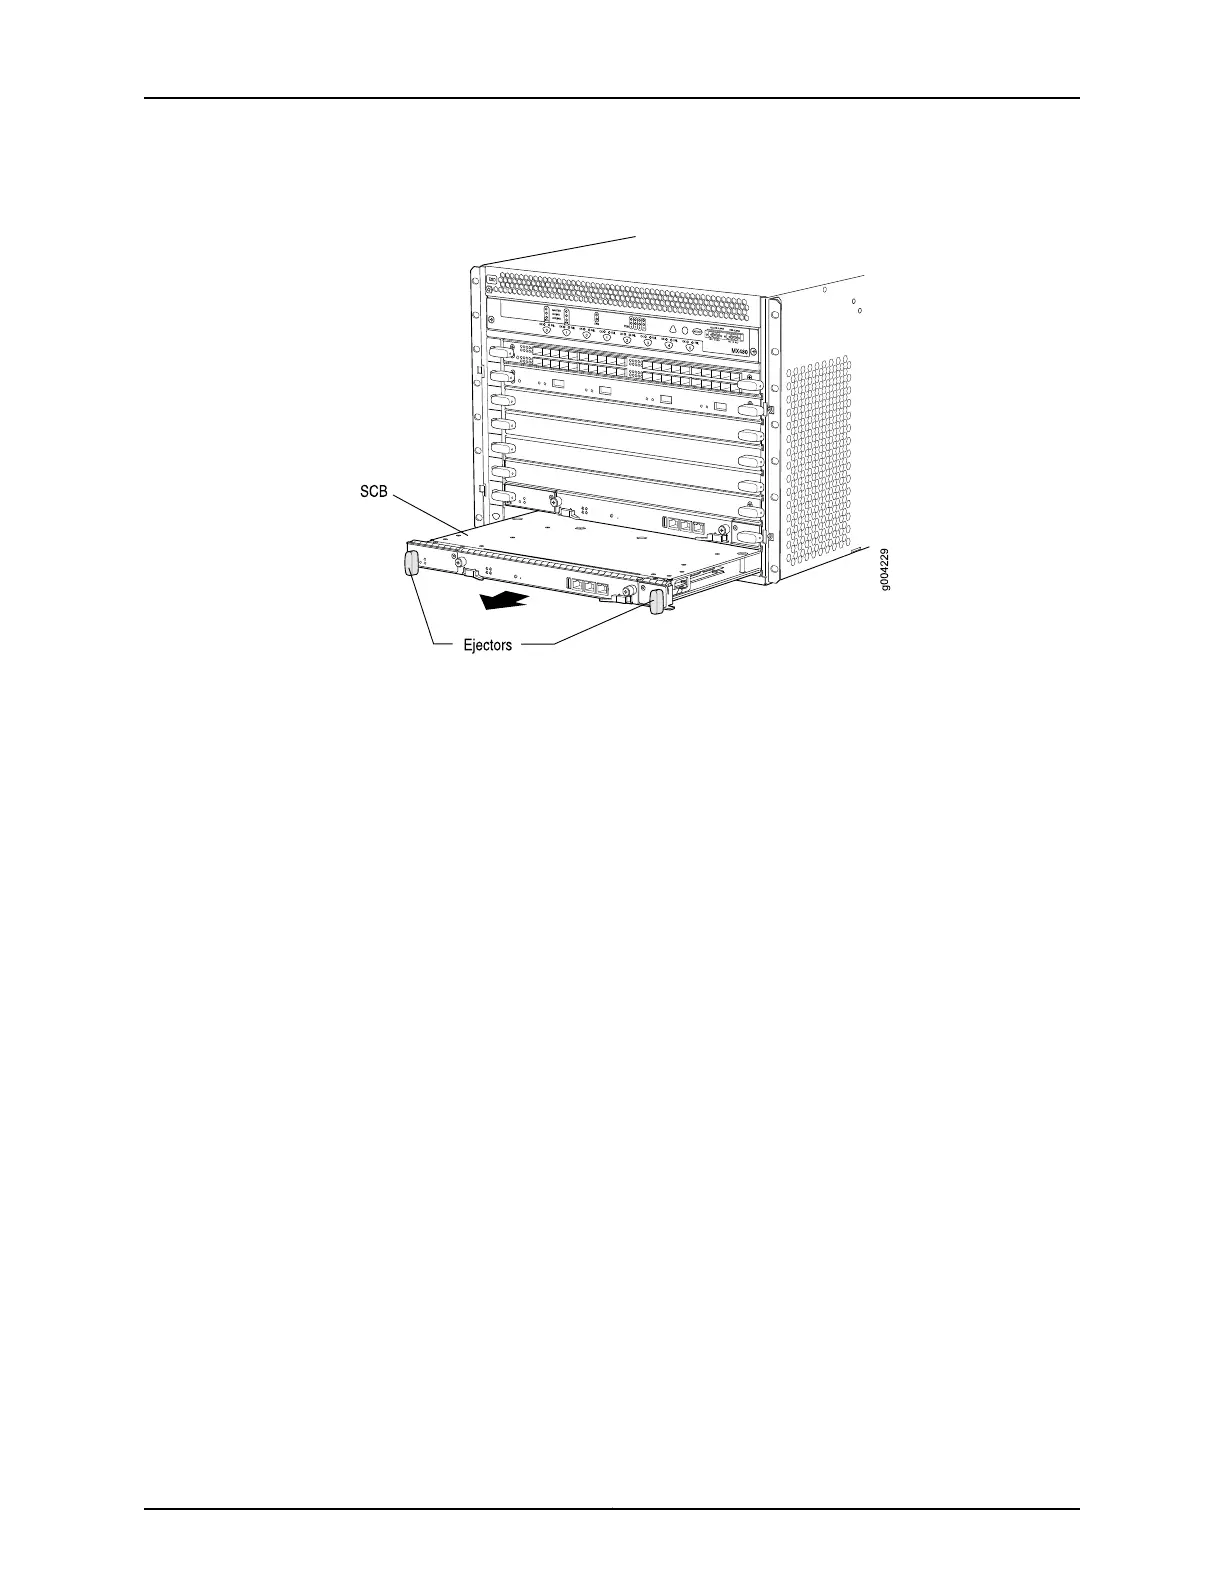
Figure 157: Removing an SCB
Installing an MX240 SCB
To install an SCB (see Figure 107 on page 262):
1. Attach an ESD grounding strap to your bare wrist and connect the strap to one of the
ESD points on the chassis.
2. Carefully align the sides of the SCB with the guides inside the chassis.
3. Slide the SCB into the chassis until you feel resistance, carefully ensuring that it is
correctly aligned.
4. Grasp both ejector handles, and rotate them simultaneously clockwise until the SCB
is fully seated.
5. Place the ejector handles in the proper position, vertically and toward the center of
the board.
6. Check the LEDs on the SCB faceplate to verify that it is functioning normally.
•
The green OK/FAIL LED should light steadily a few minutes after the SCB is installed.
•
If the OK/FAIL LED is red, remove and install the SCB again. If the OK/FAIL LED still
lights steadily, the SCB is not functioning properly. Contact your customer support
representative.
7. Check the status of the SCB using the show chassis environment cb command:
user@host> show chassis environment cb
CB 0 status:
State Online Master
357Copyright © 2017, Juniper Networks, Inc.
Chapter 27: Replacing Switch Fabric Components