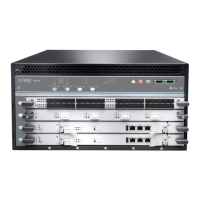
Figure 90: Installing the Fan Tray
Related
Documentation
Maintaining the MX240 Fan Tray on page 378•
• Removing the MX240 Fan Tray on page 271
• Preventing Electrostatic Discharge Damage to an MX240 Router on page 444
Installing an MX240 Routing Engine
To install a Routing Engine into an SCB (see Figure 91 on page 233):
1. Attach an ESD grounding strap to your bare wrist and connect the strap to one of the
ESD points on the chassis.
2. Ensure that the ejector handles are not in the locked position. If necessary, flip the
ejector handles outward.
3. Place one hand underneath the Routing Engine to support it.
4. Carefully align the sides of the Routing Engine with the guides inside the opening on
the SCB.
5. Slide the Routing Engine into the SCB until you feel resistance, and then press the
Routing Engine's faceplate until it engages the connectors.
Copyright © 2017, Juniper Networks, Inc.232
MX240 3D Universal Edge Router Hardware Guide

 Loading...