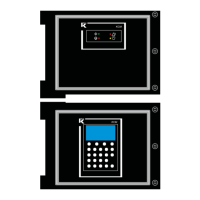
5 KCM Set-Up
5.1 Initial set-up for KCM CPU
Page 56 Docu-No.: 1090020601-EN Rev. 1.2.1
5 KCM Set-Up
5.1 Initial set-up for KCM CPU
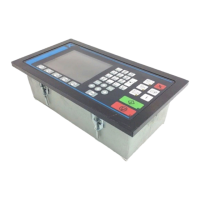
5.1.1 CPU pc board jumper settings
▲ Do not open the KCM unless power has been removed and no
explosive atmosphere is present.
• JP2 through JP4 selects the range for an analog input.
A jumper can be in only one of those three locations
• When CPU_Analog_Out is selected, place the jumper into the
required voltage or current location.
JP Normal
Position
Function
JP-1 1-2
[1-2] - normal processor operation
[2-3] - processor reset
JP-2 1-2
Connect [1-2] for 0-10Vdc analog
input.
JP-3 1-2
Connect [1-2] for 0-5 Vdc analog
input.
JP-4 1-2
Connect [1-2] for 4-20 mA analog
input.
JP-5 1-2
[1-2] - RS485-4 wire to Drive
[2-3] - RS485, 2 wire to Drive
JP-6 1-2
[1-2] - RS485-4 wire K-Port1
[2-3] - RS485, 2 wire K-Port1
JP-7 1-2
[1-2] - RS485-4 wire K-Port2
[2-3] - RS485, 2 wire K-Port2
JP-8 1-2
Battery Connect.
Remove jumper to disconnect
battery
Make sure battery isolation paper is removed at commissioning.
Replacement from the battery, see section 9.4.