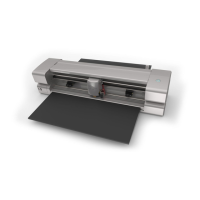
1. Place an 8.5” x 11” sheet of paper on the mat, using any of the grid lines. Place the paper onto the mat
like this:
2. Insert the mat into the cutter. Slide the mat towards the back and use any of the horizontal markings at
the front of the Zing Air to align the mat. Lift the pinch levers to drop the pinch wheels onto the cutting
mat. Most of the mat and the paper should now be behind the cutter, not in the front:
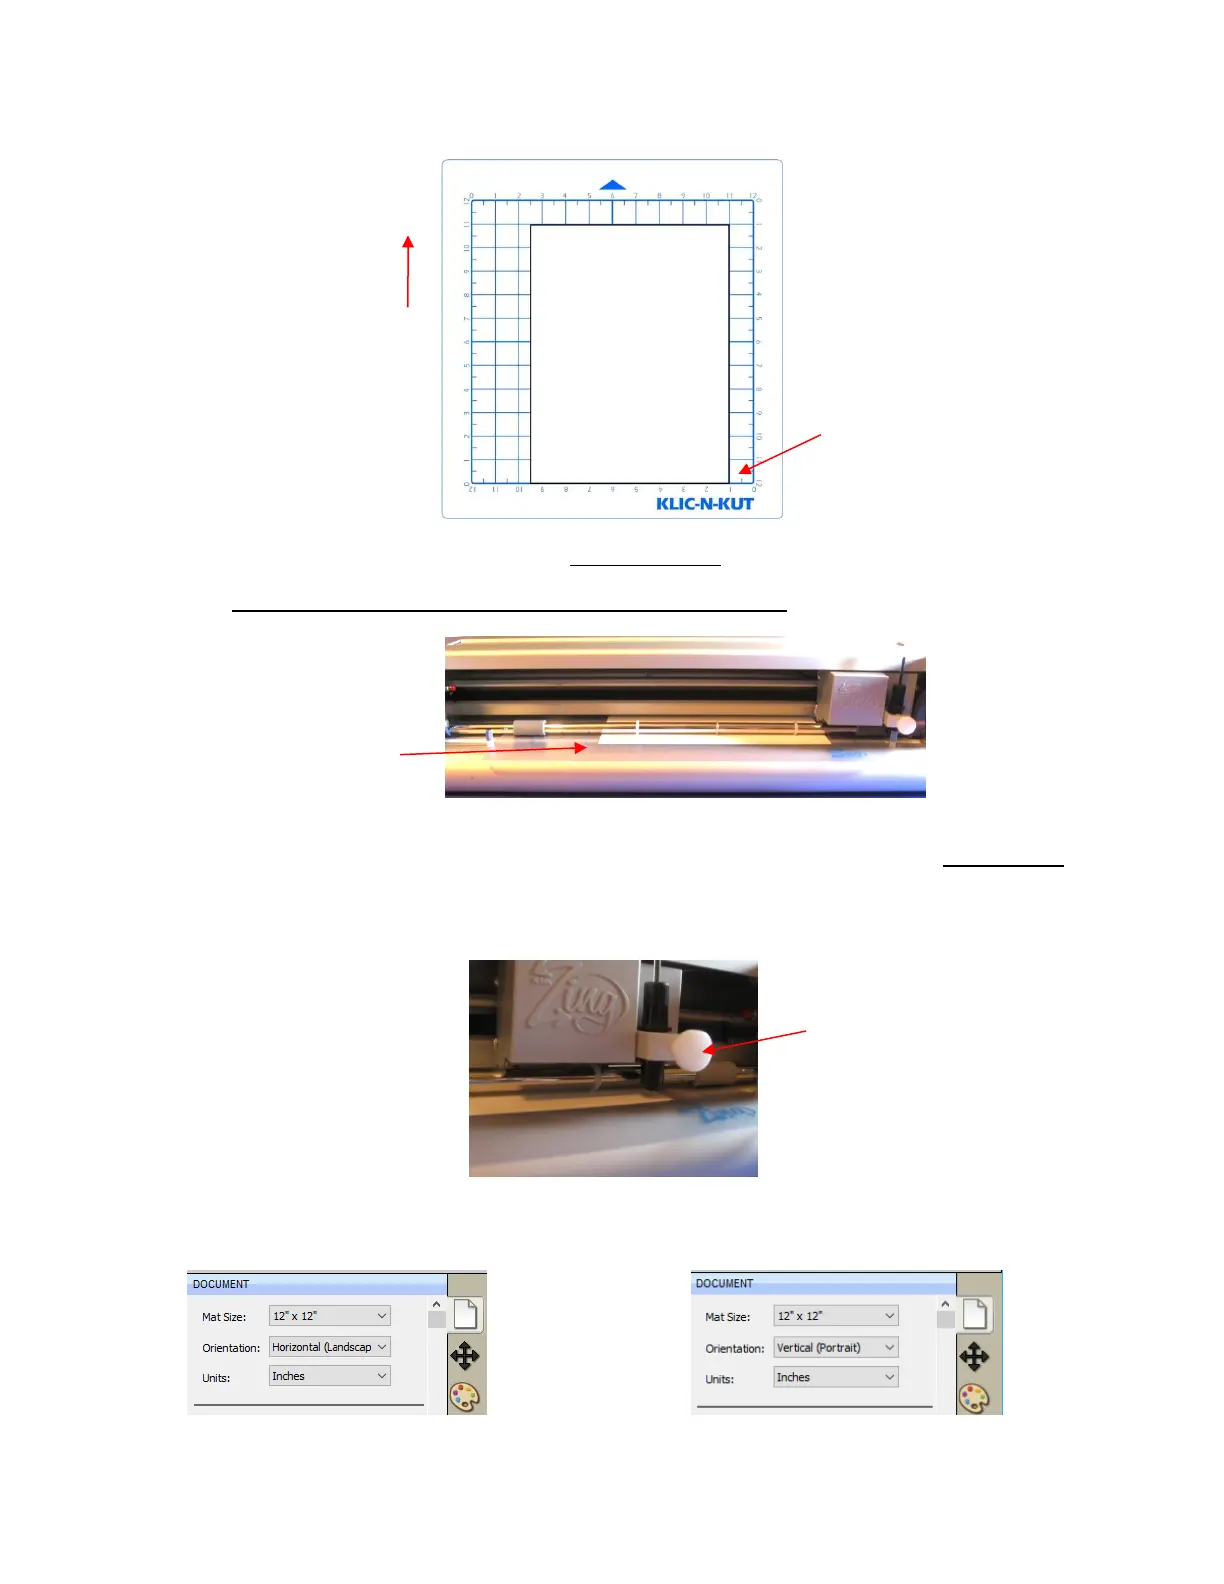
3. Before installing the test pen, make sure the pen will write by scribbling on scrap paper. Then loosen the
front screw on the blade holder seat and insert the pen tool. Make sure the pen nib is slightly above the
cutting surface so that it will not drag across the paper. Firmly tighten the screw. (Note: with the Zing Air
turned off, you can manually slide the blade carriage to the left so that you can check the pen or blade
tip height, as necessary).
4. Select either Landscape or Portrait, on the Document Panel, depending on your personal preference
(as described at the beginning of this section):
Raise the pen high enough for
the tip of the pen to be above
the paper. Then tighten the
front screw.
 Loading...