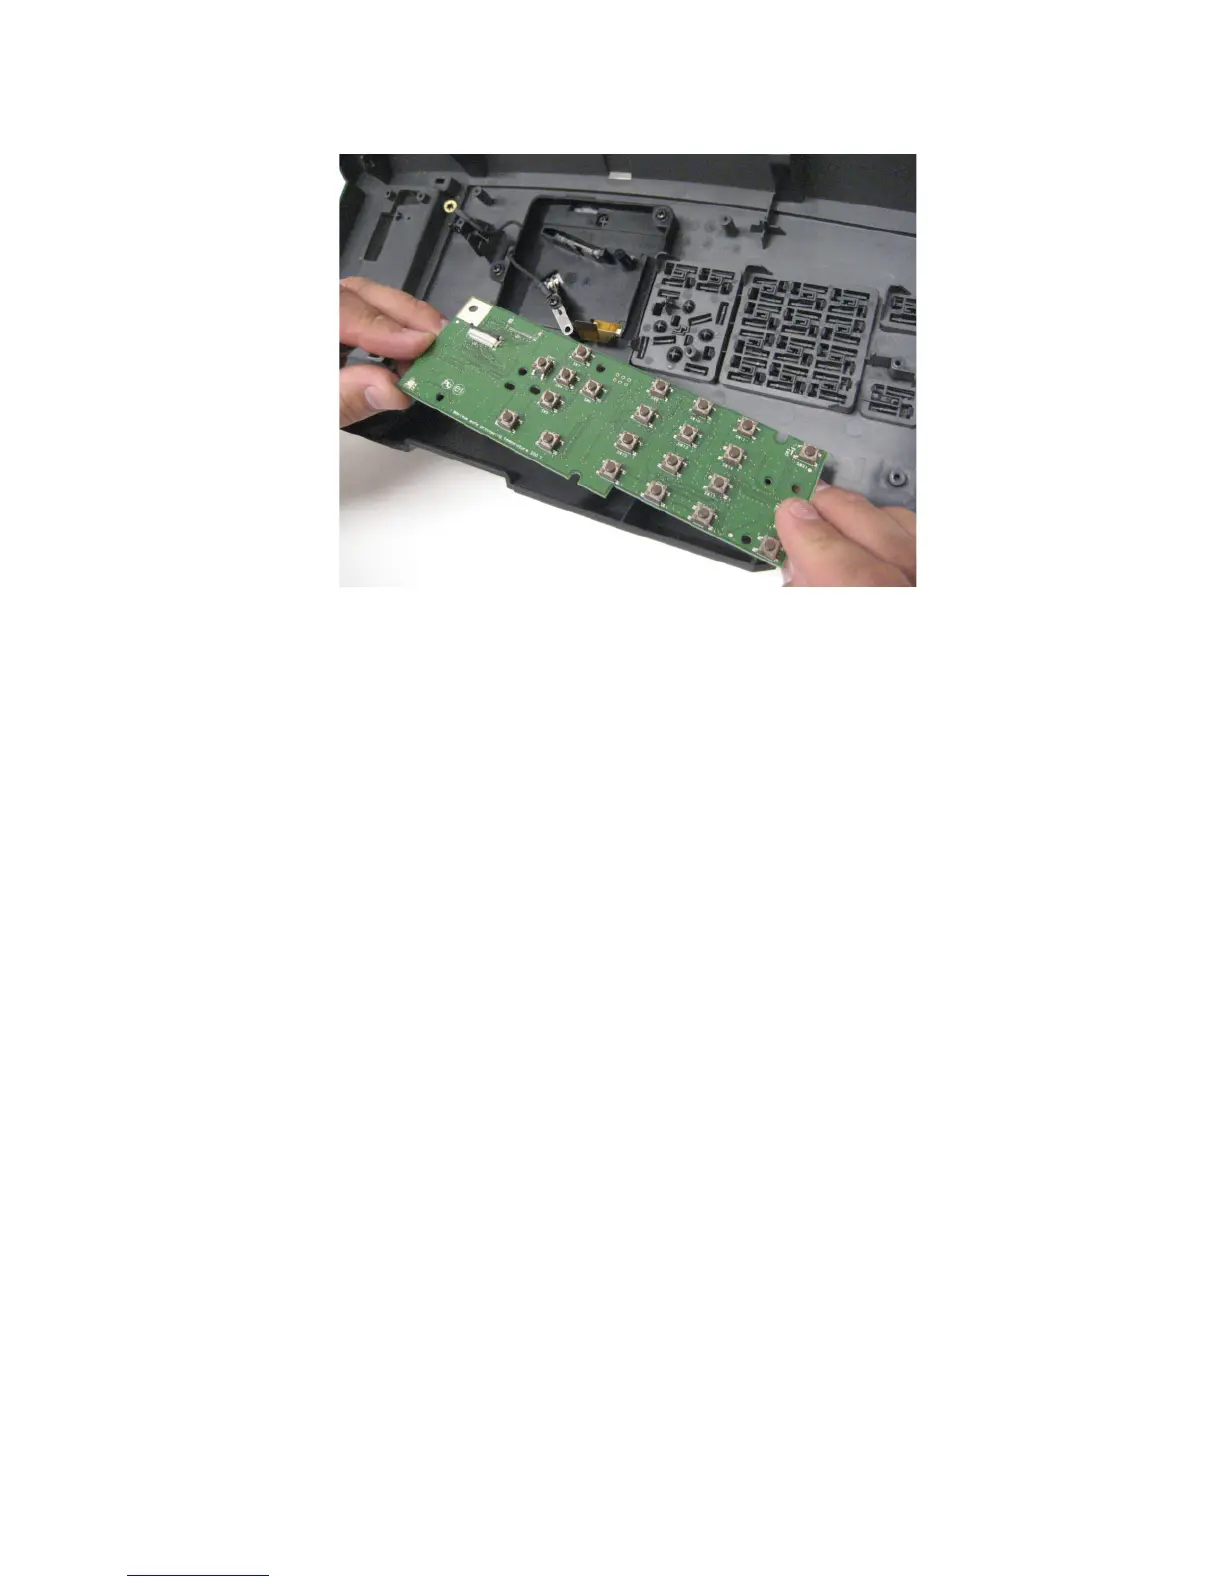
10 Remove the control panel board.
Control panel board (4.3‑inch tilting display) removal
Warning—Potential Damage: When replacing the control panel, control panel board, or controller board, replace
only one component at a time. Replace the required component and perform a POR before replacing a second
component. If this procedure is not followed, the printer will be rendered inoperable. Never replace both the control
panel and the controller board without a POR after installing each one or the printer will be rendered inoperable.
Never install or remove these components as a method of troubleshooting while operating in normal user mode.
See “Controller board/control panel replacement” on page 256.
Warning—Potential Damage: When a component has been installed in a machine and has been powered up in
normal user mode, it cannot be used in another machine; it must be returned to the manufacturer. The machine
must be powered up in Diagnostic mode or the controller board, control panel boards, or control panel will become
locked.
1 Remove the control panel left bezel. See “Control panel left bezel removal” on page 399.
2 Remove the control panel. See “Control panel removal (4.3‑inch screen, 7‑inch screen)” on page 381.
3 Remove the control panel latch. See “Control panel latch removal” on page 398.
4 Remove the control panel front cover. See “Control panel front cover removal” on page 396.
4063
Repair information
390