Chapter 3
Radio Installation
This section provides installation setup for your radio.
NOTE: Ensure that the power supply is off when assembling the control head or expansion head to the
transceiver. Turn on the power supply after you have finished assembling the control head or expansion
head to the transceiver.
3.1
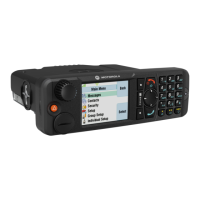
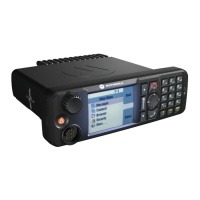
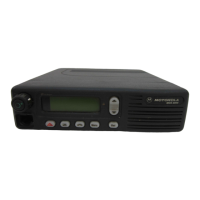
MXM600 Dashboard Installation
This section explains the Dashboard Installation for M1.
3.1.1
Installing Your Radio in an Automotive DIN Slot
Dashboard
Procedure:
1. Open the cut-out (DIN Slot) in the dashboard of your radio.
2. Remove the top plastic cover from your radio.
3. Insert the mounting frame into the cut-out and retain it by bending back the relevant fixing tabs, using
all six where possible, to hold it in place.
NOTE:
The tabs are easily bent back by twisting a large flat-bladed screwdriver into the slot behind the
tabs.
For a more secure installation, secure the top and rear of the frame with screws.
The demount tool can be used as an aid to mounting as well as demounting.
3.1.2
Mounting Your Radio in the Frame
Procedure:
1. Connect the electrical connections to your radio for power, antenna, and accessories.
2. Plug in all the connectors and push your radio with the Control Head, firmly onto the mounting frame
until the two springs snap into place.
NOTE: Check the fixing tabs for tightness each time your radio is removed. The tabs are easily
tightened by twisting a large flat-bladed screwdriver in the slot behind the tabs. The frame is not
designed for daily mounting and demounting.
MN009998A01-AA
Chapter 3: Radio Installation
38