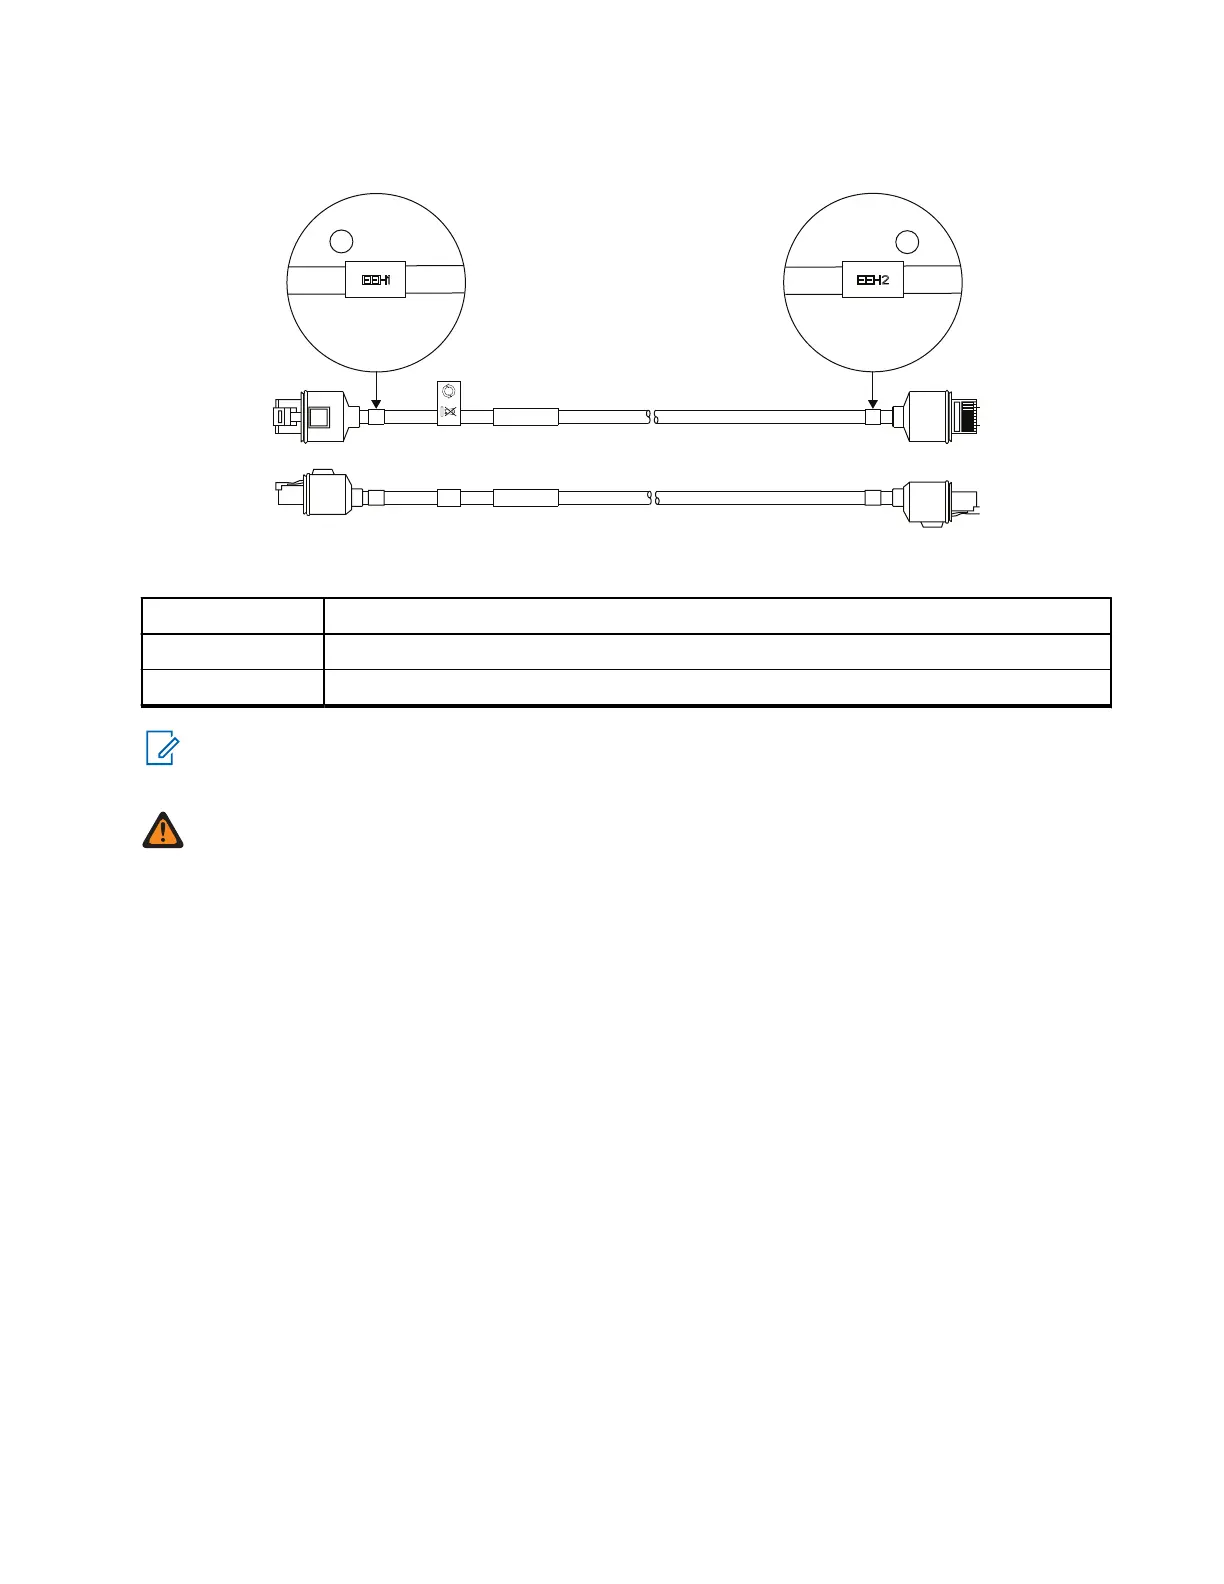
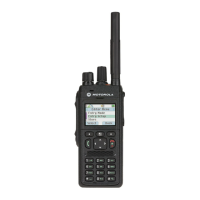
Figure 20: Remote Ethernet Cable (PMKN4176_, PMKN4177_, and PMKN4178_)
Table 43: Associated Components
Annotation Description
1 Ethernet Expansion Head (EEH1) mark
2 Ethernet Expansion Head (EEH2) mark
NOTE: For PMKN4135_, the open-end wire at the "CH" end shall be terminated with the in-box RJ50
plug based on the Ethernet Cable Pin Diagram. After routing the transceiver to the Control Head, use a
10P10C Crimping Tool to crimp the RJ50 plug to the open end of the cable.
WARNING: Use the 'Exp Head', 'EEH1', 'EEH2', and 'CH' marks to ensure that the Ethernet Cables are
correctly connected.
3.3.2
Installing the IP67 Ethernet Cable
Procedure:
1. Before inserting the cable to the RJ50 socket, rotate and align the lock cap.
Ensure the two markings on the lock cap face up, aligning with the RJ50 contact plane.
2. Connect the 10-pin RJ50 connector to the RJ50 socket of the IP67 Remote Ethernet Control Head
(RECH).
Ensure that the pin contact faces up. Push in until the lock cap flushes with the IP67 RECH back
housing.
3. Turn the lock cap in a clockwise direction to secure the cap to the back housing.
4. Connect the other side of the RJ50 connector to the RJ50 socket on the remote expansion head.
MN009998A01-AA
Chapter 3: Radio Installation
53