DCS Command System User’s Guide
Quick Start: Command Mode
Setting Up And Using DCS - An Overview
Setting up the DCS system for simple command mode operation is quick and easy. The
eight steps below are all that is required to begin operating a single Proto-Sound 2.0
equipped engines in command mode on a simple layout. Each step is explained in more
detail on pages 16 - 23.
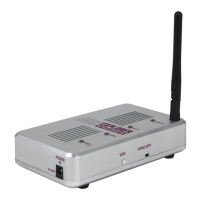
1. Connect the TIU Voltage In Channel to the Transformer Terminals.
Connect the black negative (-) and red positive (+) wires from your transformer to the
TIU’s black and red banana jacks (respectively) on the “Fixed Voltage In1” channel.
Make sure the connections are tight.
2. Connect the TIU Out Channels To The Track. Connect wires from
the red and black “Fixed (DCS) Out1” banana jacks to your track or lock-on. If you
connect directly to the track, red (hot) must be connected to the center rail and black
(ground) to the outer rail.
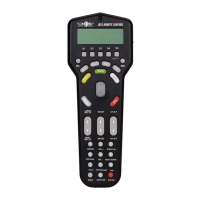
3. Put four AAA batteries in the handheld.
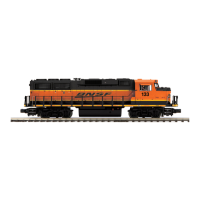
4. Put a Proto-Sound 2.0 equipped engine on your track.
5. Turn on your transformer and increase the throttle to 18 Volts (or
between ¾ and full power for older transformers).
6. Add the engine into the remote’s memory
- see Using The Remote and
Accessing The Locomotive beginning on page 16.
7. Select and Start Up the engine - see Selecting and Starting The Locomotive on
page 18.
8. Make the engine go by rolling up the throttle - see Making The Engine
Go, Reversing Direction and Basic Sounds beginning on page 20.
15