▪ Right-click (Mac OS X: [Ctrl]-click) a Plug-in name and use the Open…, Save As…, and
Save As Default… (Native Instruments and External Plug-ins only) commands to manage
your Plug-in presets. See section ↑6.1.9, Saving and Recalling Plug-in Presets and ↑6.3.4,
Using VST/AU Plug-in Presets for more information.
You cannot move Plug-ins within the Plug-in Chain. To do this, use for example the
Plug-in List in the channels of the Mixer above (see the Plug-in List description in sec-
tion ↑9.2.5, Adjusting Settings in the Channel Strips).
9.4 The Plug-in Strip
In the lower part of the MASCHINE window, the Mix view provides an intuitive representation
of all Plug-ins loaded in the channel (Sound, Group, or Master) currently under focus: the Plug-
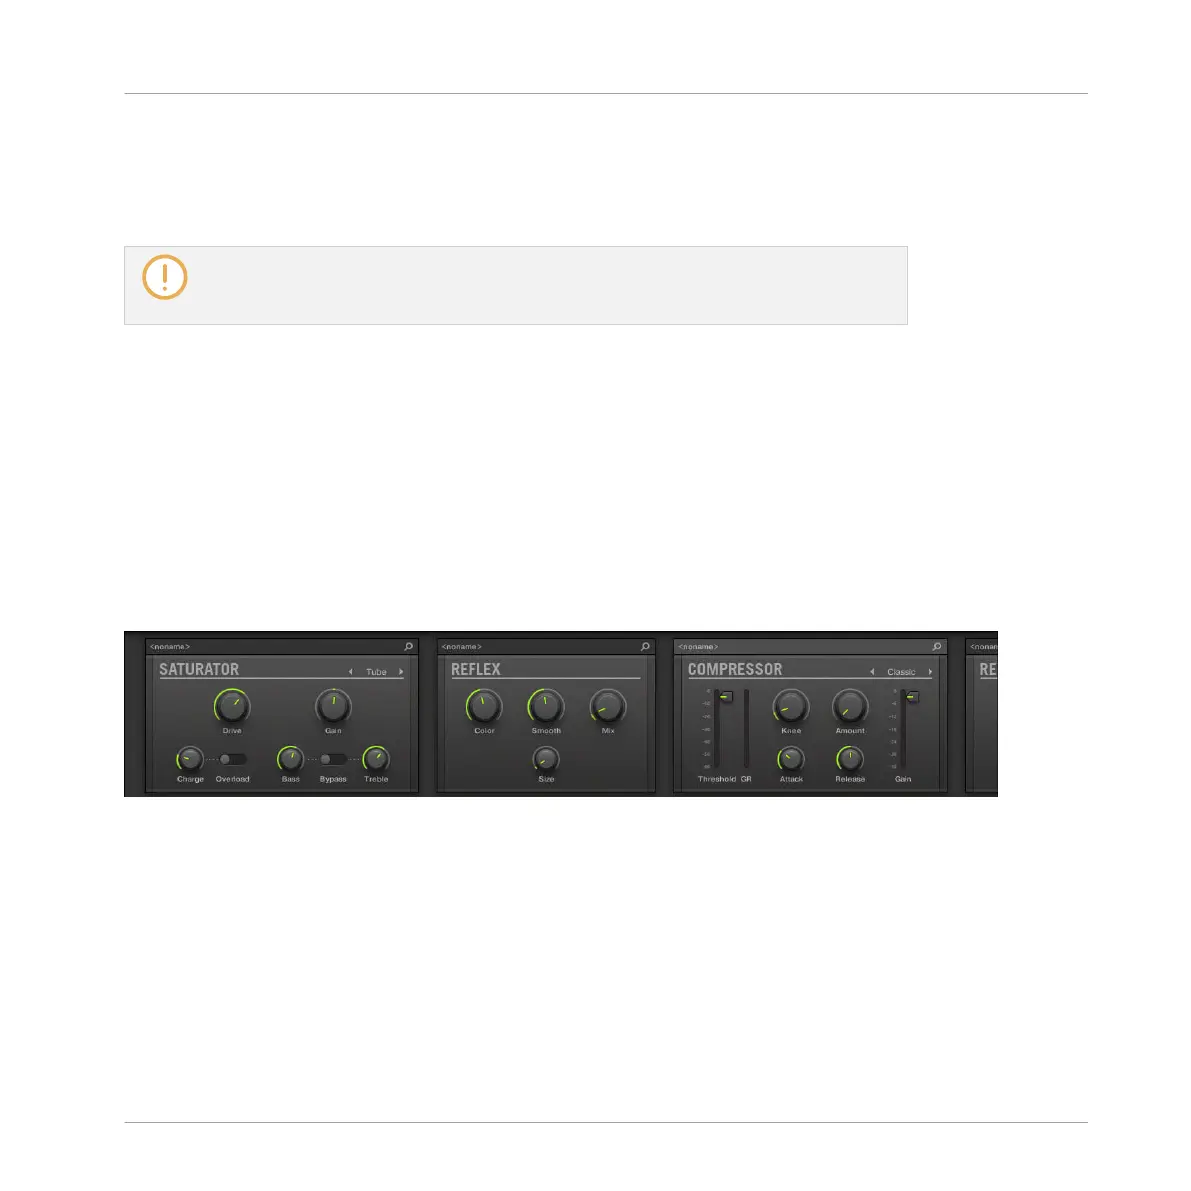
in Strip. The Plug-in Strip shows the loaded Plug-ins as a series of Plug-in panels, each Plug-in
having its own panel.
As in the little Plug-in Chain above, the Plug-ins are arranged into an horizontal series, the au-
dio travelling from left to right through each Plug-in of that channel.
The Plug-in Strip of a channel, with a distinct interface for each Plug-in.
In the Plug-in Strip the Plug-in panels vary with the type of Plug-in (Internal, Native Instru-
ments or External):
▪ For all types of Plug-ins, the panel shows a Plug-in Header at the top: ↑9.4.1, The Plug-in
Header.
▪ Internal Effects and Drumsynths have their own custom panels: ↑9.4.2, Panels for Drum-
synths and Internal Effects.
▪ The Sampler Plug-in has a special, extended panel: ↑9.4.3, Panel for the Sampler.
Controlling Your Mix
The Plug-in Strip
MASCHINE MIKRO - Manual - 482
 Loading...