2. Press and hold SCENE to enter SECTION mode (or pin it by pressing SCENE + CON-
TROL).
3. Press SHIFT + Left/Right Arrow to select the desired Section bank.
4. Press the unlit pad corresponding to the Section you want to create.
→
A new empty Section is created. You can then assign a Scene using your controller and
software — see section: ↑13.3.3, Assigning a Scene to a Section.
13.3.3 Assigning a Scene to a Section
Now you have created an empty Section on the timeline of the Arranger, you can now add a
Scene from the Ideas view to the Arranger view.
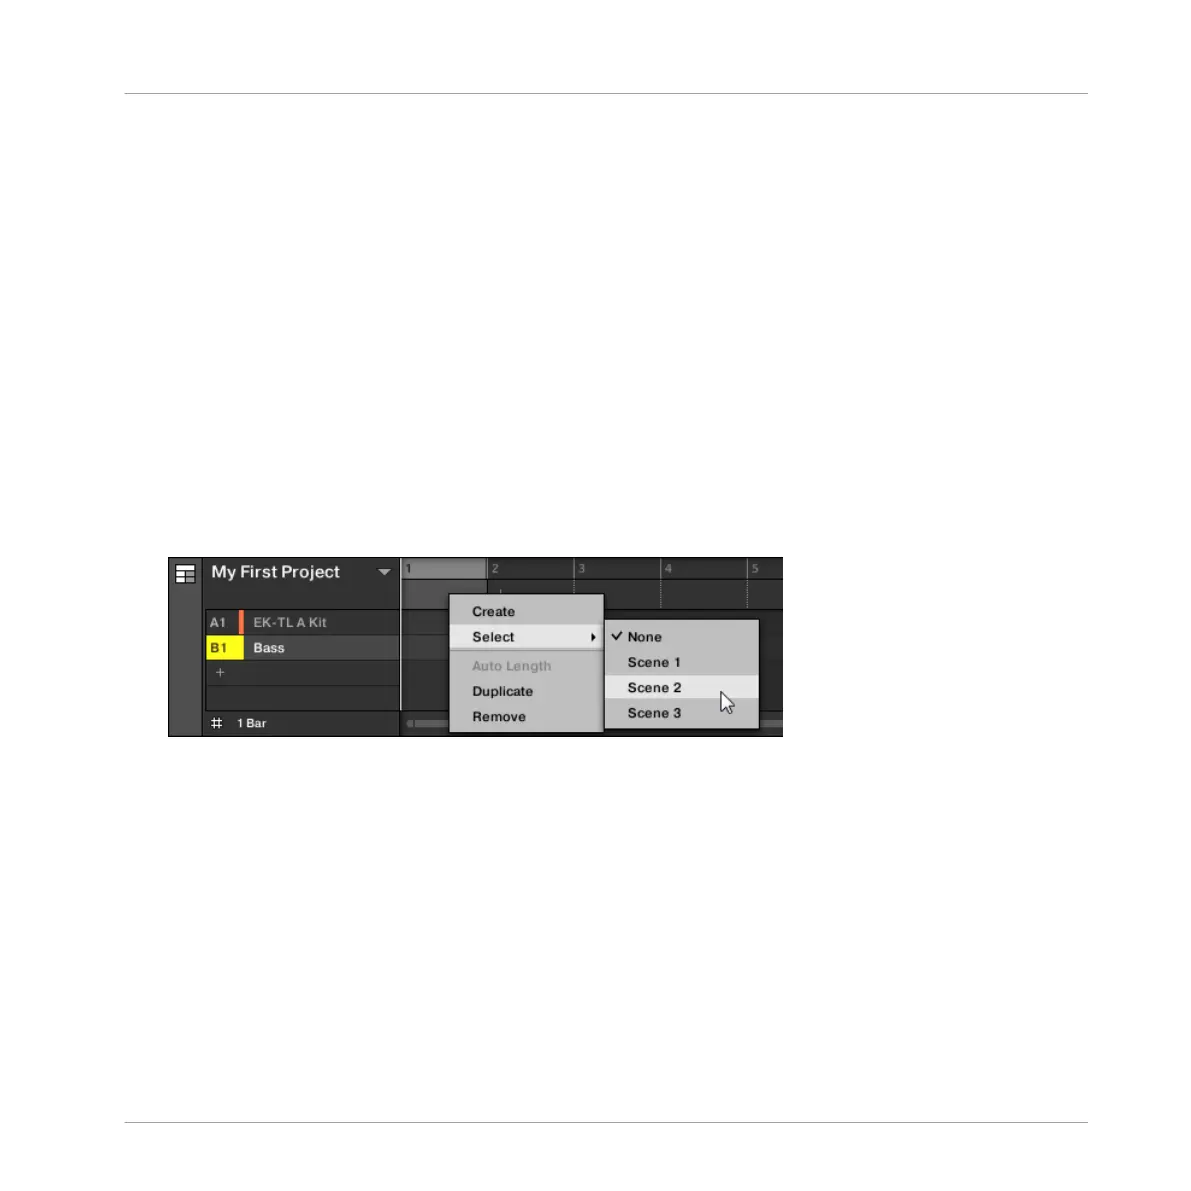
To add a Scene to a Section on the timeline of the Arranger:
►
Right-click ([Cmd] + click on Mac OS X) a Section slot and select Append in the context
menu, then for example, select Scene 2 from the submenu.
→
The selected Scene is added to the Section.
By repeating this for each new Section, you can quickly add Scenes to the Arranger.
To add a Scene to a Section in the Arranger view using your controller:
1. Press SHIFT + SCENE to access the Arranger view.
2. Press SCENE, then press the right arrow button to select SCENE.
3. Turn the Encoder to select the Scene you want to add to the Section.
→ The selected Scene is added to the Section.
By repeating this for each new Section, you can quickly add Scenes to the Arranger.
Working with the Arranger
Using Arranger View
MASCHINE MIKRO - Manual - 728