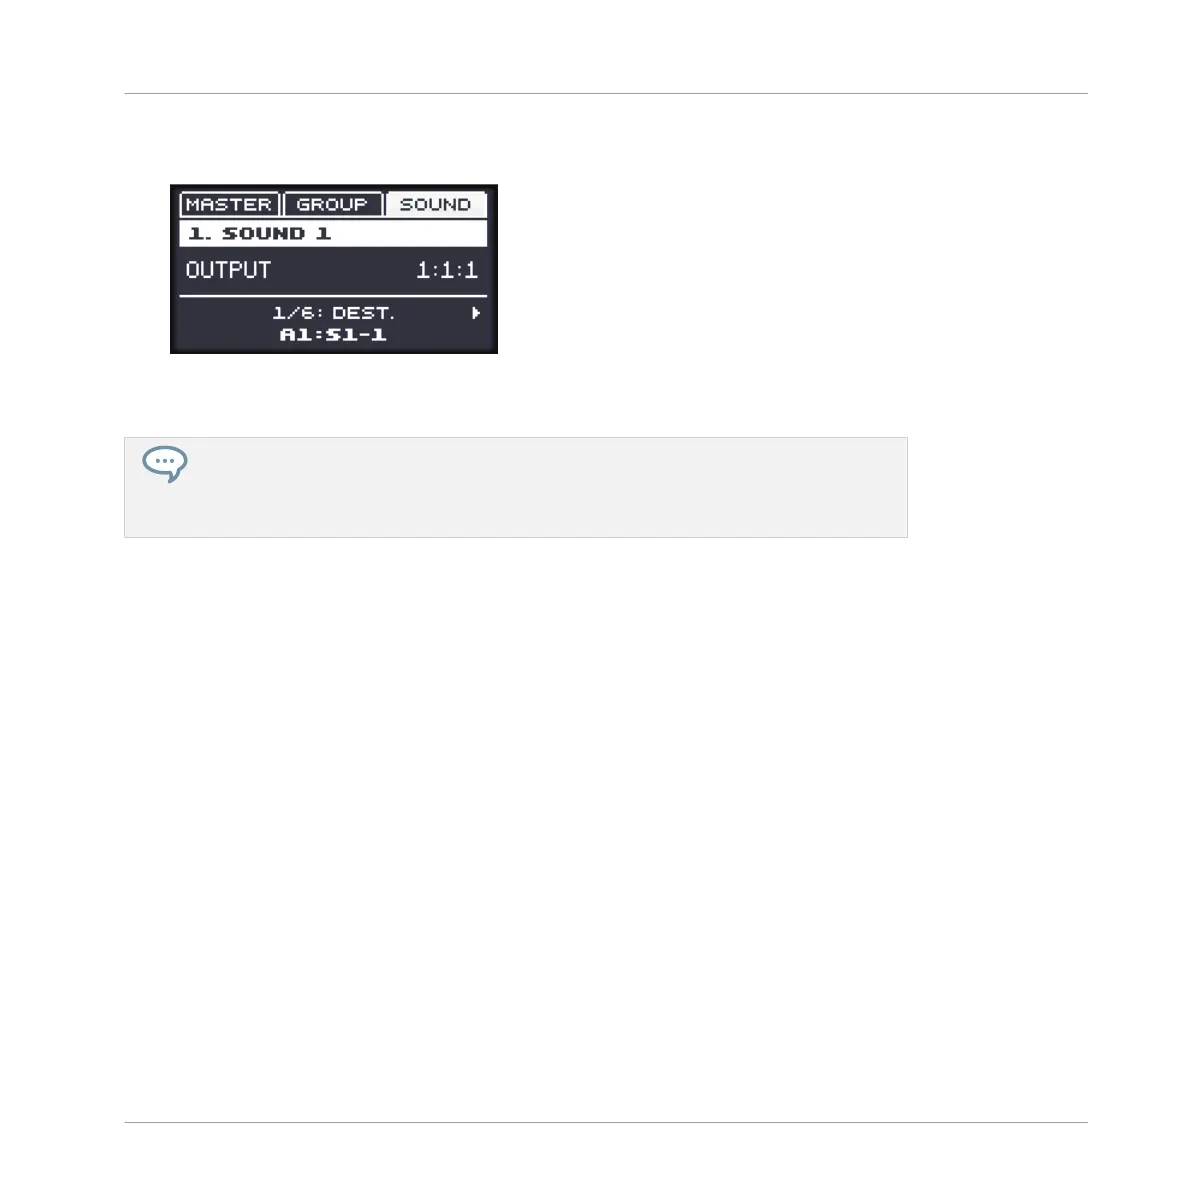
number followed by the Sound number (in the example underneath we selected the entry
A1:S1-1 for the AUX 1 output).
10. Press the Right Arrow button to select 2/6: LEVEL, and turn the Control encoder to adjust
the level of the signal sent through the auxiliary output.
The signal of each auxiliary output is taken by default after the main output level control
has been applied. This can be changed via the 3/6: ORDER parameter of the same
page. For more information, please see section ↑8.1.3, Setting Up Auxiliary Outputs for
Sounds and Groups.
You can repeat the process to route more Sounds/Groups to the same send effect, or route the
same Sound/Group to another send effect send using AUX 2.
11.3.3 A Few Notes on Send Effects
When working with send effects, please keep in mind the following:
▪ You cannot send the Master output to send effects.
▪ You cannot send a send effect’s output to itself, nor the output of a Group to one of its own
Sounds.
However, you can:
▪ Chain several Sounds configured as send effects by sending the output of a send effect in-
to another send effect using the method described above (see ↑11.3.2, Step 2: Route Au-
dio to the Send Effect).
▪ Use the Effect Plug-ins loaded in a Group to simultaneously process its own Sounds and
other Sounds/Groups sent to it.
This opens up virtually endless routing possibilities!
Using Effects
Creating a Send Effect
MASCHINE MIKRO - Manual - 609