Section 10 Transferring Data 10-1 Transferring Data to the PT
NS-Designer Operation Manual
7. Click the Button to display the confirmation dialog box and then click the Start Button to start
downloading the data. When using a Memory Card to transfer data, this will complete the transfer
process. Steps 8 and 9 are not required.
The transfer progress will be displayed at the PT and in the Screen Data Transfer Dialog Box.
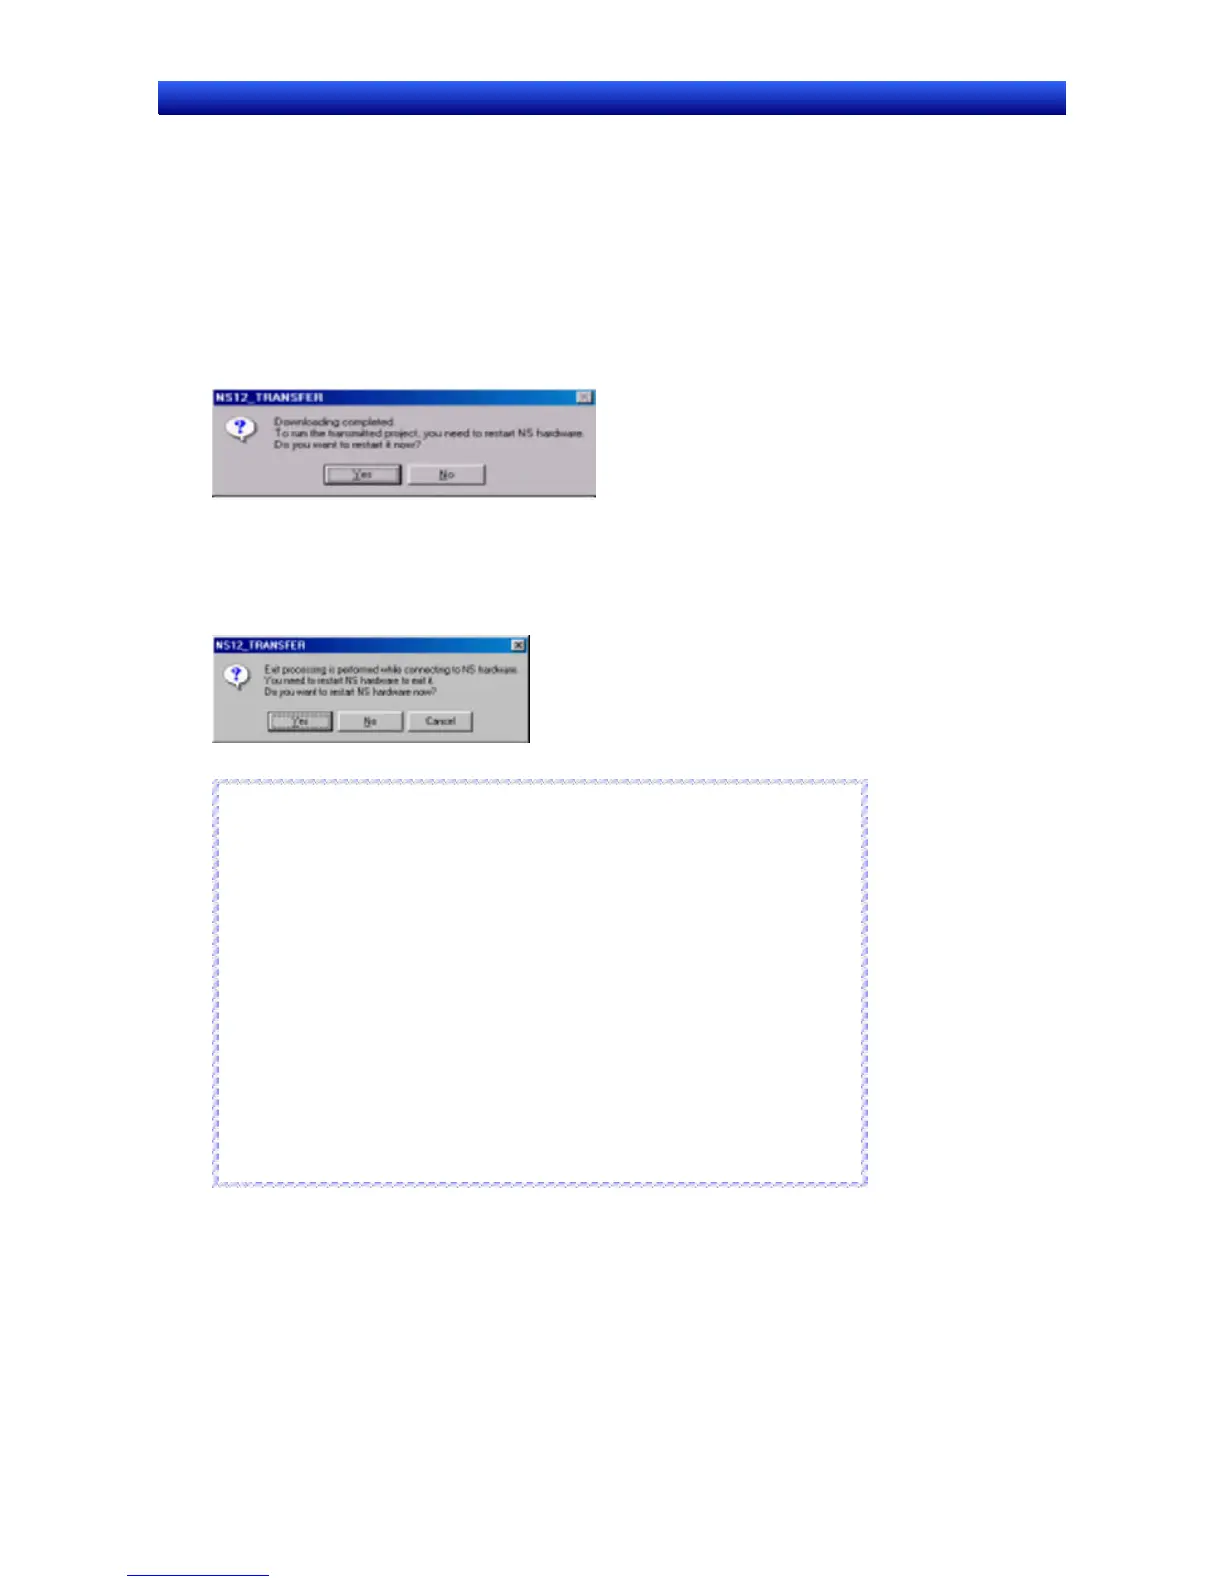
8. When an automatic reset after transfer has not been set, the following dialog box will be displayed
at the computer when the data transfer is finished. The PT must be restarted to run the project that
has been transferred. Click the Yes Button to restart the PT.
If the wrong project data has been transferred, the procedure can be executed again from step 2
without restarting the PT by clicking the No Button.
Even if the No Button is clicked, the following confirmation dialog box to restart the PT will appear
after Screen Data Transfer Dialog Box is closed. If the Yes Button is clicked, the PT will be re-
started. If the No Button is clicked, you will have to restart the PT manually. If the Cancel Button is
clicked, the Screen Data Transfer Dialog Box will return.
Reference
♦ When data is transferred, any of the following history data that was previously
recorded in the PT will be deleted.
- Alarm History
- Data Log
- Operation Log
- Error Log
- Internal holding areas ($HB and $HW), only portions used by the Smart Active
Parts.
♦ Sheet numbers are displayed as follows on the Screen Data Transfer Dialog
Box:
Sheet 0 4095 Sheet 5 4090
Sheet 1 4094 Sheet 6 4089
Sheet 2 4093 Sheet 7 4088
Sheet 3 4092 Sheet 8 4087
Sheet 4 4091 Sheet 9 4086
R
R
e
e
f
f
e
e
r
r
e
e
n
n
c
c
e
e
Procedure: Uploading a Project
Use the following procedure to transfer data stored in the PT or on a Memory Card to the NS-Designer.
1. Display the Screen Data Transfer Dialog Box.
2. Select Select Project from the Mode Menu or right-click on the Screen Data Transfer Dialog Box
and select Select Project from the pop-up menu.
10-21