Section 10 Transferring Data 10-1 Transferring Data to the PT
NS-Designer Operation Manual
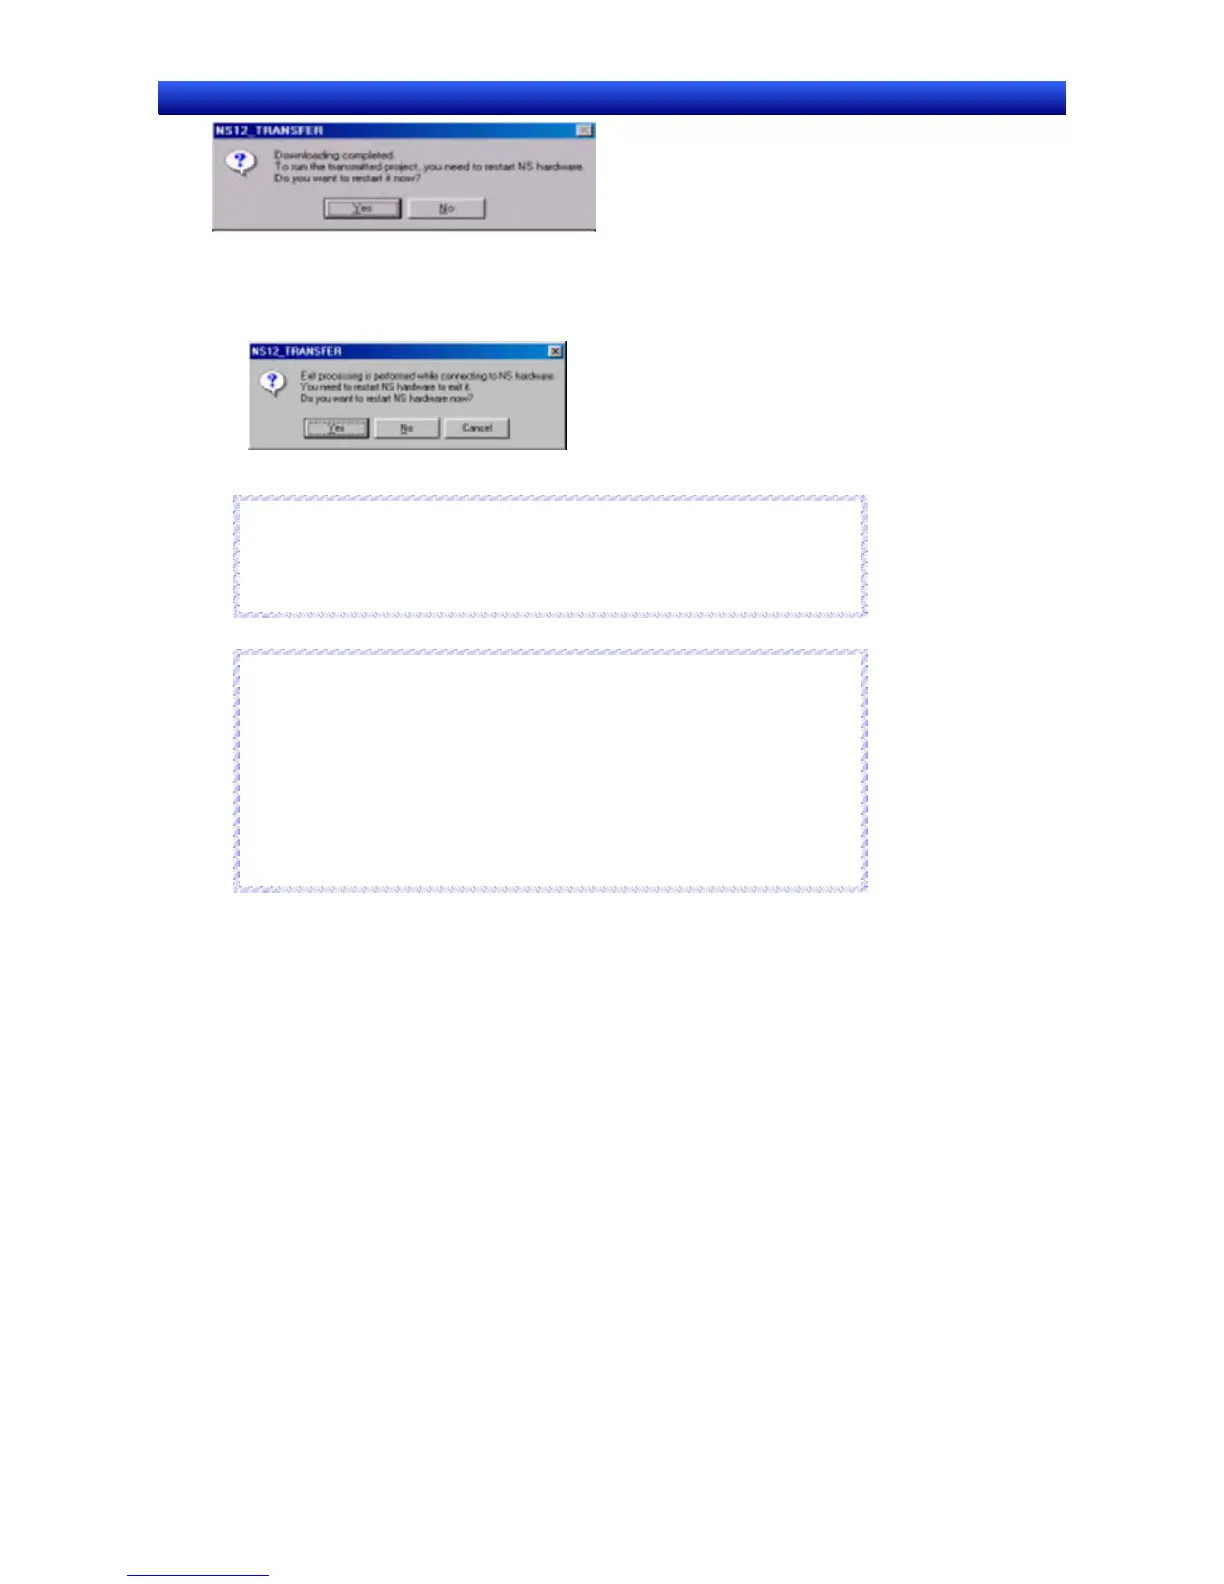
Even if the No Button is selected, the confirmation message shown below will be displayed when
exiting the Screen Data Transfer Dialog Box. If the Yes Button is clicked, the PT will be restarted. If
the No Button is clicked, it will become necessary to restart the PT directly. To return to the Screen
Data Transfer Dialog Box, click the Cancel Button.
Note
♦
If a communications error occurs or the PT cannot read the transferred data
normally and an error occurs, perform data transfer again from the begin-
ning.
N
N
o
o
t
t
e
e
Reference
♦
Sheet numbers are displayed as follows on the Screen Data Transfer Dialog
Box:
Sheet 0 4095 Sheet 5 4090
Sheet 1 4094 Sheet 6 4089
Sheet 2 4093 Sheet 7 4088
Sheet 3 4092 Sheet 8 4087
Sheet 4 4091 Sheet 9 4086
R
R
e
e
f
f
e
e
r
r
e
e
n
n
c
c
e
e
10-1-5 Transferring the System Program
A system program is necessary to operate PT for communications or to change font sizes. It is only
used for special occasion, such as replacing the system program or recovering system operation.
Procedure: Downloading the System Program
1. Display the Screen Data Transfer Dialog Box.
2. Select Select System from the Mode Menu or right-click on the Screen Data Transfer Dialog Box
and select Select System from the pop-up menu.
3. Click the Select System Button and select the folder named bank1. The folder named bank1 is in
the System Backup – NS12_V1/NS10_V1/NS8_V1/NS5_V1_V2 – V6_2 folder under the
NS-Designer installation folder. Refer to 2-2 Installing the NS-Designer for details on directories.
4. Click the Comms. Method Button and set the communications method. For details, refer to 10-1-2
Communications Settings for NS-Designer.
5. Click the Connect Button. The computer will be connected to the PT.
10-25