616
DP-C405/C305/C265
FEB 2008Ver. 1.1
7.3. Installation Procedure
7.3.1. Outline
Step 1: Set up Machine (Refer to Section 7.3.2.)
Step 2: Setting and Adjustment (Refer to Section 7.4.- 7.5.)
1. Set the Date and Time on the Function mode.
2. Register the Customer’s Information on the Service Mode.
3. Adjusting the Copy Quality/Exposure if required.
Note:
1. For Option installation, refer to their pertinent Installation Instructions.
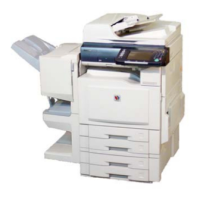
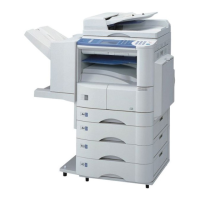
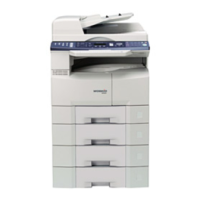
2. The following machine illustrations, depict a DP-C405 with a standard configuration.
Caution:
1. The scanner is locked in place with a Shipping Screw (Blue) to prevent damage during transit.
Do Not plug the AC Power Cord, and turn the Power Switches ON before unlocking the scanner
(see steps (13)-(14)).
2. The machine is shipped from the factory with the Shipping Brackets for the Intermediate Transfer Unit
and the Fuser Unit, to avoid shipping damage.
Do Not plug the AC Power Cord, and turn the Power Switches ON before removing the Shipping
Brackets (see steps (4) - (11)).
7.3.2. Installation Procedure
(1) Pull the Handles all the way out to lock them in
place.