RadioLink Electronic Limited
www.radiolink.com
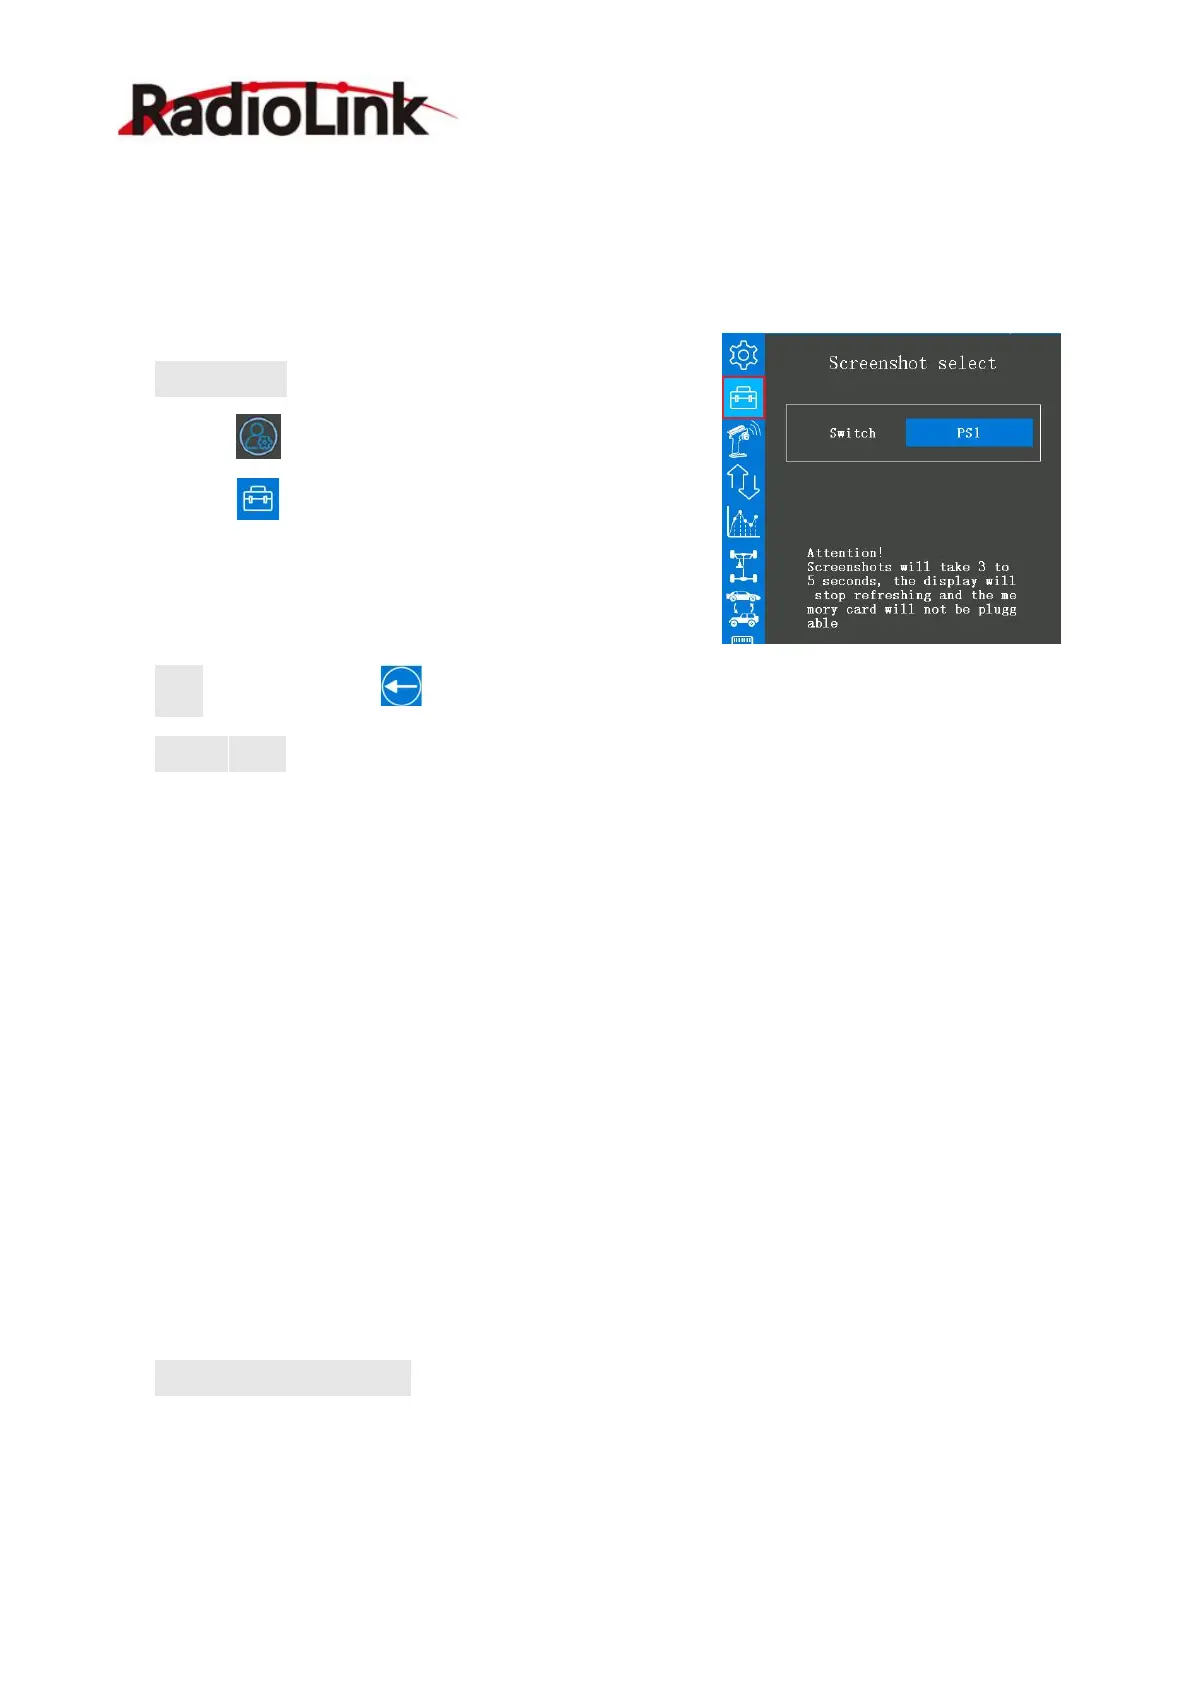
2.2.3 Screenshot setting
Take screenshots for the interface of the transmitter, convenient for users to obtain and share
the contents of the transmitters.
Setting steps: turn on the RC8X, into home page, click
the button at the left bottom of RC8X into System
menu, click into Tools menu, click the blue select box
named Screenshot setting to take a screenshot for the
current interface.
Back: click the button or short press the power button to return to the previous menu.
Switch select: The buttons PS1, PS2, PS3, PS4, or PS5 can be set to trigger the screenshot
function.
Attention: Before setting the screenshot switch, please check if the button you are ready to
select has occupied or not in the “Channel setting” menu.
For example: If you are ready to select the button PS1 to trigger the screenshot function, you
should check if the PS1 have been set to control other function in the “Channel setting” menu
first, if not, then back to the “Screenshot select” menu to select the PS1 as the screenshot
function switch, if have occupied, select another switch to instead of the PS1 or select another
switch as the screenshot function switch.
How to take a screenshot: Press the switch that you have set in the Screenshot select menu,
wait about three to five seconds, “Snapshot successfully!” displayed on the top of the screen
indicates screenshot successful. If the “Voice mode” has selected “All” in the Sound menu,