8-4-4 Section 8: Autopilots
ST290 Instrument System Owner’s Handbook
iii. Reverse the motor wires connected to the course computer.
iv. Switch on the power and re-check.
Note:If the rudder overshoots and has to drive back or starts to hunt back
and forth, increase the rudder damping level as described on page 8-4-8.
Step 3: Adjusting fundamental autopilot settings
Use the Pilot Advanced Calibration mode, to adjust certain fundamental
autopilot parameters.
Note: For more information on pilot calibration, refer to Section 8,
Chapter 5 of this handbook.
To enter Pilot Advanced Calibration:
1. Press STANDBY to return the autopilot to Standby mode.
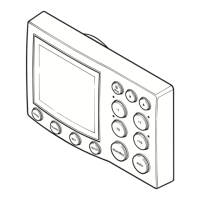
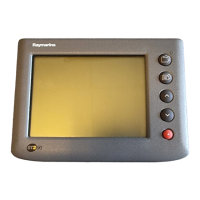
2. Using an ST290 Graphic Display (Figure 4-4 ), enter User Setup, as
described in Section 7 of this handbook. Then press the button to
scroll to the PILOT ADVANCED CAL setup chapter (see Figure 4-5 )
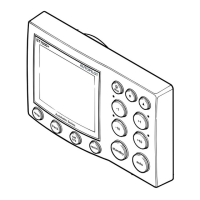
Figure 4-4: The ST290 Graphic Display
Using the Calibration mode
When you enter a pilot calibration screen, press the button to move
between the individual calibration pages, or hold down the button to
move backwards through the calibration pages.
Use the or buttons as necessary, to change calibration values.
To move to the next setting press the button. To leave the current
calibration chapter and save all setting changes, press the button.
Note: You must leave the calibration chapter by using the button to
save all calibration changes. If the system loses power or is powered off
before this stage then all configuration changes made will be lost.
Chapter button
(also used to set backlighting
& contrast)
Page button
Select button
Up button
Down button
D5354-2
81183_2 S8.book Page 4 Tuesday, May 6, 2003 9:08 AM
 Loading...