Model 8210/8250 Maintenance Manual Section 7. Component Procedures
Electrical Components Lead Acid Battery
Publication: 1146945/001, Revised: 25 Sep 2018 7-41
Installation (entire battery pack)
1. With a fully charged and tested battery on
the lifting device, position the lifting device
in accordance with the manufacturer’s
recommendations.
N
OTE: Attach the lifting hook to the designated
lifting area. Do not attach the lifting
hook to the charger cord storage handle.
2. Position the battery in the compartment.
Make sure the battery has no more than
1/2 in. (13 mm) of “free play” movement in
the battery compartment in any direction.
3. Remove the lifting device from the area.
4. Install the mounting hardware through
the battery retainer bracket.
5. Install the load backrest.
6. Reconnect the battery connector.
N
OTE: When installing a battery pack, make
sure the CAN bus is connected, if
equipped.
7. Place the Main ON/OFF Switch in the ON
position. If equipped with the optional
keypad, enter your PIN-key code and then
press the green ON ( | ) key.
8. Configure the truck parameters 21, 24,
and 44 for the battery type installed.
Removal (single battery)
1. Park the truck on a level surface and make
sure the parking brake is applied.
2. If equipped with the optional keypad,
press the red OFF ( O ) key. Place the Main
ON/OFF Switch in the OFF position.
3. Disconnect the battery connector found at
the top of the console cover.
4. Unwind the AC power cord.
5. Remove the battery pack cover.
6. Disconnect the CAN connector, if
equipped.
7. Release the latch and swing out the top
battery tray.
8. Remove the battery retainer bracket.
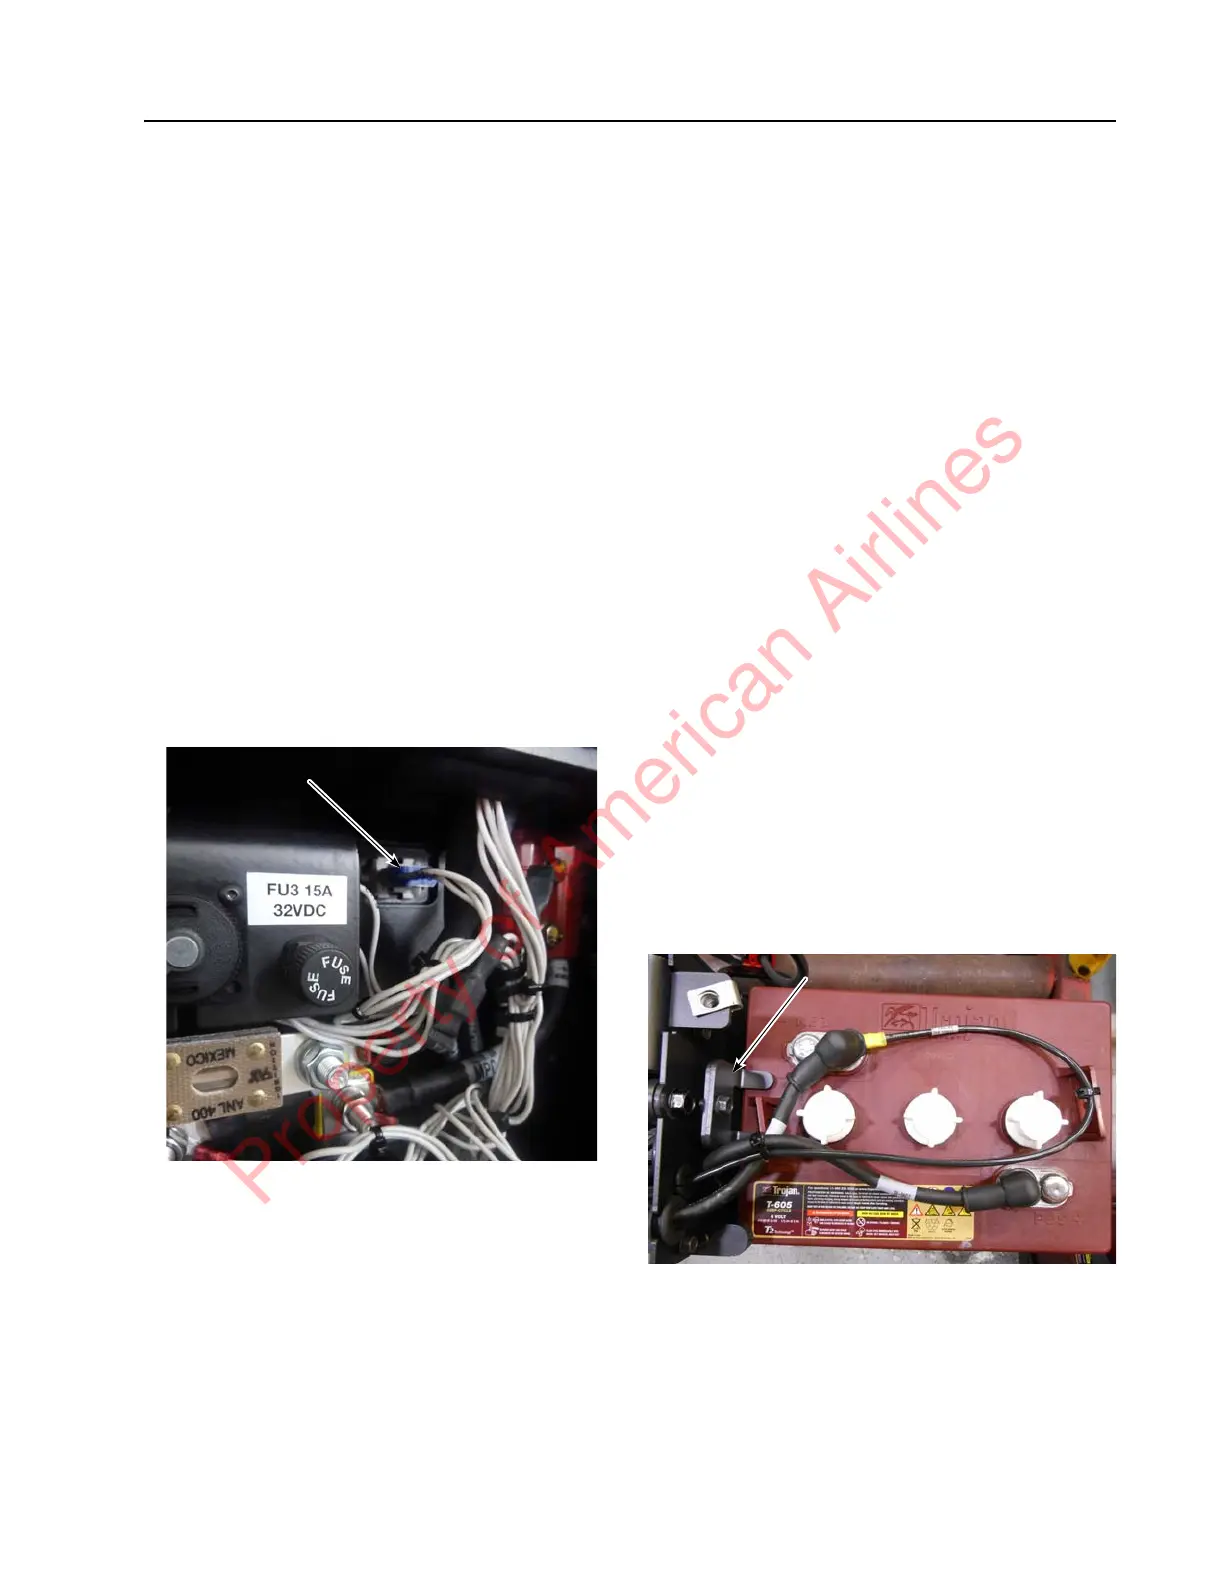
9. The cables may now be disconnected from
the battery terminals and the batteries
may be serviced or replaced if necessary.
See Figure 7-52.
N
OTE: When replacing batteries, make sure all
four batteries are the same type.
Installation (single battery)
1. Position the fully-charged and tested
batteries in the battery pack.
2. Install the battery retention bracket.
Figure 7-51. Battery Retention Bracket Installed
3. Reconnect the battery cables to the battery
terminals in accordance with the battery
wiring hookup shown in Figure 7-52.
Property of American Airlines
 Loading...