Model 8210/8250 Maintenance Manual Section 7. Component Procedures
Hydraulic Components Hydraulic Solenoid
Publication: 1146945/001, Revised: 25 Sep 2018 7-107
Hydraulic Solenoid
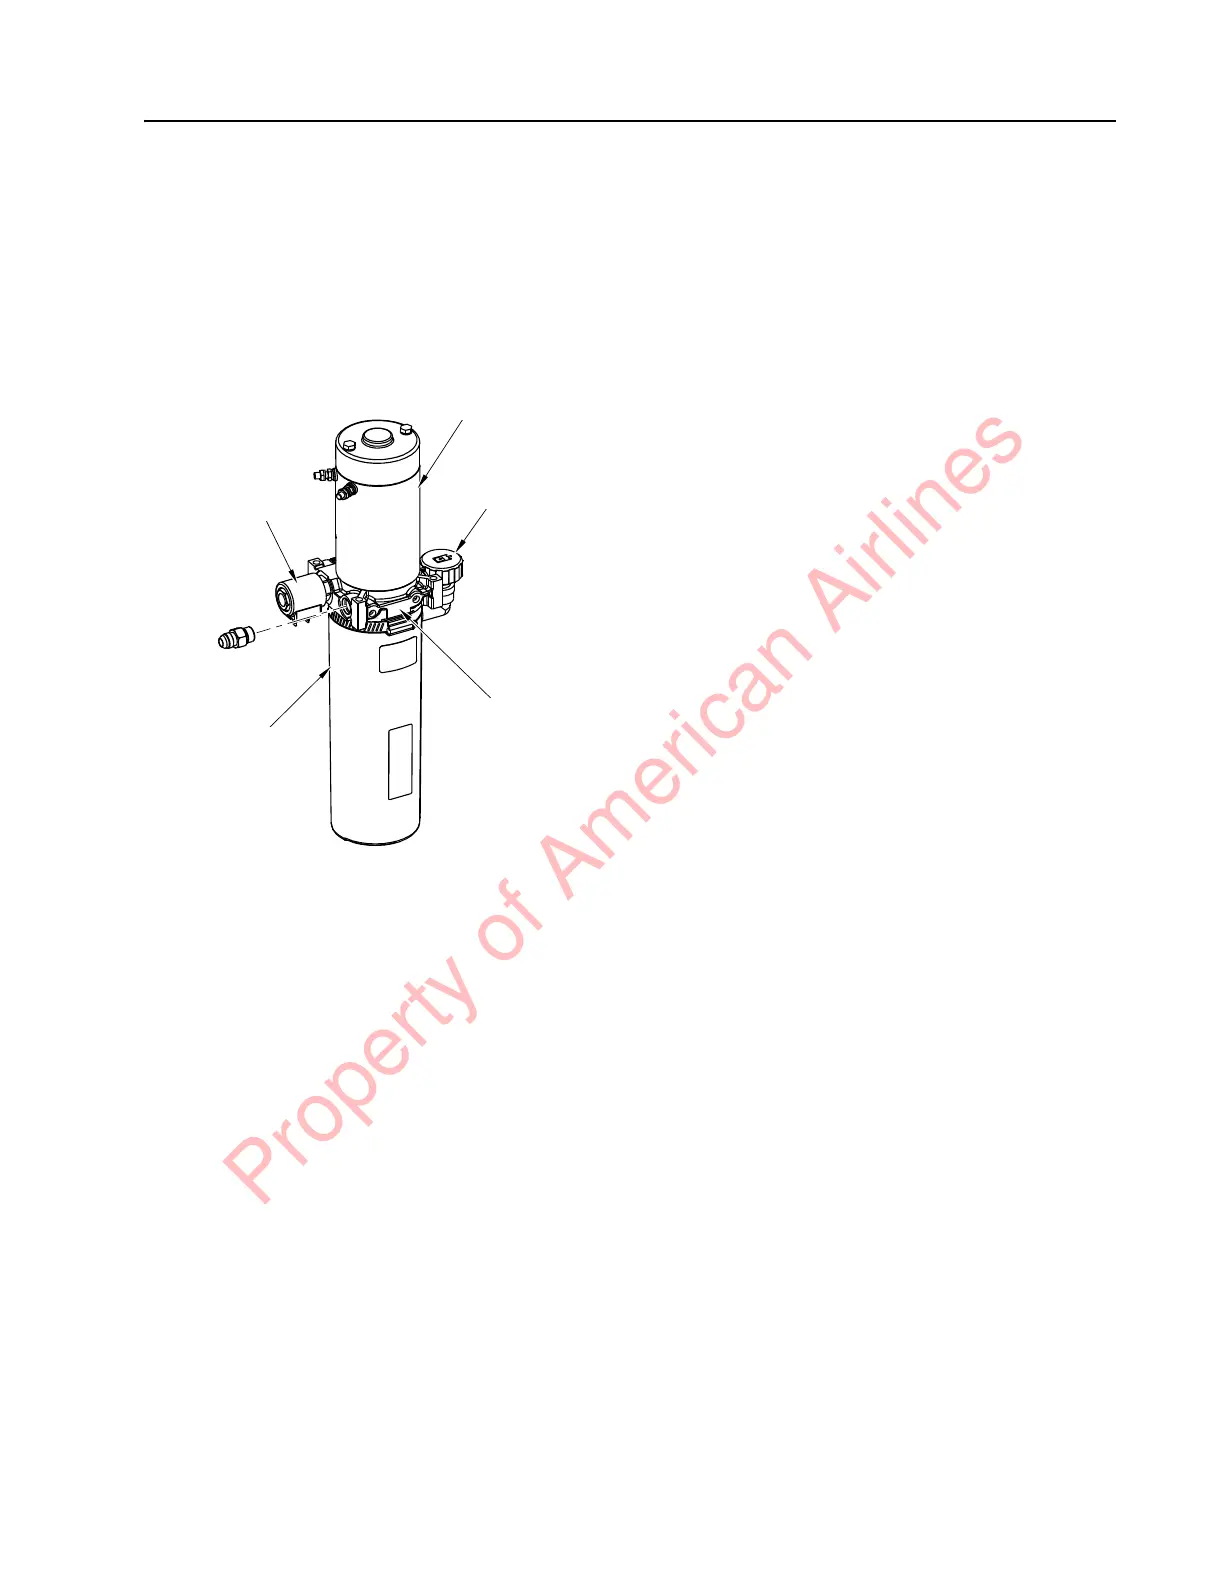
The hydraulic solenoid activates the hydraulic
solenoid release valve that releases pressure on
the lift cylinder, lowering the forks. See
Figure 7-116.
Figure 7-116. Hydraulic Solenoid
Solenoid Removal
1. Make sure that the forks are fully lowered.
2. If equipped with the optional keypad,
press the red OFF ( O ) key. Place the Main
ON/OFF Switch in the OFF position.
Disconnect the battery connector from the
truck.
3. Remove the tractor covers. See “Tractor
Cover Removal” on page 7-8.
4. Remove the main harness bracket. See
“Main Harness Bracket Removal” on
page 7-70.
5. Remove the two wires from the terminals
on the solenoid.
6. Remove the nut holding the solenoid coil
to the solenoid valve.
7. Lift the solenoid coil off the solenoid valve
stem.
8. Remove the solenoid valve stem from the
manifold.
Solenoid Installation
1. Inspect the seat where the solenoid valve
stem seals against the manifold. The
sealing surface must be completely clean
and free from any nicks or damage.
2. Thread the solenoid valve body into the
manifold. Torque the valve body to
216 to
240 in. lb.
(24 to 27 Nm).
3. Install the solenoid coil and tighten the
nut. Torque the nut to 48 to 60 in. lbs.
(5.4 to 6.8 Nm).
4. Connect the wires to the terminals.
5. Reconnect the battery connector. Place the
Main ON/OFF Switch in the ON position.
If equipped with the optional keypad, enter
your PIN-key code and then press the
green ON ( | ) key. Test the functions of
the truck.
6. If equipped with the optional keypad,
press the red OFF ( O ) key. Place the Main
ON/OFF Switch in the OFF position.
Disconnect the battery connector from the
truck.
7. Install the main harness bracket and the
tractor covers.
Lift Motor
Fill/Vent Plug
Adapter Body
Reservoir
Solenoid
Property of American Airlines