1. Mounting and Connecting the Master Station
Issue 06/15 Publication PUB059-002-00 9 of 136
1. MOUNTING AND CONNECTING THE MASTER STATION
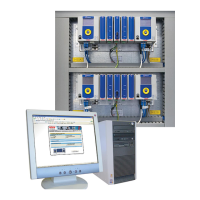
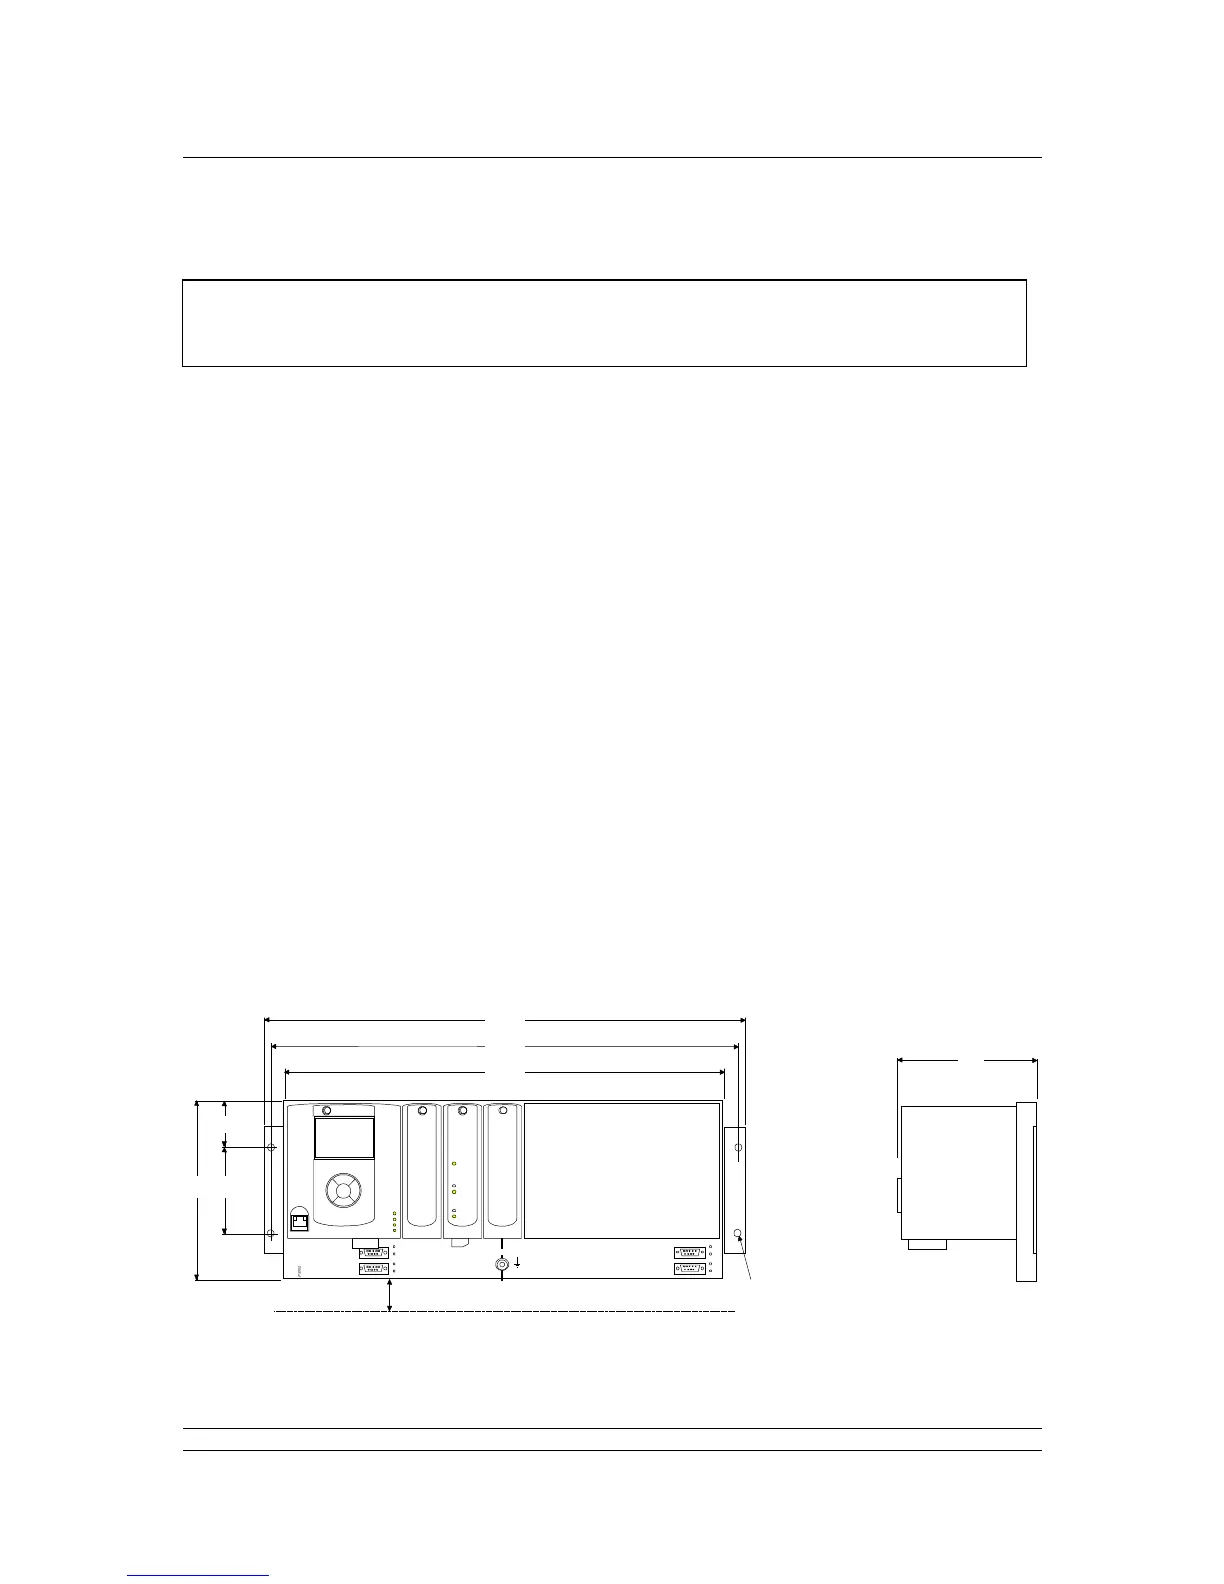
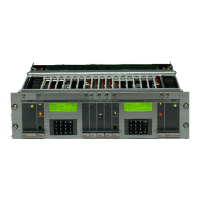
The Pakscan 3 master station (single or hot standby) provides front access for all the user
connections, including power feed and the field network connections – either loop wires to the Current
Loop module (PS720) or network connection to the P3W coordinator (PS721 and PS722). The host
communication links use plug in D-type connectors for the serial communications and RJ45
connections for the Ethernet links.
The field wiring for the current loop, P3W coordinator and the master station alarms are taken
to screw terminals on plug in connectors that are fitted from below their appropriate module.
Power wiring is connected using an IEC connector in the bottom of the master station module
PS710. Two connections are required for a hot standby system.
Serial communications (RS-232 or RS-485) plug into 9 way female D-type connectors on the
front of the mounting chassis.
Ethernet connections use RJ45 connectors on the bottom of the master station module
PS710. The connector on the front is intended for connection to a service laptop computer.
1.1 Mechanical Fixing
Room should be left around the module for all the connections and cables, allowing for a suitable
bending radius on each lead. Power wiring should be suitably fused or protected with miniature circuit
breakers (MCBs) external to the master station.
The master station may be mounted on a flat surface using the mounting brackets provided. Also, the
extension brackets allow it to be mounted in a 19-inch rack. In either case it should be located in a
way that permits easy access to the pushbuttons and easy viewing of the display panel(s).