MRD 3187B - User Manual
Page 12 (245)
1.1 Installation
Cooling
The MRD 3187B is cooled via forced induction through the front of the unit and
exhausted through the vents on either side. The MRD 3187B is equipped with a
temperature controlled status indicator. If the temperature in the inside of the unit
exceeds 70° C the red “Error” LED will illuminate and a description of the error will
appear in the “Error List.”
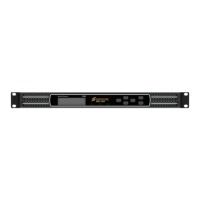
Rack Information
The MRD 3187B is intended to be mounted in a standard 19” rack. It occupies 1RU
of rack space and the connections are all on the rear of the unit.
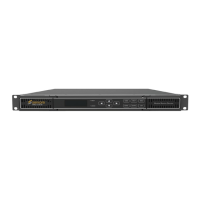
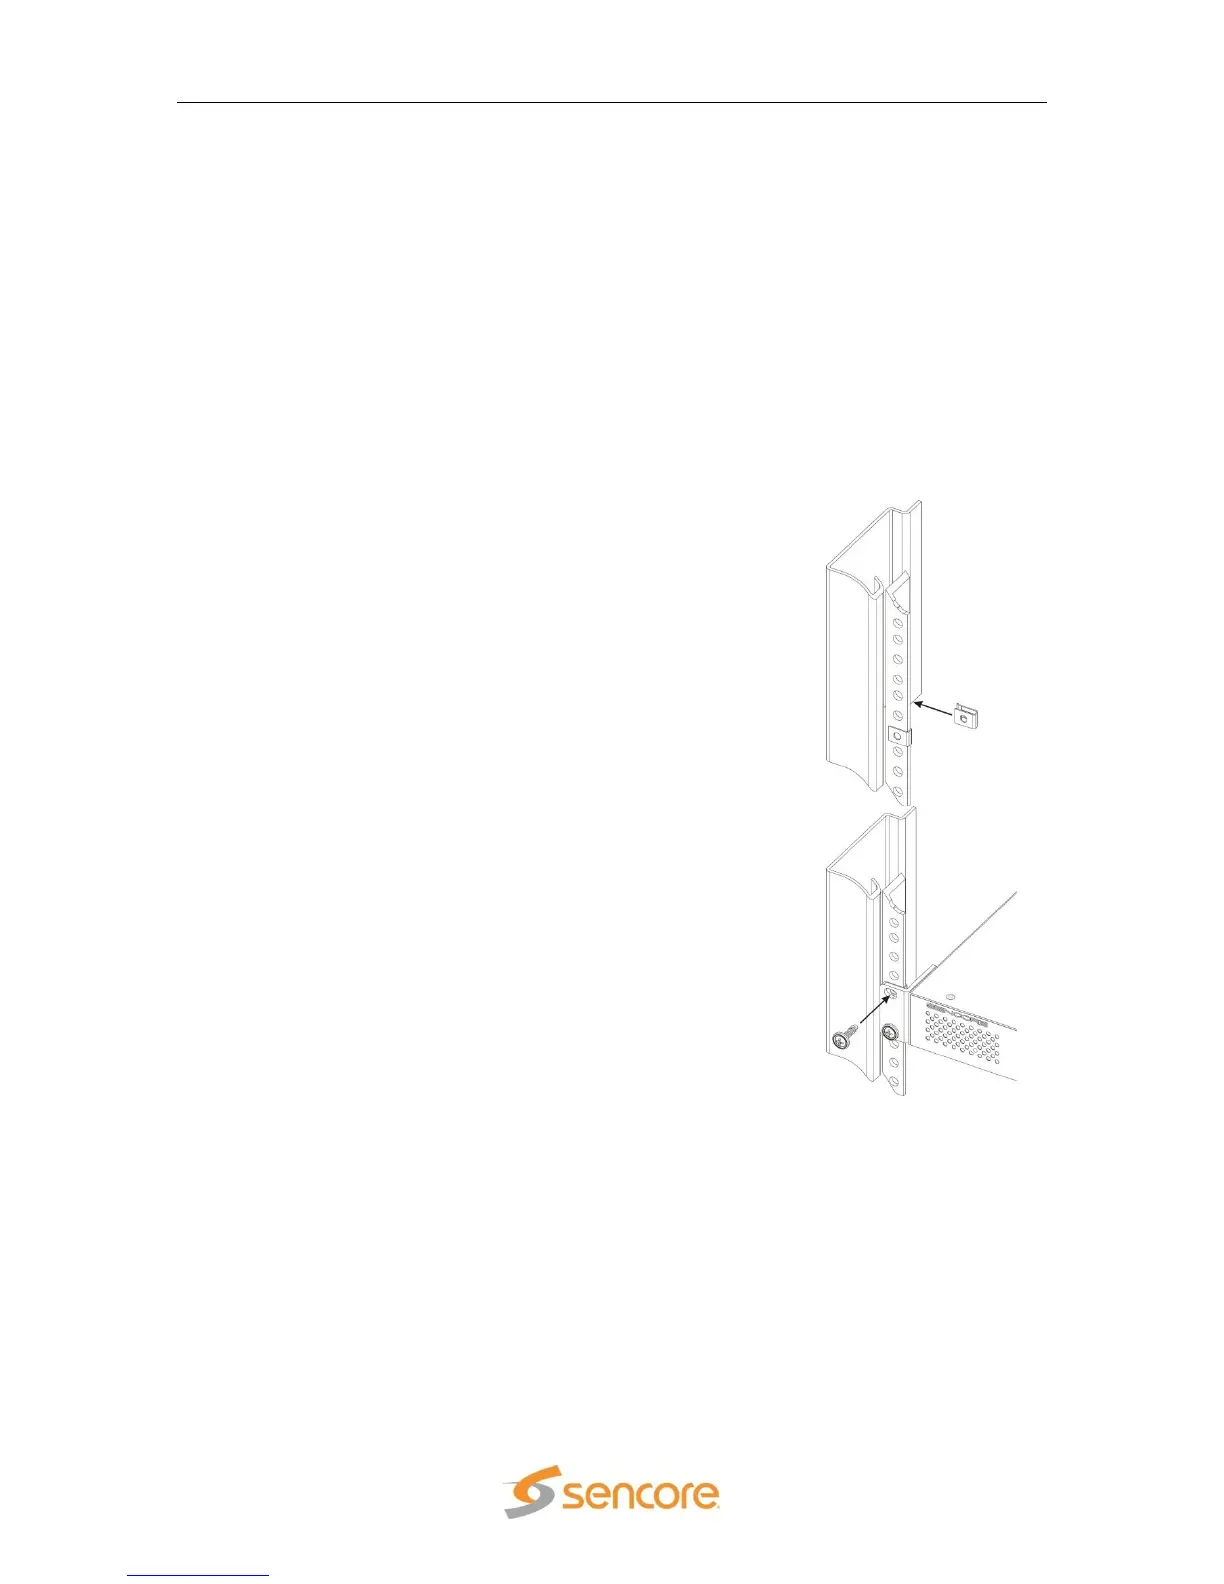
Rack Installation
To install the MRD 3187B into a rack use the following steps:
1. Determine the desired position in the rack for the MRD
3187B making sure that the air intake on the front of the
unit and the exhausts on the sides of the unit will not be
obstructed.
2. Insert the rack mount clips into place over the mounting
holes in the rack.
3. Slide the MRD 3187B into position in the rack.
4. Secure the MRD 3187B to the rack by installing the four
supplied screws through the front mounting holes and
tightening.
Power Connection
Using the proper power connections is vital to the safe operation of the MRD 3187B.
Only use the supplied 3-prong power connector or one with equal specifications.
NEVER tamper with or remove the 3
rd
– prong grounding pin. This could cause
damage to the MRD 3187B, personnel, or property.
AC Power Connection
The MRD 3187B is intended for use on either 120V or 240V systems. The power
supply will automatically detect the system it is connected to. To hook up the power
use the following steps:
1. Locate the AC power cord that was included with the MRD 3187B.