6
263 |
Building Technologies
7. Mount the individual components:
– Processor unit (19", FC2080) at the highest position in the housing
– Desired number of card cages on the carrier (19", card cage) FHA2023-A1
– Switch and socket on carrier (19", power supply) FHA2022A1
– Carrier (19", card cage) FHA2023-A1 and carrier (19", optional) FHA2023-
A1 on the rear panel
– Carrier FHA2022A1 (19", power supply) on the left-hand side
– Battery holder and batteries
– Operating unit and the operating add-on (if present) in the openings of the
door
– Establish the ground connection with the door.
8. Mount the cable duct at the right-hand side wall and the required C rails for
special components.
9. Use the cable ducts to lay the cable.
10. Mount options on the operating unit.
11. Fit the batteries (main switch to OFF).
12. If installed, insert the inscription strips for FT2040 into the operating unit or the
operating add-on.
13. Install removed side walls and ground them at the ground point using the
ground cable.
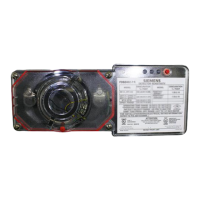
14. Finally, fit the plate with the company logo and the installation plate on the
outside of the control panel housing such that it is clearly legible (EN 54-2
specification). The installation number (No.:) and the date of commissioning
(Date:) must be completed upon commissioning. The installation plate is placed
together with the processor unit.
Figure 140: FC2080 installation plate
a The station is ready for commissioning.
115V / 230V 50...60Hz 10,2 / 5,1A
Fire Safety & Security Products
CH-6301 Zug