8.14 CHECKING AND REGULATING SAFETY MICROSWITCHES
1 ) Switch off the machine and disconnect the power lead.
2) Gain access to the rear compartment (Ch.8.5).
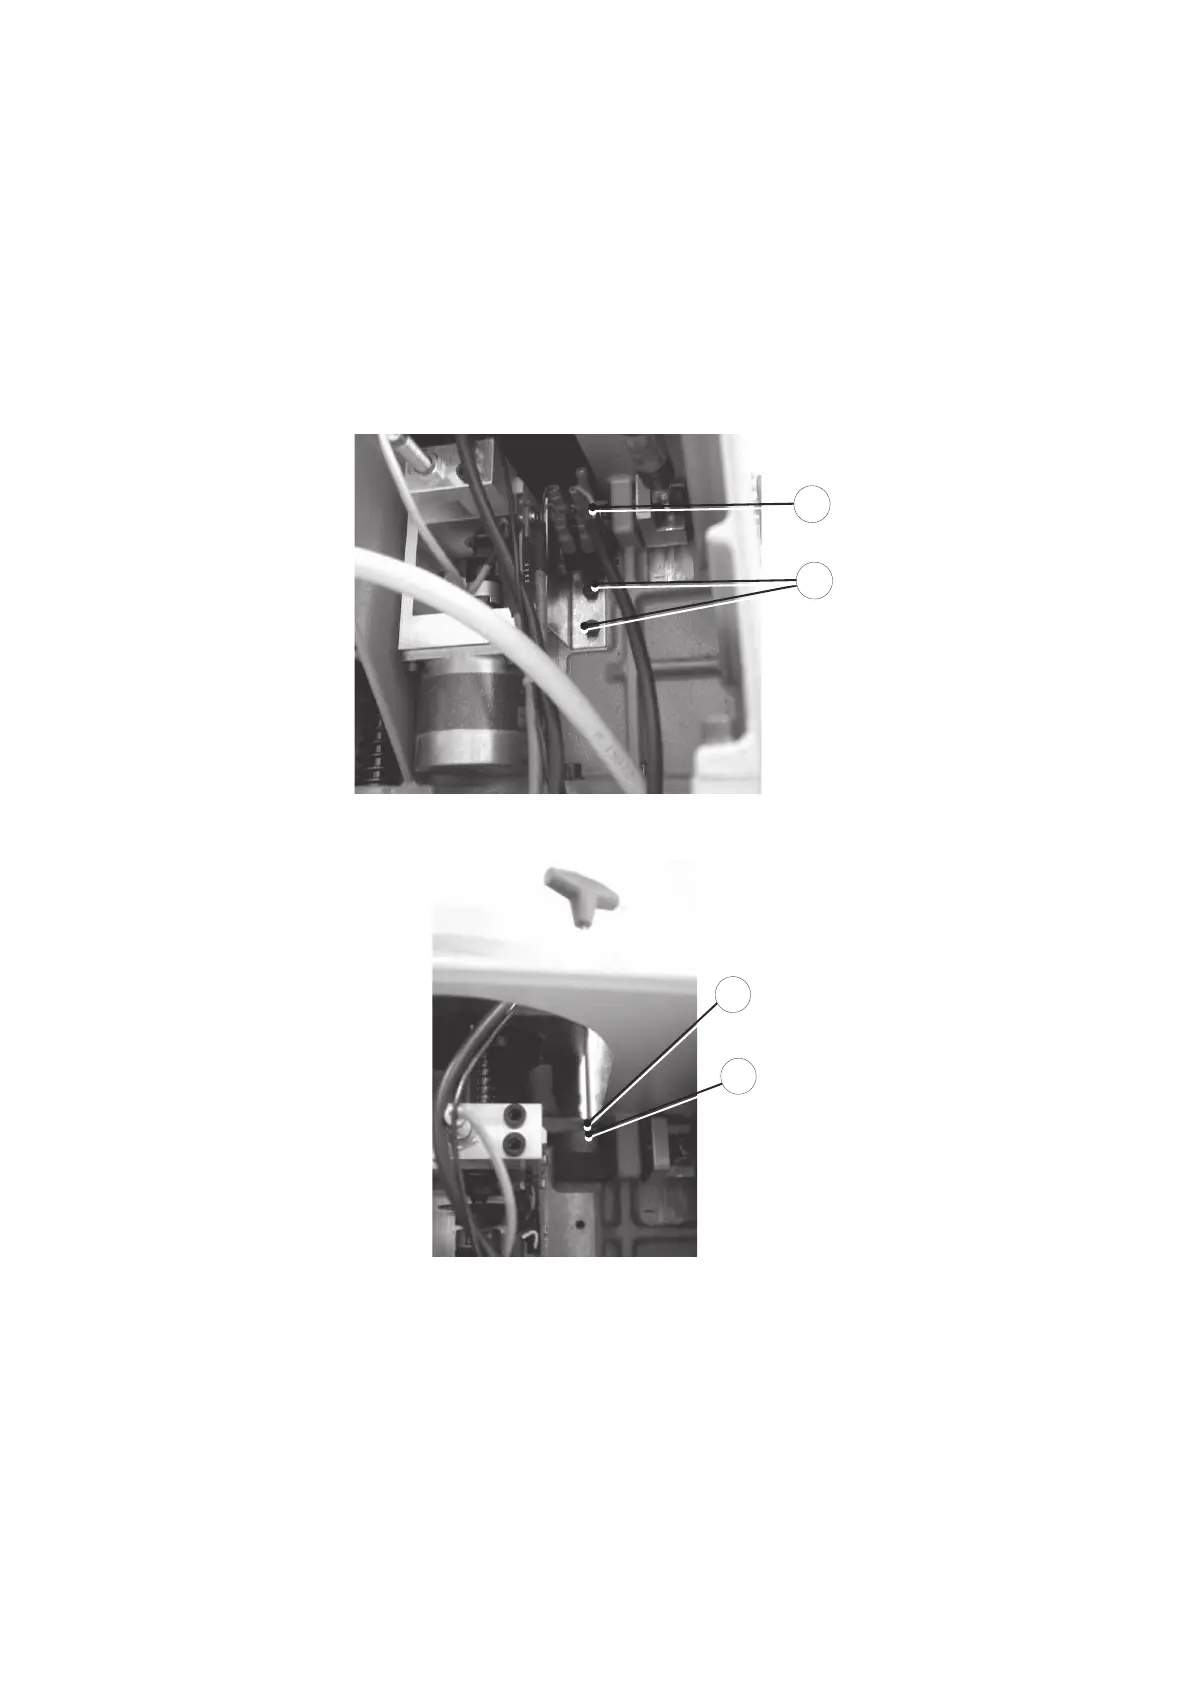
3) Check the wires connecting the two microswitches (J4).
4) Check that the “Digital Inlets-Cover Micro” test is successful.
If not, check that the cam (J6) makes the two microswitches click. If necessary, regulate the cam as follows:
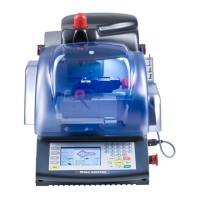
5) Remove the belt cover and lower the safety shield (V).
6) Use the 2.5mm T wrench to loosen the grub screw (J5).
7) Hold the wrench in the seat for the grub screw (J5), turn the cam (J6) until the microswitches click.
Fig. 62
Fig. 63
Operating manual TRIAX PRO
Copyright Silca 2016
95