6.8.3 ENGRAVING PROCEDURE
From the initial screen press F3 to enable the function.
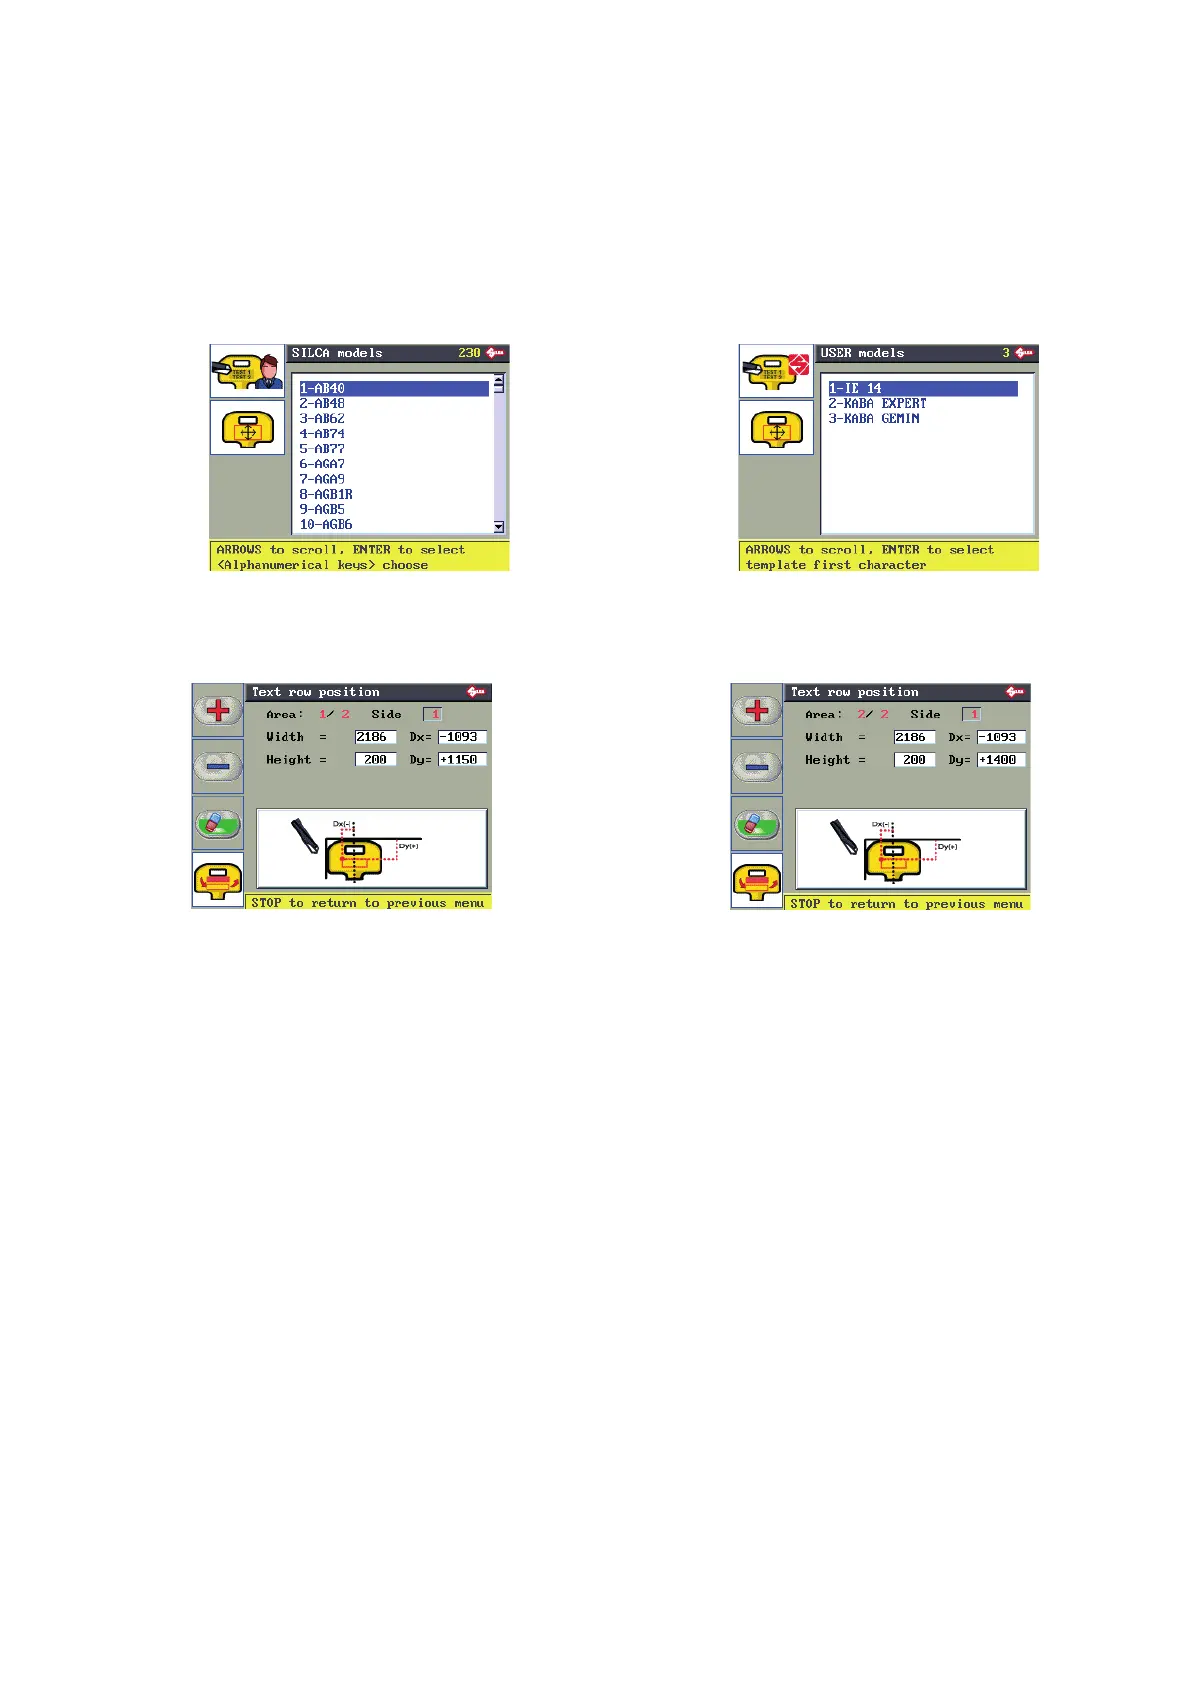
Button F1 (press once or twice):
• List of SILCA templates (installed on machine, only 2 lines can be engraved).
• List of USER templates. User templates can be created only by PC with the “Triax Engraving Program”
provided, then transferred to the machine. This list includes only templates created by the User.
F1 F1
F2 F2
F3 F3
F4 F4
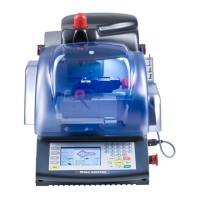
Button F2 views the position and size of the text area on the selected template.
The values shown cannot be edited for SILCA templates.
F1
F1
F2 F2
F3 F3
F4 F4
For user templates only the following values can be edited:
• Dx= X coordinate of the top L/h vertex (see machine display above).
• Dy= Y coordinate of the top L/h vertex (see machine display above).
• Width=width of line (or area) of text.
• Height=height of the line (or area) of text.
F1 increases the value in the selected eld
F2 decreases the value in the selected eld
F3 deletes the value in the selected eld
F4 to go from viewing one area (or line of text) to another (when there are at least 2).
Operating manual TRIAX PRO
Copyright Silca 2016
48