6.4.2 KEY CUTTING
A key is cut through one of these functions:
1 ) Key decoding
2 ) Entering cuts
3 ) Search by indirect code
6.4.2.1 KEY CUTTING BY DECODING
From the Search Menu in use press Button F1 for “Key decoding” (see Ch.6.4.1).
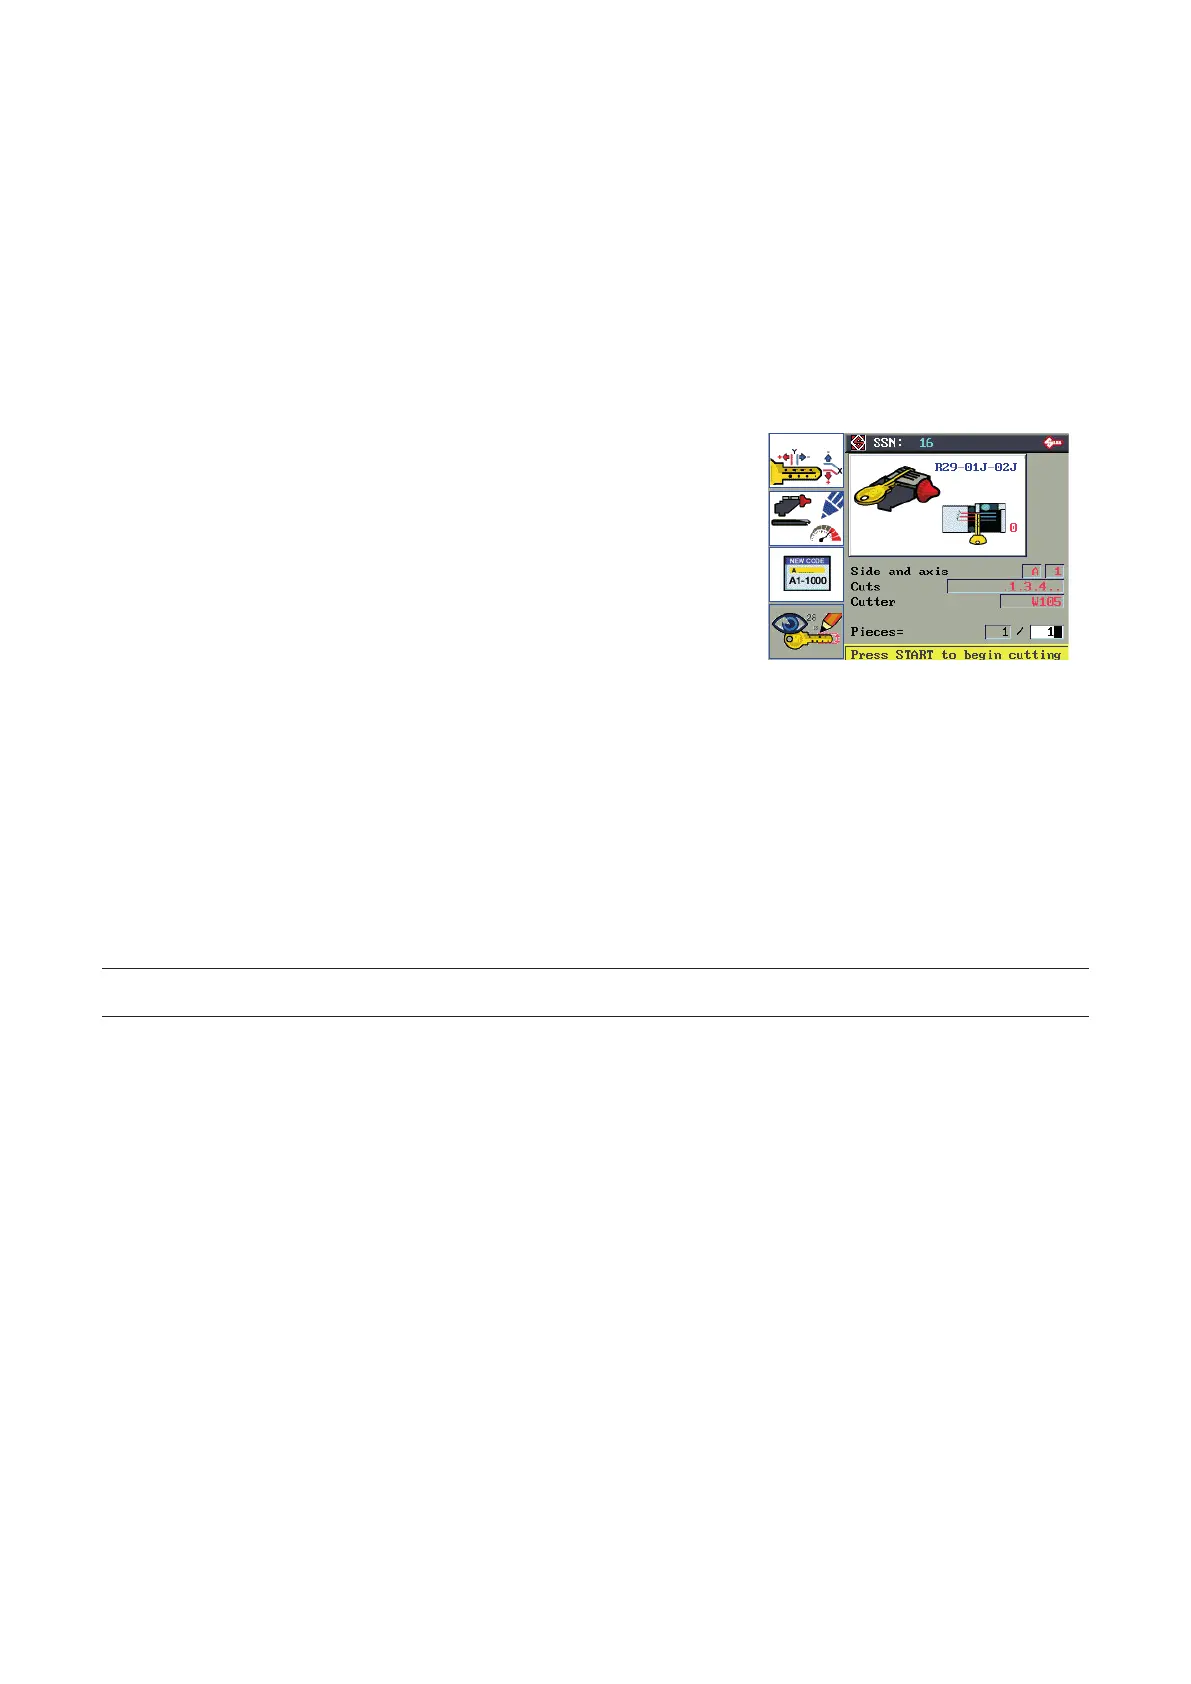
After conrmation of decoding a new window will appear with indications for the cutting stages.
F1 for Manual adjustments.
F2 for User parameters.
F3 for Code entry.
F4 views the values of Key decoding
(see Ch.6.5)
F1
F2
F3
F4
INDICATIONS on Display
SSN:
Silca Serial Number associated to type of key.
Clamp:
Clamp R29-01J-02J to use for securing the key.
STOP position:
STOP 0 for the current type of key.
Side and axis:
Side and axis to be cut.
Cuts:
Combination of cuts on the side and axis selected.
Cutter:
Cutter to use for cutting the side and axis selected.
Pieces:
Number of keys to be cut.
NOTE: if the cutter and/or clamp required are not available, press F2 to check whether the selected cutting
system provides other possibilities.
Key cutting PROCEDURE
• Raise the safety shield.
• Remove the original key.
• Raise the Tracer Tower.
• Fit the required cutter.
• Clean the calibration plate and clamp and t the key blank in line with the STOP indicated.
• Lower the safety shield.
• Enter the number of pieces (keys) to be cut.
• Press START to begin cutting.
When the rst side has been cut, the display will ask for the key to be turned over before continuing.
Pay attention to the side required.
When you have carried out the instructions, press START to continue.
Operating manual TRIAX PRO
Copyright Silca 2016
34