6.12.1 CLAMP CALIBRATION
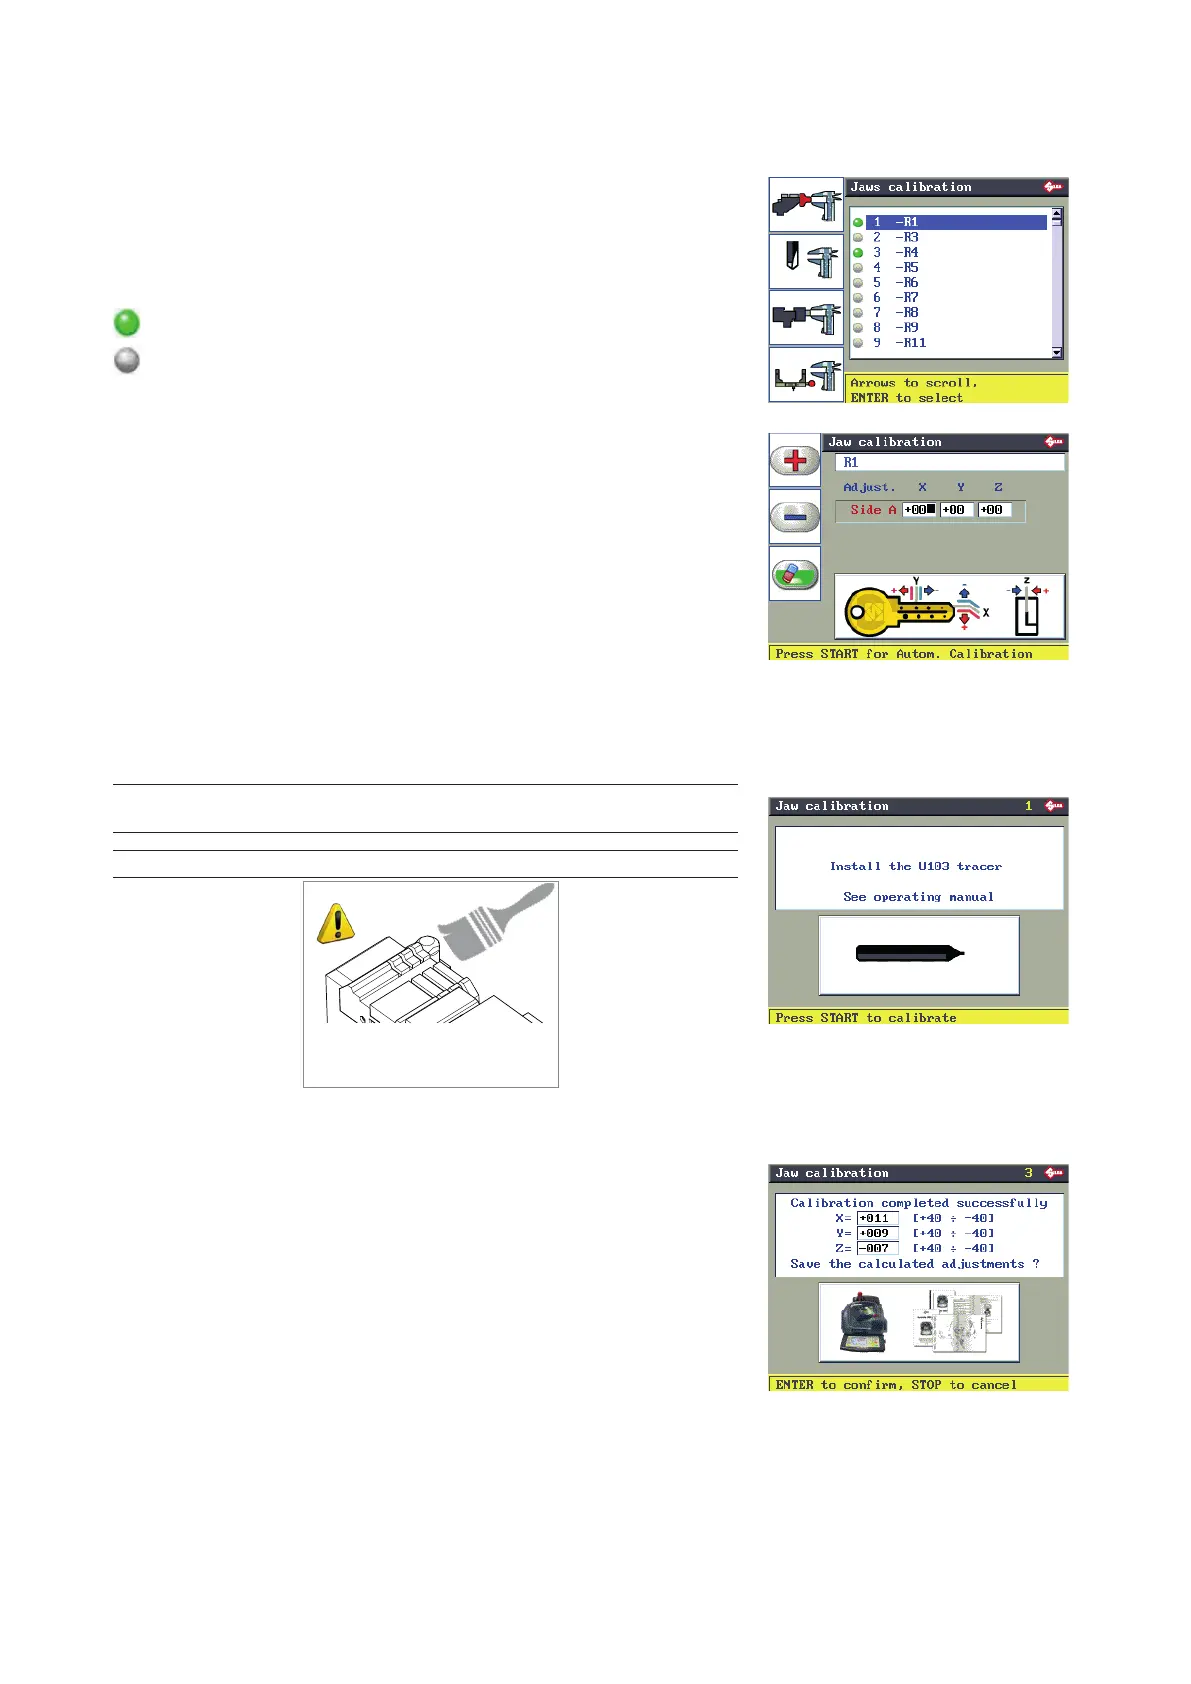
F1 to access the list of clamps provided by Silca.
Select the clamp to be calibrated.
Press ENTER.
GREEN: indicates that the clamp has been calibrated;
GREY: indicates that the clamp is not calibrated,
F1
F2
F3
F4
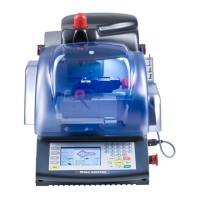
Press START to proceed with automatic calibration.
Press ENTER, the display will show the message on the right here.
Make sure tracer point U103 is tted.
NOTE: before proceeding to calibrate clamps with ...J jaws make sure
the jaws are completely closed.
NOTE: Carefully clean the clamp and calibration plate
ATTENTION!
Eliminate swarf from the
calibration plate and clamp.
Press START to proceed with calibration.
When calibration is nished the display shows the differences in the
values read.
Calibration will be accepted only if the size of the variations is between
+40 and -40 hundredths of millimetre.
Press ENTER to conrm.
Operating manual TRIAX PRO
Copyright Silca 2016
58