14 Probes and Biopsy
Basic User Manual 141
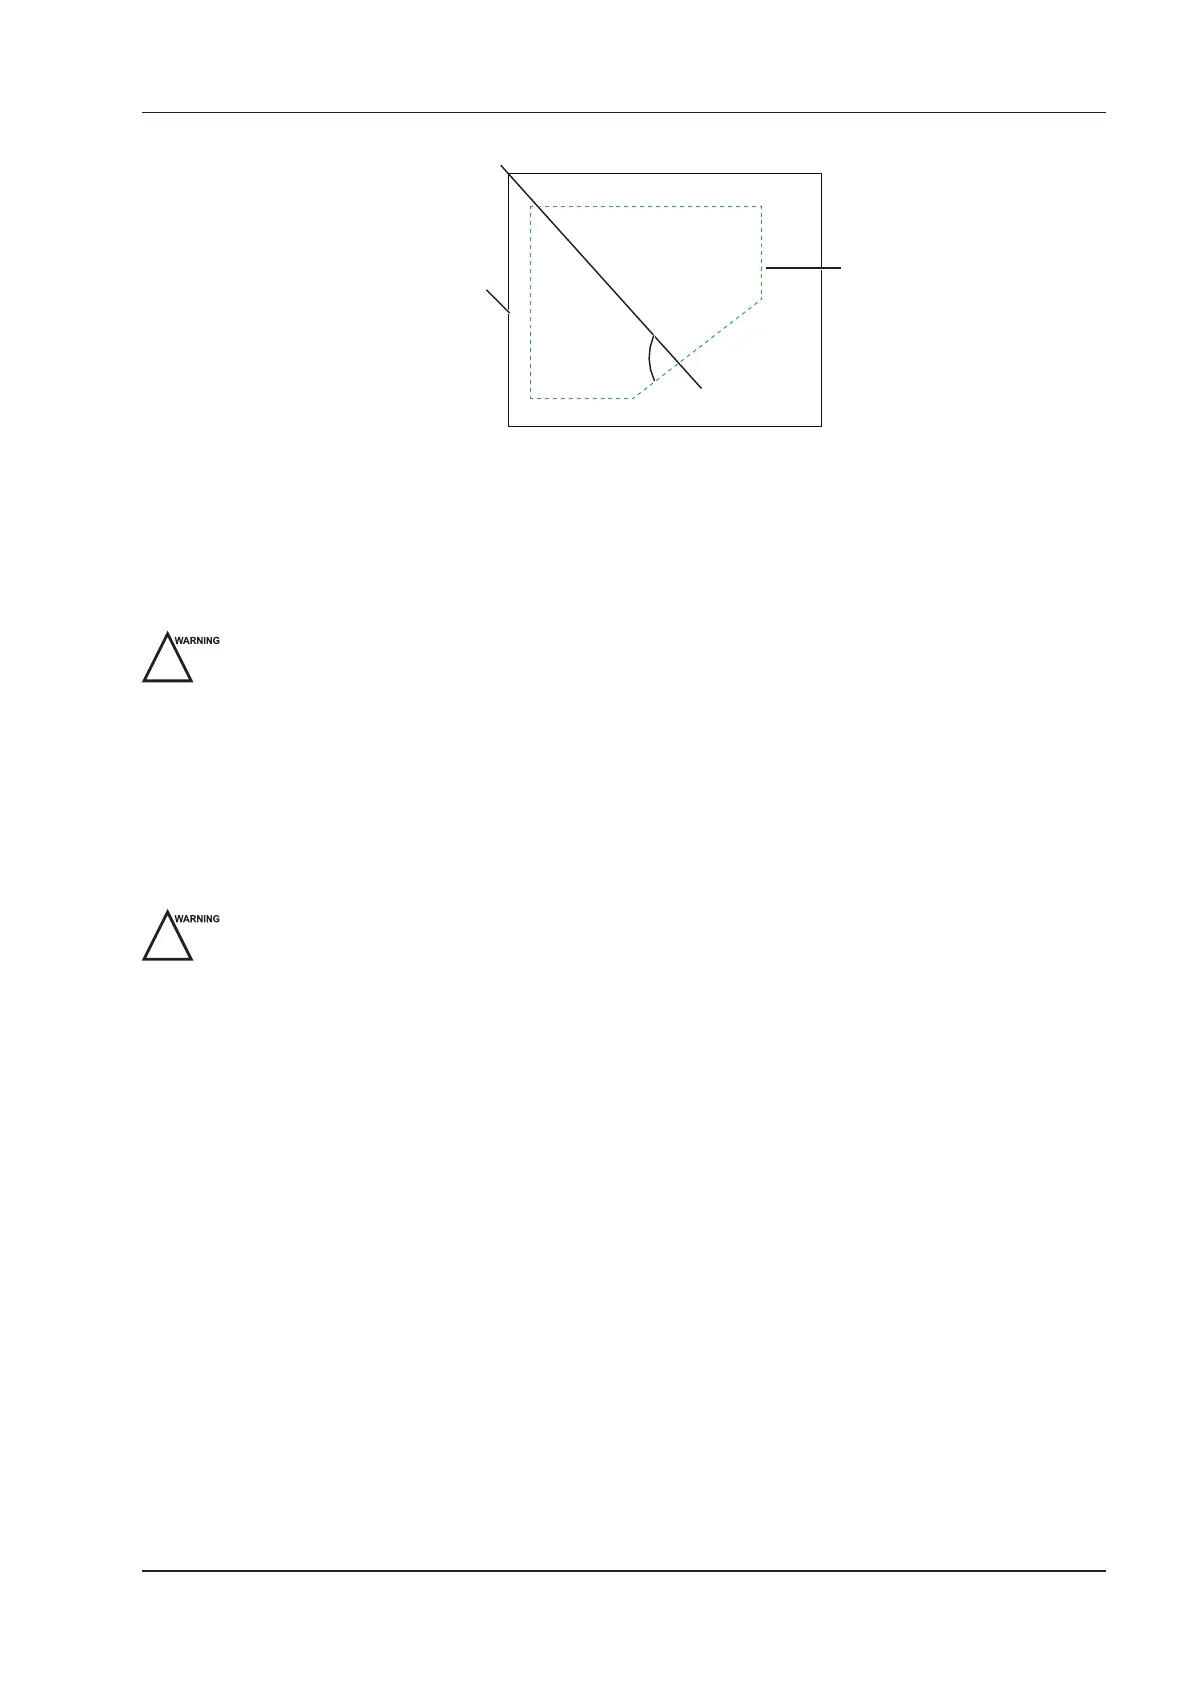
a
Biopsy Needle
Region Line
−
Tap
SteerAngle
to adjust the angle of the biopsy enhanced region line. The more closely to 90° of angle a,
the stronger brightness of the biopsy needle.
−
Tap
Dual Live
to enter the dual split display for better observation.
6. Gently remove the probe from the patient after completing the biopsy.
14.2.6 Cleaning the Biopsy Bracket
Clean the biopsy bracket after each use.
Wear medical sterile gloves and protective goggle during the cleaning.
Perform the following steps:
1. Disconnect the probe from the system, and remove the biopsy bracket and biopsy guide tube from the probe.
2. Brush and rinse the bracket with an enzymatic cleaner to remove any residue.
3. Dry the bracket with a lint-free soft dry cloth.
14.2.7 Sterilizing the Biopsy Bracket
Disinfect the biopsy bracket after each use.
Use the liquid sterilant that meets with local laws and regulations.
If you use the recommended sterilant, ensure the requirements for the sterilant level and probe soaking period
are met. Otherwise, the biopsy bracket could be damaged and your warranty might be void. If you have further
use or needs for the probe, ensure the level of the make-up sterilant and the biopsy bracket soaking period are
suitable for the intended clinical application.
Store the biopsy bracket in a sterile environment and review its expiration date before use.
Do not sterilize the biopsy bracket with any ethylene oxide.
Do not allow any sterilant to be air-dried on the biopsy bracket.
Perform the following steps:
1. Clean the biopsy bracket.
For details, refer to Section 14.2.6 Cleaning the Biopsy Bracket.
2. Sterilize the biopsy bracket as shown in Table 14-5 until the recommended soaking period expires.
3. Rinse the bracket with the running sterile water to remove the residual sterilant completely.
4. Dry the bracket with a lint-free soft dry cloth.