4 Customizing Your System
Basic User Manual 43
Item Description
Send After Every Image
Stored
Tick this item and the system sends an image to the DICOM storage server every
time the image is saved.
Send At End of Exam Tick this item and the system sends all saved images to the DICOM storage server
after the exam is completed.
2D Compression Select the compression format of image stored to DICOM storage server.
2D JPEG Quality Select the quality of image in JPEG format stored to DICOM storage server.
Cine Compression Select the compression format of cine stored to DICOM storage server.
Cine JPEG Quality Select the quality of cine in JPEG format stored to DICOM storage server.
Click Echo to verify the connection between the system and the server after you input the settings. A summary
displays if the connection is veried.
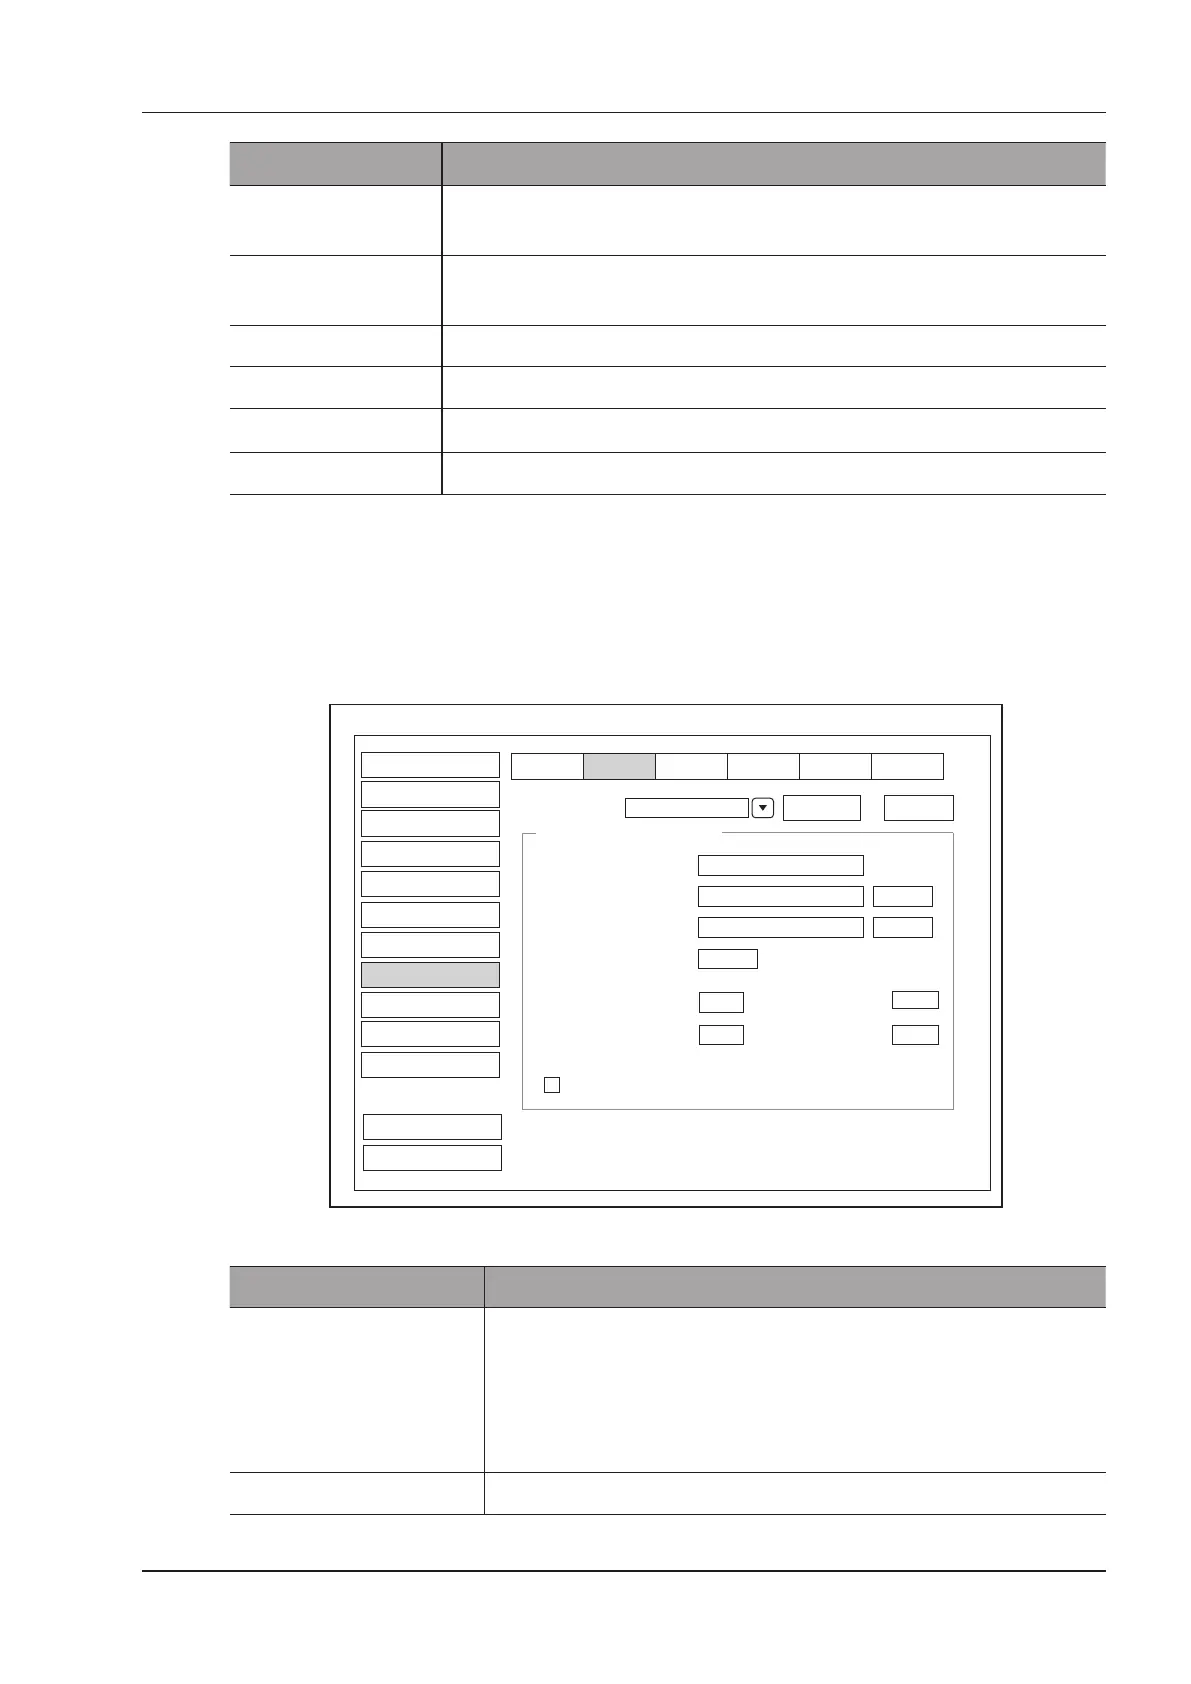
4.8.2 Commitment Settings
You can connect the system to the DICOM commitment storage server and adjust the relevant settings on the
Commitment Storage tab.
Delete
Add
DICOM Storage Commitment
System Setting
Store
C-Store
Worklist
Print QR ListMPPS
Service List
StoreCommitment
Synchronously Receive N-EVENT-REPORT Message
StoreCommitment
Peripheral
General
Comment
Measure
DICOM
Load Default
User Security
About
Save&Exit
Exit
Bodymark
Report
Touch Screen
Remote HostName
Port Number
105
Connect Timeout(sec)
10
Repeat Count
2
Dimse Timeout (sec)
10
Acse Timeout (sec)
30
Ping
Echo
IP Address
192.168.254.104
DICOM AE Title
AE
Figure 4-17 DICOM Settings Menu - Commitment Storage Tab
Item Description
Service List Select the DICOM commitment storage server.
●
Select Append from the drop-down list beside Service List, input the
relevant parameters information and click Add to add a new server.
●
Select any server from the drop-down list and click Delete to delete the
server.
Remote Host Name Set the name of the DICOM commitment storage server.