8 Contrast Imaging
94 Basic User Manual
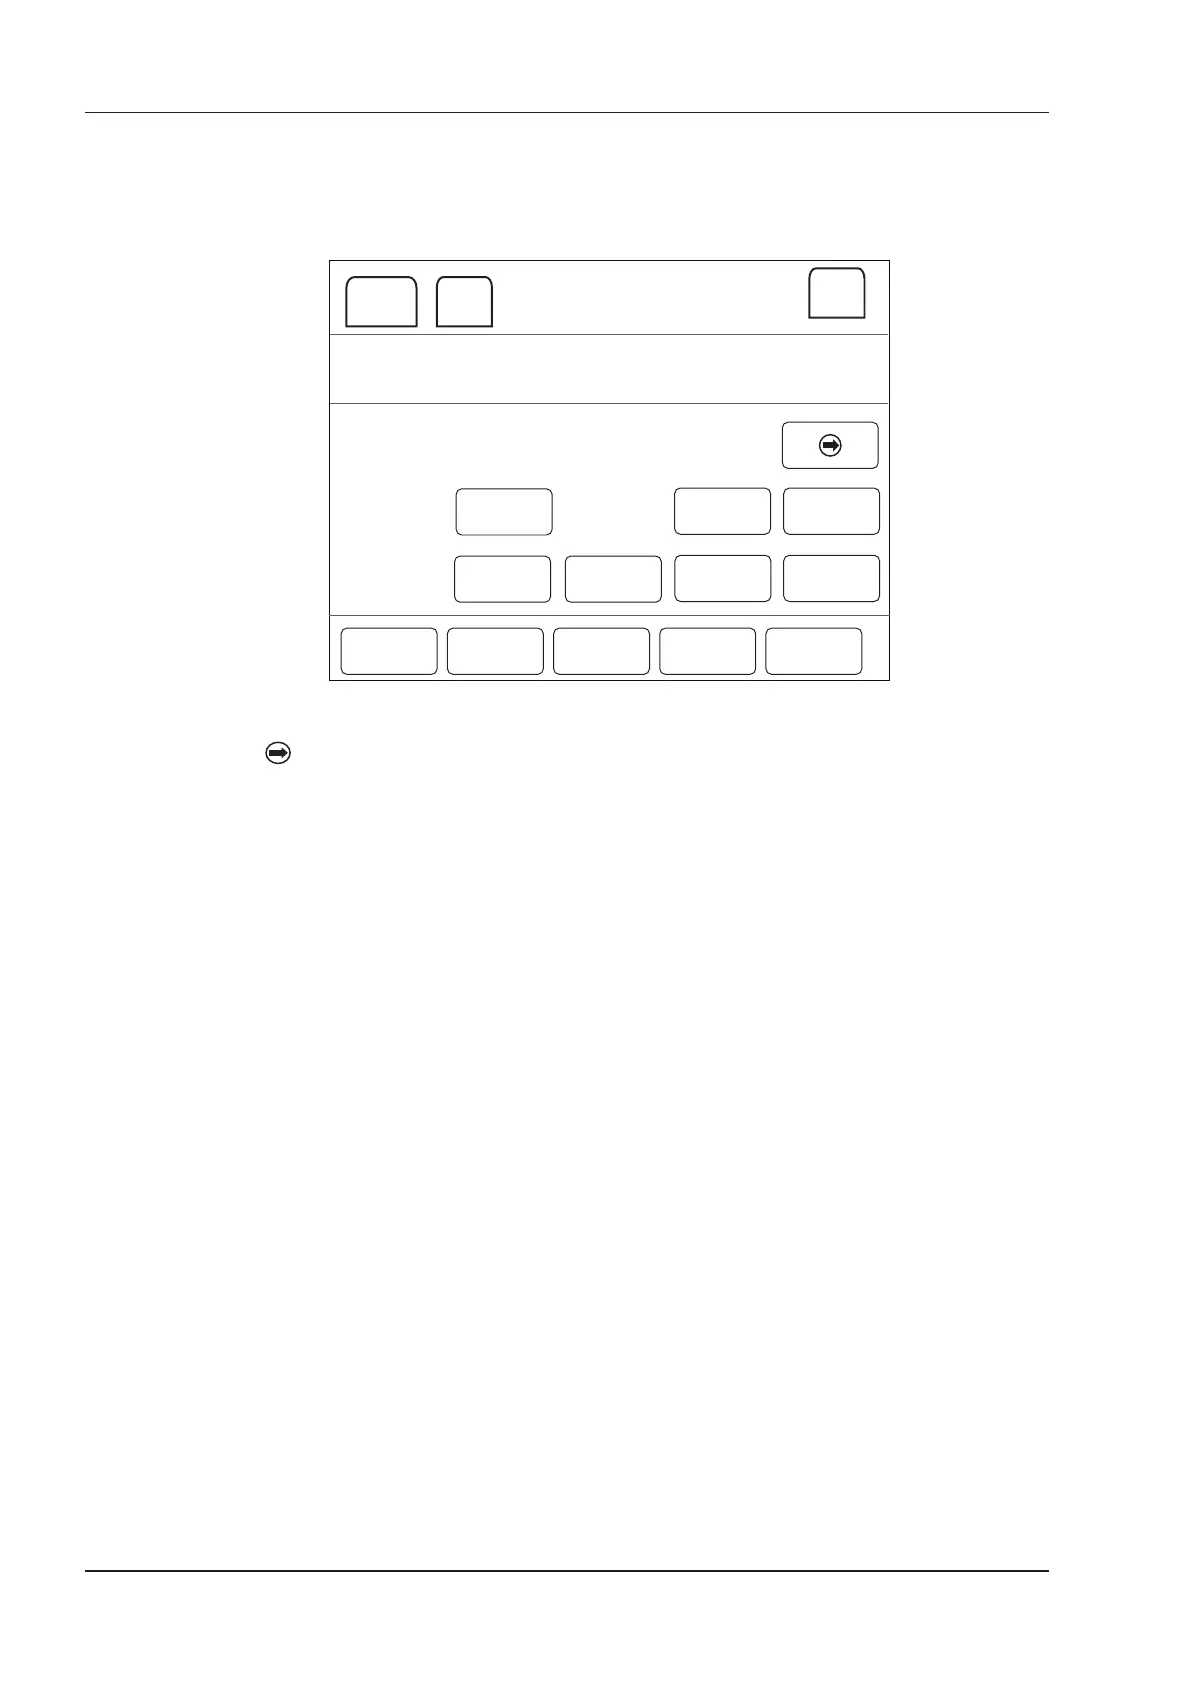
8.2 Optimizing Contrast Images
The touch screen displays all controls related to the contrast imaging (as shown in the gure), you can use them to
optimize contrast images.
3.4-5.0
50
1.0s
DYN
220
Focus
Timer1
Off
R
R
Timer2
Off
Single View
Dual View
Flash
Frequency Flash Power Flash Time
Contrast Tissue
Exit
Figure 8-2 Contrast Imaging Parameters Menu
You can tap on the touch screen to turn the current menu to the previous or the next page if it displays over one
page.
You can also tap
Contrast
or
Tissue
to make settings of the relevant tab.
To optimize the image by using controls in the following instructions:
●
Tap the left or right part of an item to adjust the parameter, the value displays at the bottom of the item.
●
Or, rotate the knob on the control panel that is directly below the selected item to adjust the value.
NOTE:
All parameters can only be adjusted in a real-time contrast imaging, but
F By F
,
Cine Speed
,
Chroma
and
Gray Map
can also be adjusted in the frozen mode. Only settings of
Gain
,
Flash Power
and
Flash Time
are detailed in this section, for settings of other parameters, refer to 6.2.2 Optimizing B-Mode Images.
8.2.1 Gain
Contrast imaging gain determines the amplifying factors for the received echoes and the brightness of the
ultrasound image. The echoes are amplied with the same gain value regardless of depth.
To adjust the gain:
●
Rotate the
CFM
knob to adjust the gain of contrast image.
●
Rotate the
B
knob to adjust the gain of THI image.
8.2.2 Flash Power
Flash power allows you to select the maximum transmit power level produced by the transducer in the contrast
imaging.
To adjust the ash power:
Tap the left or right part of
Flash Power
to make the setting.
8.2.3 Flash Time
Flash time allows you to set the transmit duration of high-voltage pulse.