97
9
3D Imaging
3D imaging allows you to see width, height and depth of the anatomical structure. 3D imaging can be performed
by all probes, but the quality of the images is closely related to 2D imaging.
3D imaging mainly applies to obstetric exams, and can be used to see the three dimensional volume image of the
internal organs or a fetus.
9.1 Acquiring 3D Images
The following description uses 3D imaging performed with the VC6-2 probe as an example.
Perform the following steps to acquire 3D images.
1. Enter the patient information, select the VC6-2 probe and an exam type (such as the obstetric exam used
throughout this chapter) to enter the B mode.
2. Optimize imaging parameters in the B mode.
3. Apply adequate gel on the patient.
4. Acquire a B-mode image of high quality.
5. Tap
3D/4D
on the touch screen to enter the inactivated 4D mode.
NOTE:
• When using a volume probe, you can set the default inactivated 3D or 4D mode. For details, refer to
Section 4.1.4 Dened-Key Settings.
• When using a non-volume probe, you should press the
Freeze
key and tap
FreeHand 3D
to enter the
inactivated 3D mode.
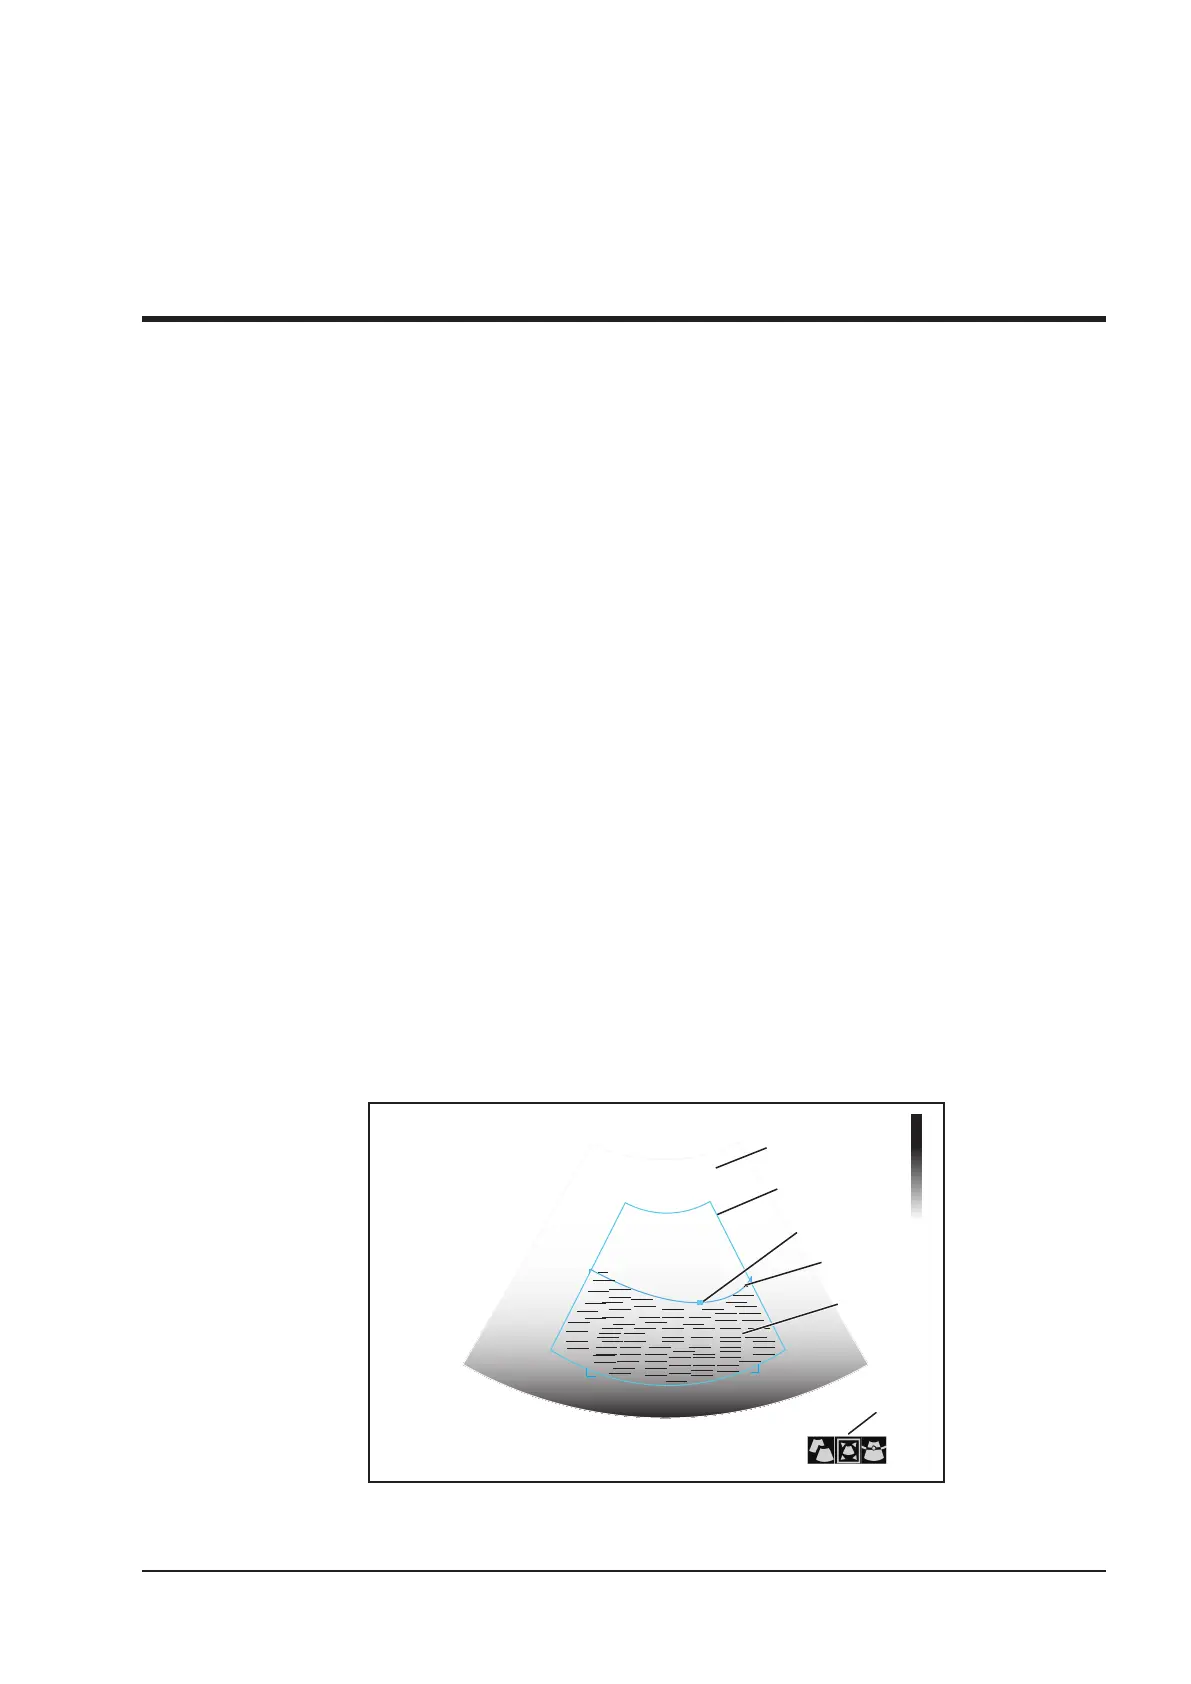
6. Tap the 3D tab to enter the inactivated 3D mode.
The 2D imaging with ROI and sample line is displayed in the inactivated 3D mode, only the data in ROI is
acquired for 3D imaging.
ROI
Sample Line
Sample Volume
Anchor
2D Imaging
FPS 47
D/G 3/1
GN 255
I/P 3/30
PWR 70
FRQ 3-4.8
D 16.5cm
Angle 4
Status Icon
Figure 9-1 Inactivated 3D Imaging Screen