19
3
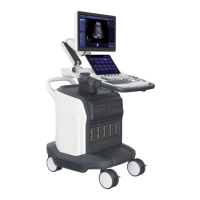
Preparing the System
System preparation is necessary performed before using the system. The preparation includes but is not limited to
moving, positioning or adjusting the system, connecting the probe and the peripheral devices..
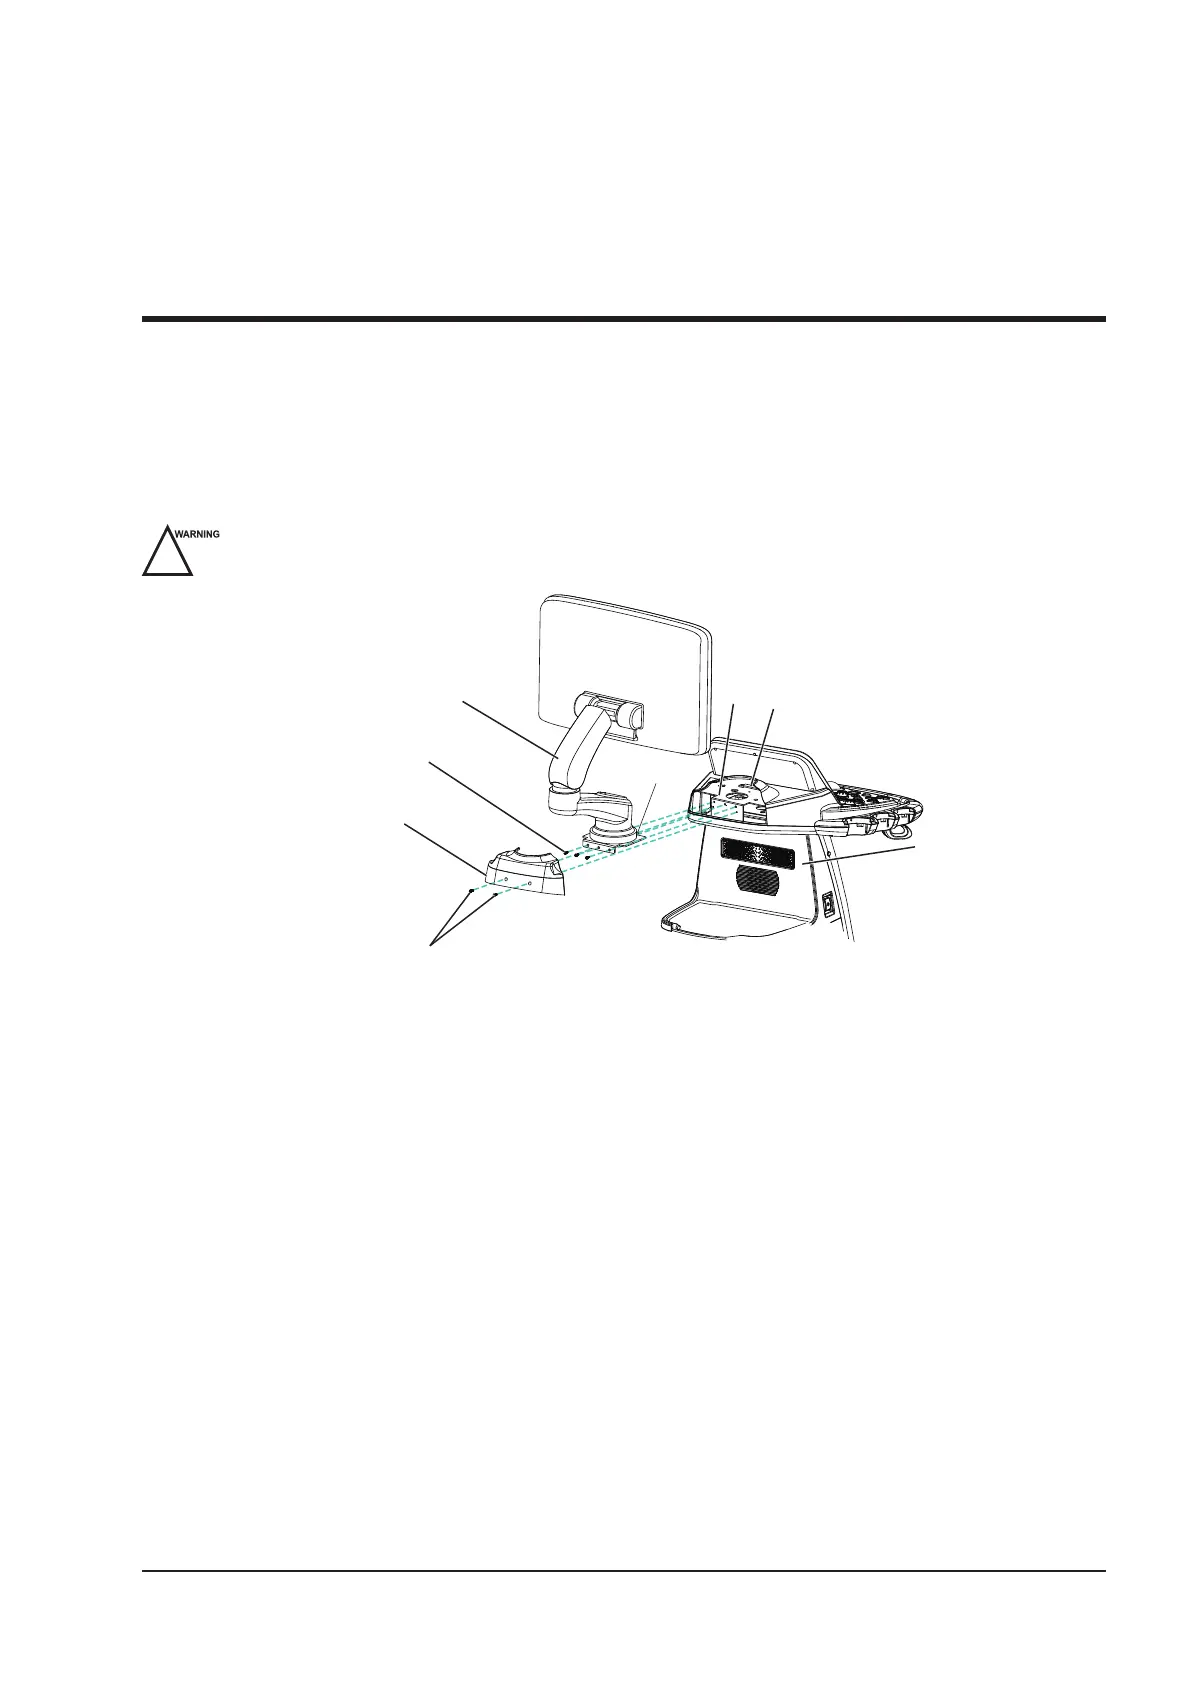
3.1 System Assembly
Only service personnel authorized by the manufacturer can assemble the system. Ensure the system is firmly
assembled before it is powered on.
1
2
3
4
8
5
7
6
Figure 3-1 System Assembly
1 M3×8 Screws
2 Control Panel Back Cover
3 M4×10 Screws
4 Monitor Arm
5 8 Main Unit
6 Fixing Board
7 Cable Trough
8 Fixing Bracket
Perform the following steps to assemble the system.
1. Take out the back cover of the control panel by removing two M3×8 screws with a cross screwdriver.
2. Remove M4×10 screws from monitor arm by using a cross screwdriver.
3. Place the xing board on the xing bracket, and x it by using three M4×10 screws.
4. Plug VGA signal cable and power supply cable into corresponding sockets on the xing bracket.
5. Install the back cover of the control panel by fastening two M3×8 screws.