4-16
920011-649 Operator Manual Processing Instructions
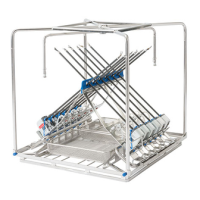
Following the loading in the endoscope processing support, connect
leak test hoses 1 and/or 2 to endoscope(s) as follows:
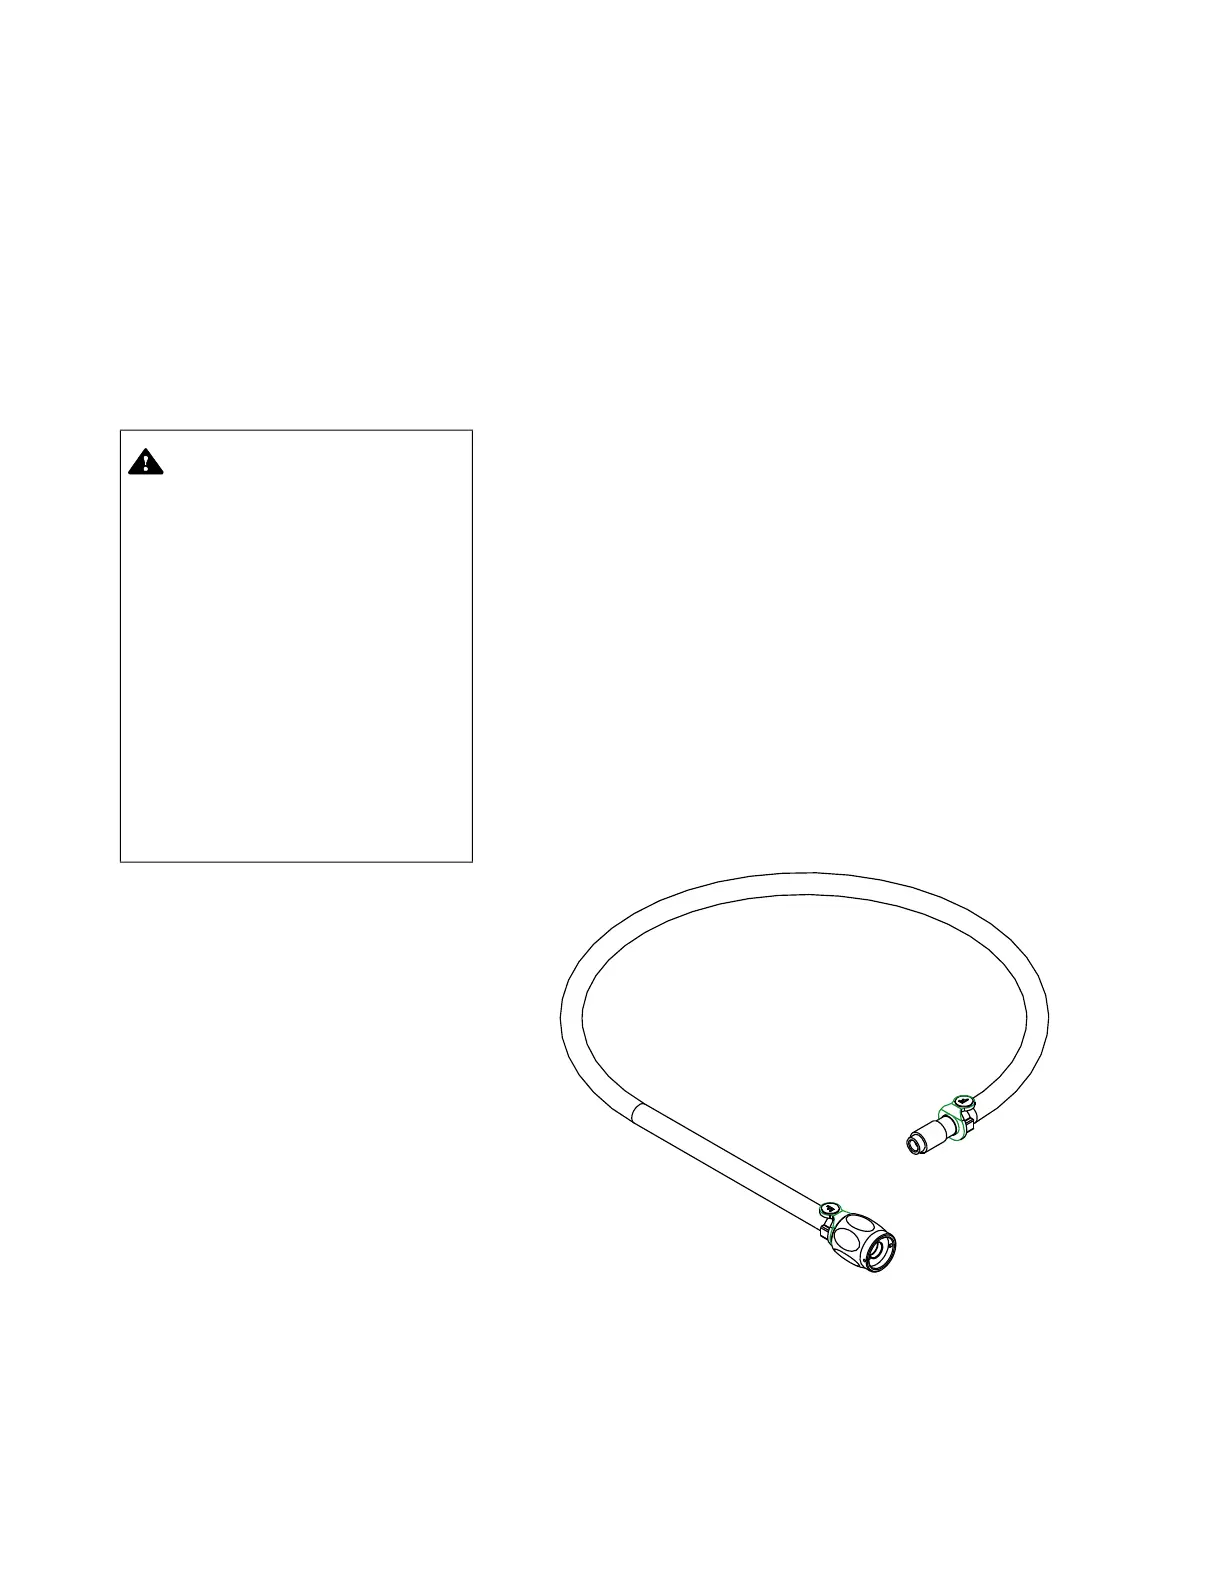
1. Identify endoscope(s) manufacturer.
2. Select appropriate leak test hose(s).
For example, leak test hoses are identified "O" for use with
Olympus
®
endoscopes, "P" for use with Pentax
®
endoscopes or
"F" for use with Fujifilm
®
endoscopes (see Figure 4-16).
3. Slightly shake chamber flexible connections which are intended
to be used so any water droplets, remaining from preceding
cycle, do not get trapped when connecting leak test hoses.
4. To connect quick connect extremity of leak test hose(s) to
flexible connection(s) labeled 1 and/or 2, proceed as follows:
a. With one hand, hold quick connect extremity of leak test
hose (see Figure 4-17).
b. With other hand, press flexible connection into quick
connect. Quick connect locking sleeve moves forward and
locks automatically (see Figure 4-17).
IMPORTANT: Only endoscopes with a leak test port on the
light guide cable can be leak tested.
5. Connect other extremity of leak test hose(s) to endoscope leak
test port(s) (see Figure 4-18).
6. Insert Reliance dry chemistry container and STERIS
chemical indicator strip in endoscope processing support
(see S
ECTION 4.5, INSTALLING RELIANCE DRY CHEMISTRY
CONTAINER, and SECTION 4.6, INSERTING STERIS CHEMICAL
INDICATOR STRIP, for details).
CAUTION – POSSIBLE EQUIPMENT
DAMAGE: Remove any
automated leak test hoses
present in endoscope
processing support before
performing a D-SHORT or a D-
LONG cycle. Performing a
decontamination cycle (D-
SHORT and D-LONG) with
automated leak test hose
assemblies present may cause
water to enter hoses. Inspect
leak test hose assemblies for
presence of water prior to
processing a cycle. Water in
tubing may cause damage to
endoscopes.
Figure 4-16. Automated Leak Test Hose Assembly
(Fujifilm Shown)