114
S
17. Servicing Booms
17.1 System operation
e Stryker EDS Boom System uses an electrical pneumatic braking system. e system is intended
to act as a friction brake, holding the boom in position aer desired movement. e brakes require a
source of compressed air to function. For proper operation the regulator should be set to 80 ±5.0 PSI.
Caution To avoid potential damage to the brake bladder, do not set the pressure
above 80 ±5.0 PSI.
Pressure is supplied to the brake bladders to engage the brakes. To release the brakes, an air valve is
pressed, which vents the brake bladder to the atmosphere. e bladder then collapses and releases the
brake.
e system consists of the following components:
• A pressure regulator supplied with the boom pre-install kit.
• 5/32 inch (4mm) plastic tubing between the various components.
• Two push buttons - one for the upper brake, one for the lower brake (and service head for
articulating systems), both mounted on one of the shelves on the Boom Service Head. In some
systems, there may be a second set of controls on the back of the Service Head.
Note For Legacy systems, the push buttons are air valves.
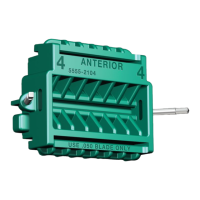
• Two brake bladders for non-articulating systems. ree brake bladders for articulating systems.
• A Tee tting to split the supply line into both air valves.
• For Booms that have StrykeVac, an additional Tee is used to supply air to the StrykeVac.
All components feature quick disconnect style ttings.
To remove a tube:
• Press inward and evenly around the tting of the tube and pull it out.
Minimal force is required on the tubing.
Caution It is recommended to turn o the air for the braking system prior to dis-
connecting the plastic tubing.
Note Damage to the tting or tube can occur if you pull too hard on the tubing. When
replacing or reconnecting tubing, the end of the tubing must be cut ush and
perpendicular to the tubing.
See the next page for a pictures of the system.
17.2 Troubleshooting
ere are two main categories of problems:
• Air leaks
• Air supply issues
Refer to the Stryker Documentation System for the most accurate schematics:
 Loading...


