60
S
3. Align the four screw holes on the drawer from with
the bottom of the plate (if applicable) and shelf
frame.
4. Secure the frame using the four M6 X 16 Cheese
Head Screws, four lock washers, and four felder
washers included with the drawer.
5. Tilt the drawer at an angle, and insert into the
frame.
Note For instructions on installing a drawer on a FLEXiS System, refer to the FLEXiS
Operations Manual (P13742).
11.2 Lights and Flat Panel Arms
11.2.1 Height Adjustment
11.2.1.1 Standard Spring Arms
45°
50°
>360°
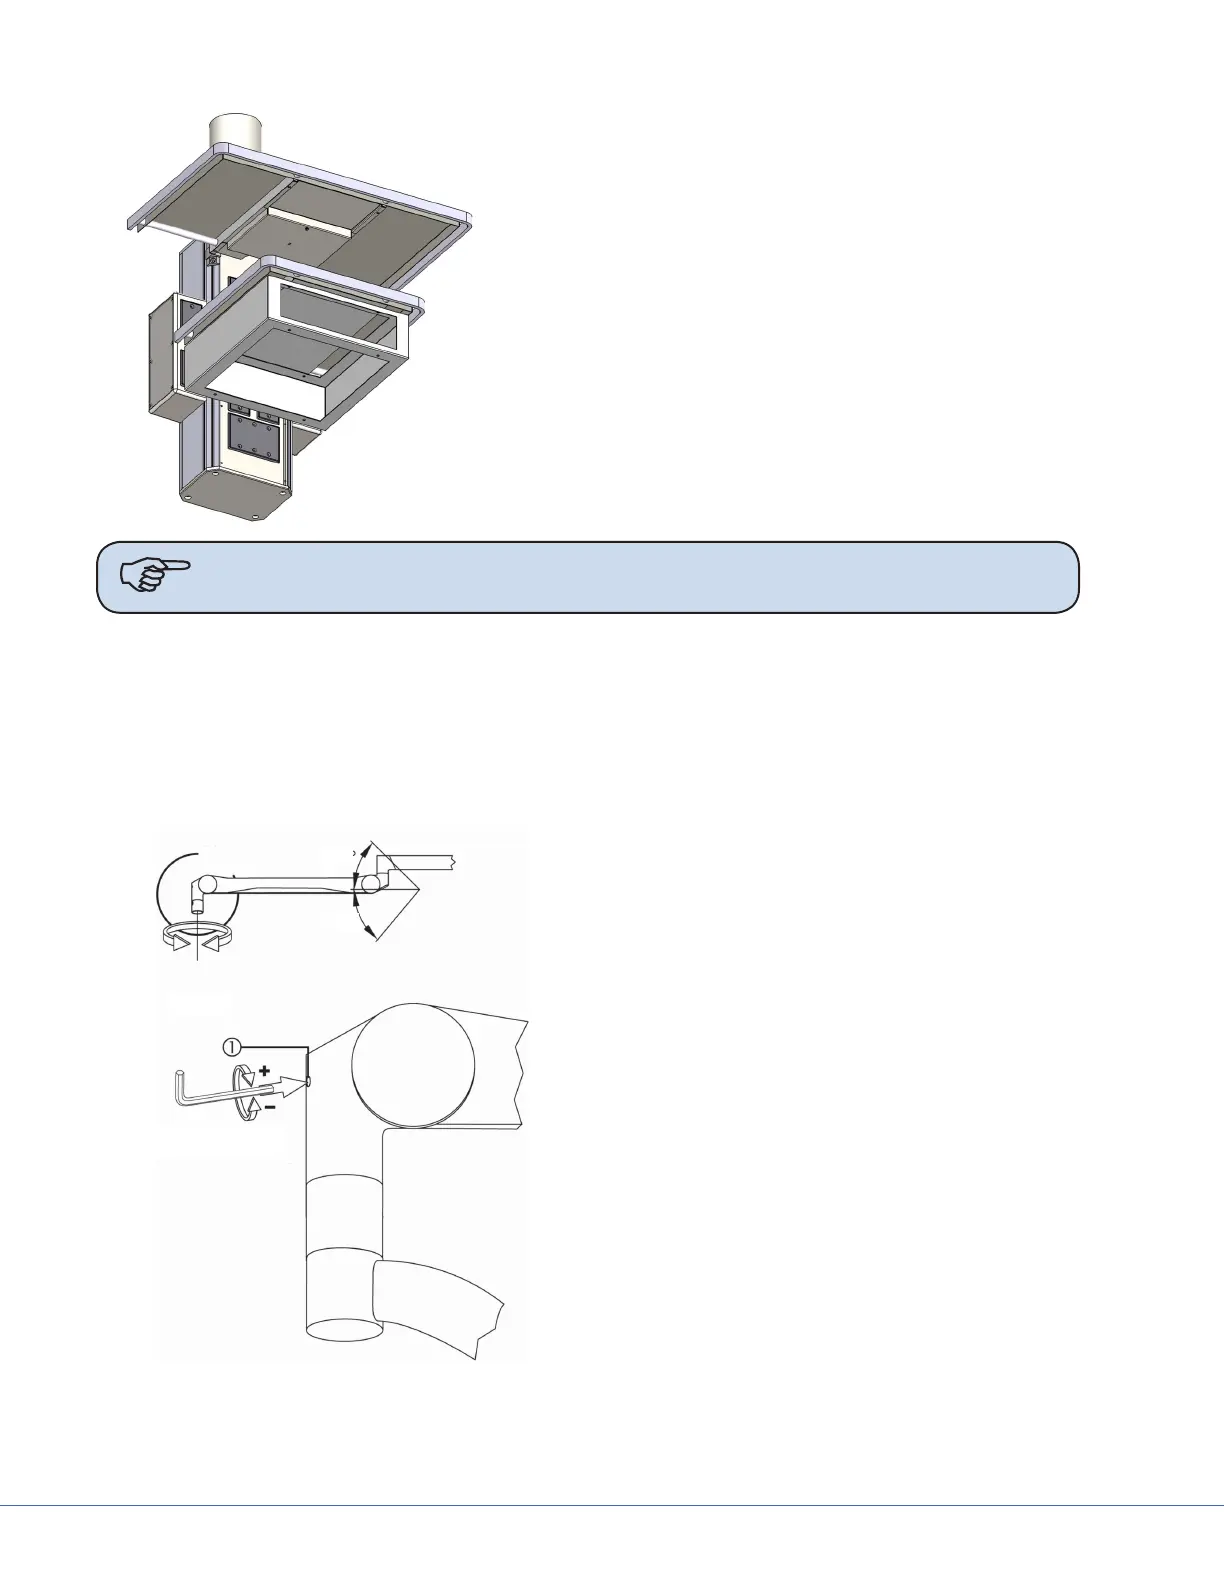
Wrench size 5
Spring Arm Stop Adjustment
1. Insert the 5mm Hex wrench into the ad-
justment opening on the Spring Arm.
e opening is located on the end of the
Spring Arm near the light head.
2. Turn the adjustment screw clockwise, then
check the maximum height of the light
head.