76
S
ree M3x8 Screws (one is not shown)
(For SHA only)
Two M8x16 Screws
(For EHA only)
12.4.3 MMP200, OSC400, and OSC600
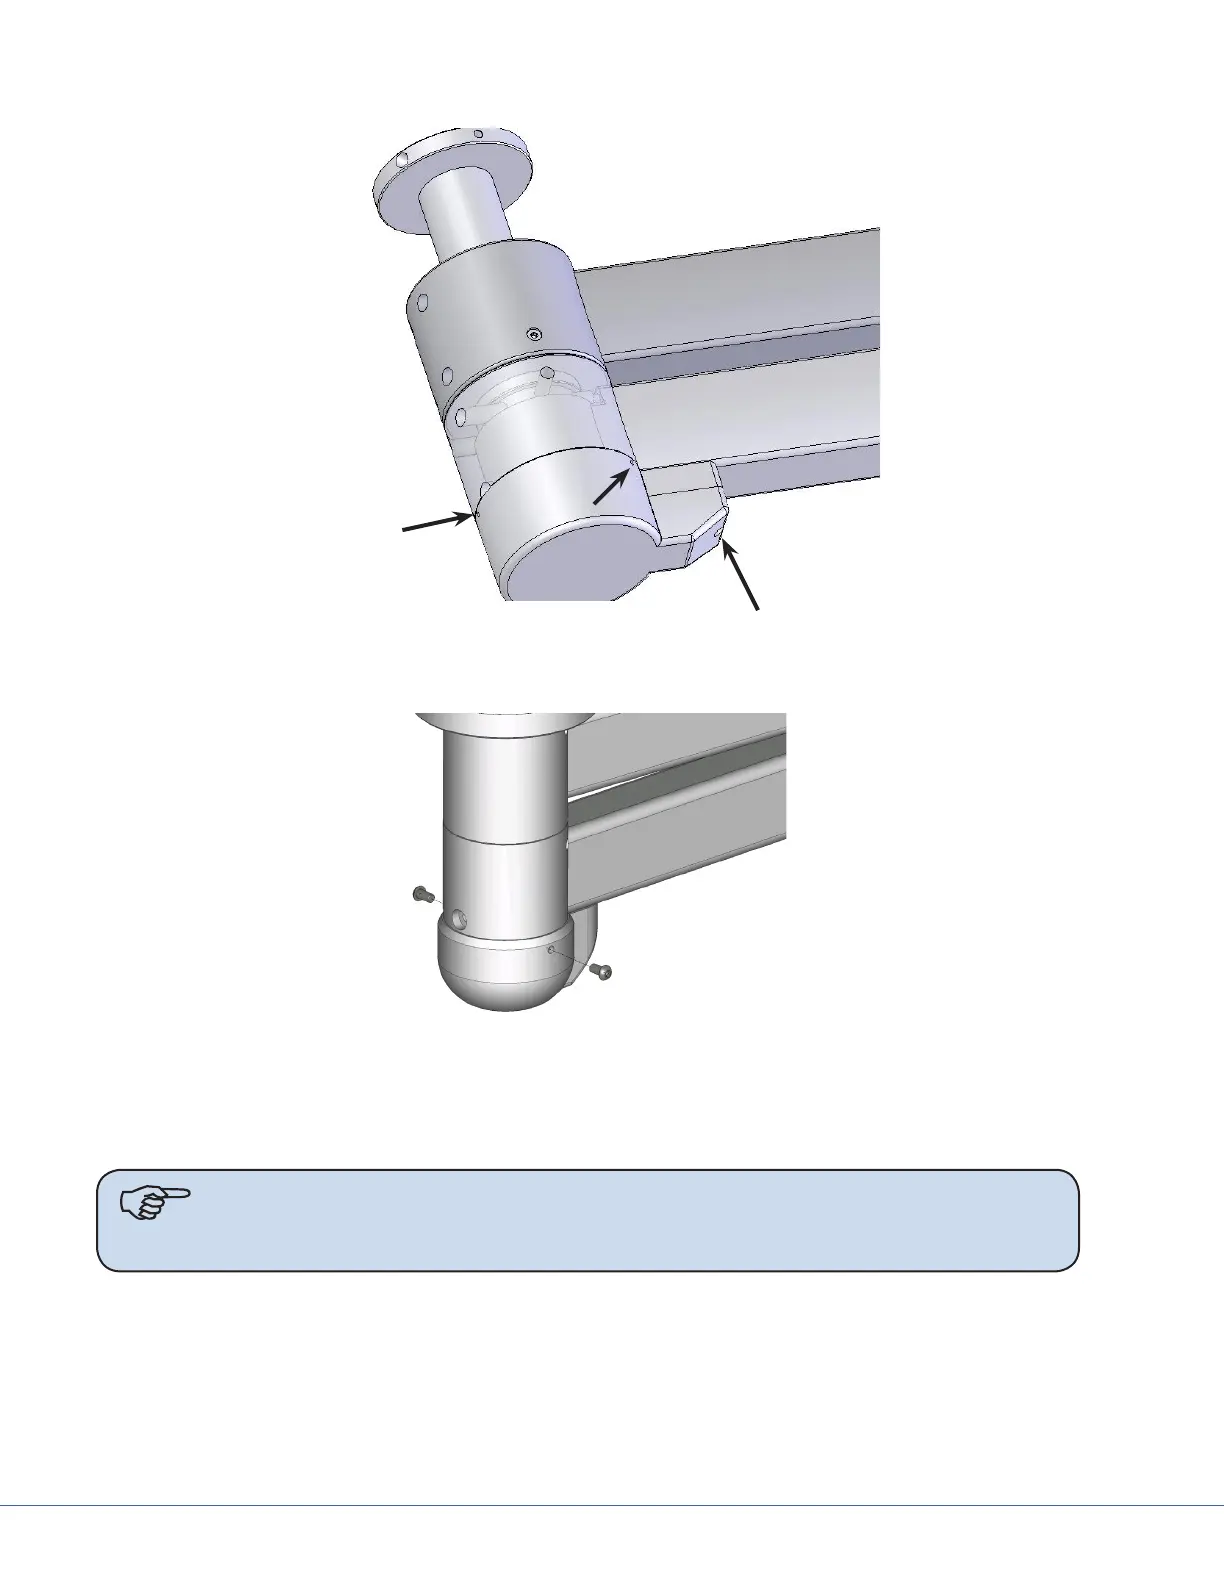
Note When removing the extension arm end cap, be sure to remove the two counter-
sunk screws, securing it in place from the top of the extension arm. Be aware that
the ceiling cover may have to be removed in order to access these screws.
1. Orient the cap so that the slotted clips are facing downward and align them with the pins in the
extension arm.
2. Push the end cap onto the end of the extension arm, snapping the slotted clips and pin together.
3. Secure the end cap with two countersunk screws.
4. Ensure that the end cap is securely attached to the extension arm.
5. Repeat for each end cap.