28
S
a. Remove the M3 screw and slide the Safety Segment Cover down.
b. Re-insert and tighten the M3 screw to keep the cover in place.
Warning Failure to tighten this screw can cause the Safety Segment Cover to slide
and the light head to fall from the Spring Arm.
8.1.1.2 9-Pole Light Head (LED Only)
1. Locate the 9-pole Spring Arm and remove the M3 screw.
2. Slide the Safety Segment Cover up to reveal the Safety Segment.
3. Remove the Safety Segment.
4. Align the top of the Cardanic Suspension with the bottom of the Spring Arm.
5. Install the 9-pole Light-Head.
Note e 9-pole slip ring is not keyed.
6. Raise the light head into the Spring Arm.
7. Reinstall the Safety Segment.
a. Slide the Safety Segment Cover down.
b. Tighten the M3 screw to keep the cover in place.
Warning Failure to tighten this screw can cause the Safety Segment Cover to slide
and the light head to fall from the Spring Arm.
8.1.2 Low Ceiling Light
8.1.2.1 Low Ceiling 5-Pole Light Head
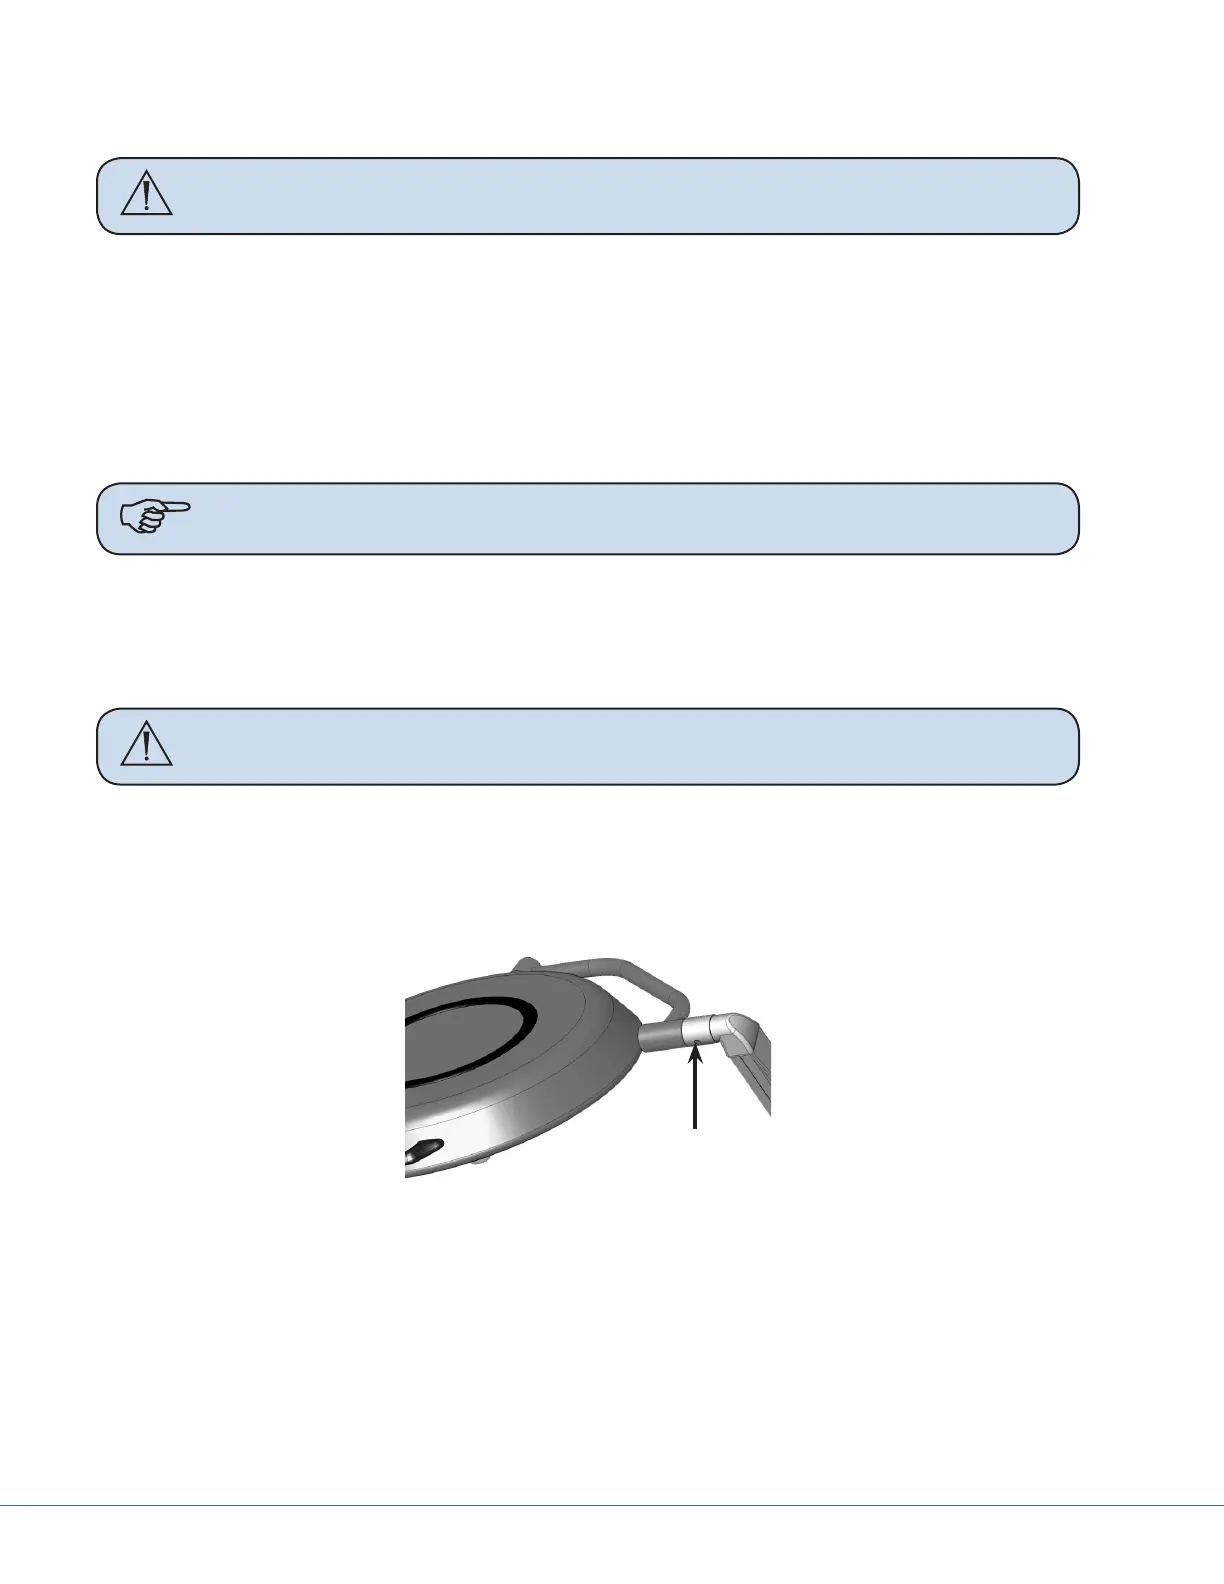
1. Locate the 5-pole Spring Arm and remove the brake screw.
Brake Screw
2. Rotate the cu 90° to reveal the rst retaining screw. Remove the retaining screw from the
Spring Arm.
3. Rotate the cu 180° to reveal the second retaining screw. Remove the retaining screw from the
Spring Arm.
4. Install the 5-pole Light Head.
• Align the rectangle-like keys along the outer wall of the 5-pole slip ring (located in the light
head) with the notches of the Spring Arm slip ring.