37
S
2. A Driver and User’s Guide window may appear. Close the window. Do not install from this
window.
3. Connect the USB to Serial Adapter. e Found New Hardware Window should open.
4. Select - No, not this time.
5. Click Next.
6. Select - Install from a list of specic location (Advanced). Click Next.
7. Select - Search for the best driver in these locations. Make sure to include the CD-ROM drive by
checking the box that says “Search removable media (oppy, CD-ROM...).” Click Next.
8. Wait while Windows searches for Drivers.
9. Select Appropriate Driver (if using Windows XP/2000 the highlighted driver shown in below).
Make sure to select “usb 2.0 to RS-232 converter.” DO NOT select cable. Click Next.
10. Click Finish.
11. e Found New Hardware Window will appear again. Repeat Steps 4 through 9 once again
selecting the ‘usb 2.0 to RS-232 converter’ and NOT the cable.
12. e USB to RS-232 Serial Adapter is now installed.
9.4.3 Connecting a Laptop to the SIDNE Port on Visum LED System
Note Make sure system is completely connected and fully functional. Failure to do so
may result in improper setup.
1. Insert the USB-B end of the Visum LED Field Service and Installation Cable into the SIDNE
port on the Visum LED power supply box.
2. Insert the DB-9 end of the cable into the Serial port of your laptop (or Serial to USB adapter).
3. Power ON the Visum LED power supply box.
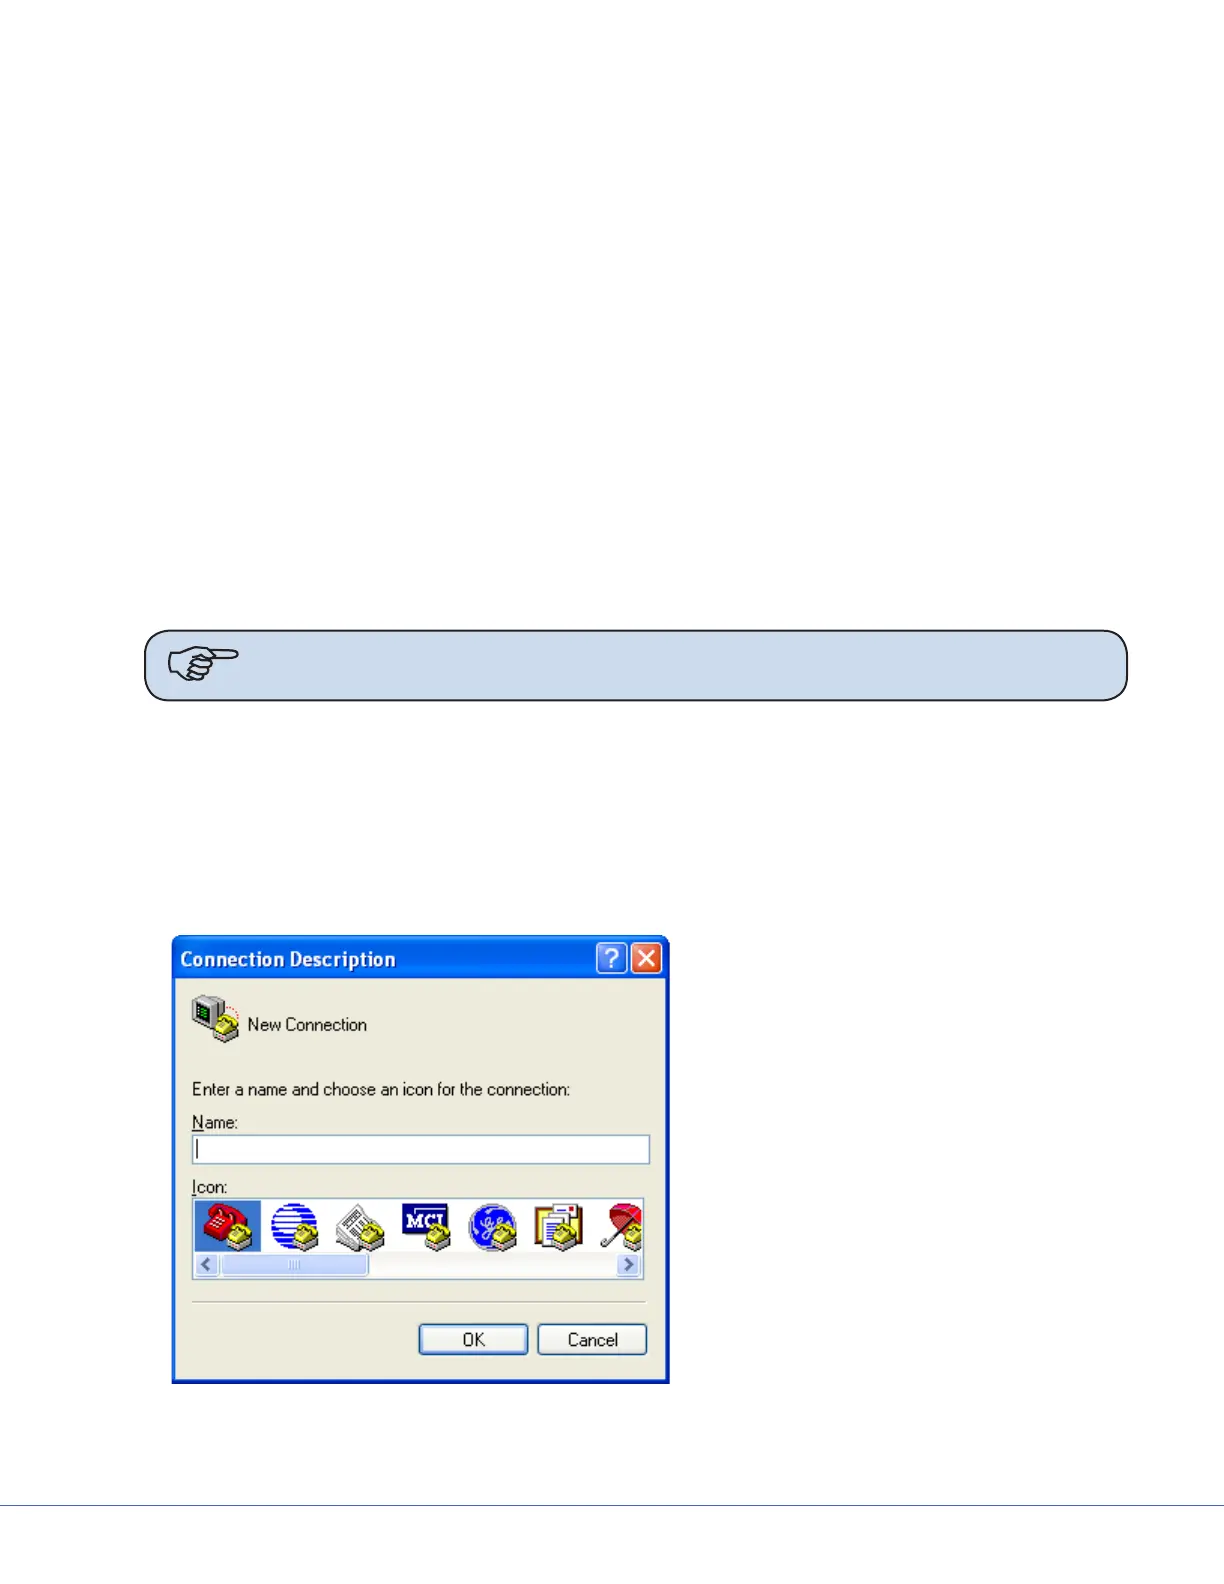
9.4.3.1 Launch Hyperterminal
Connection Description Dialog
1. Boot up the laptop and login.
2. Select Windows Start, Programs,
Accessories, Communications, Hy-
perterminal.
e Connection Description dialog
should display.
3. Enter <VISUM LED> in the Name
eld.
4. Click OK.
e Connect To dialog box displays.