54
S
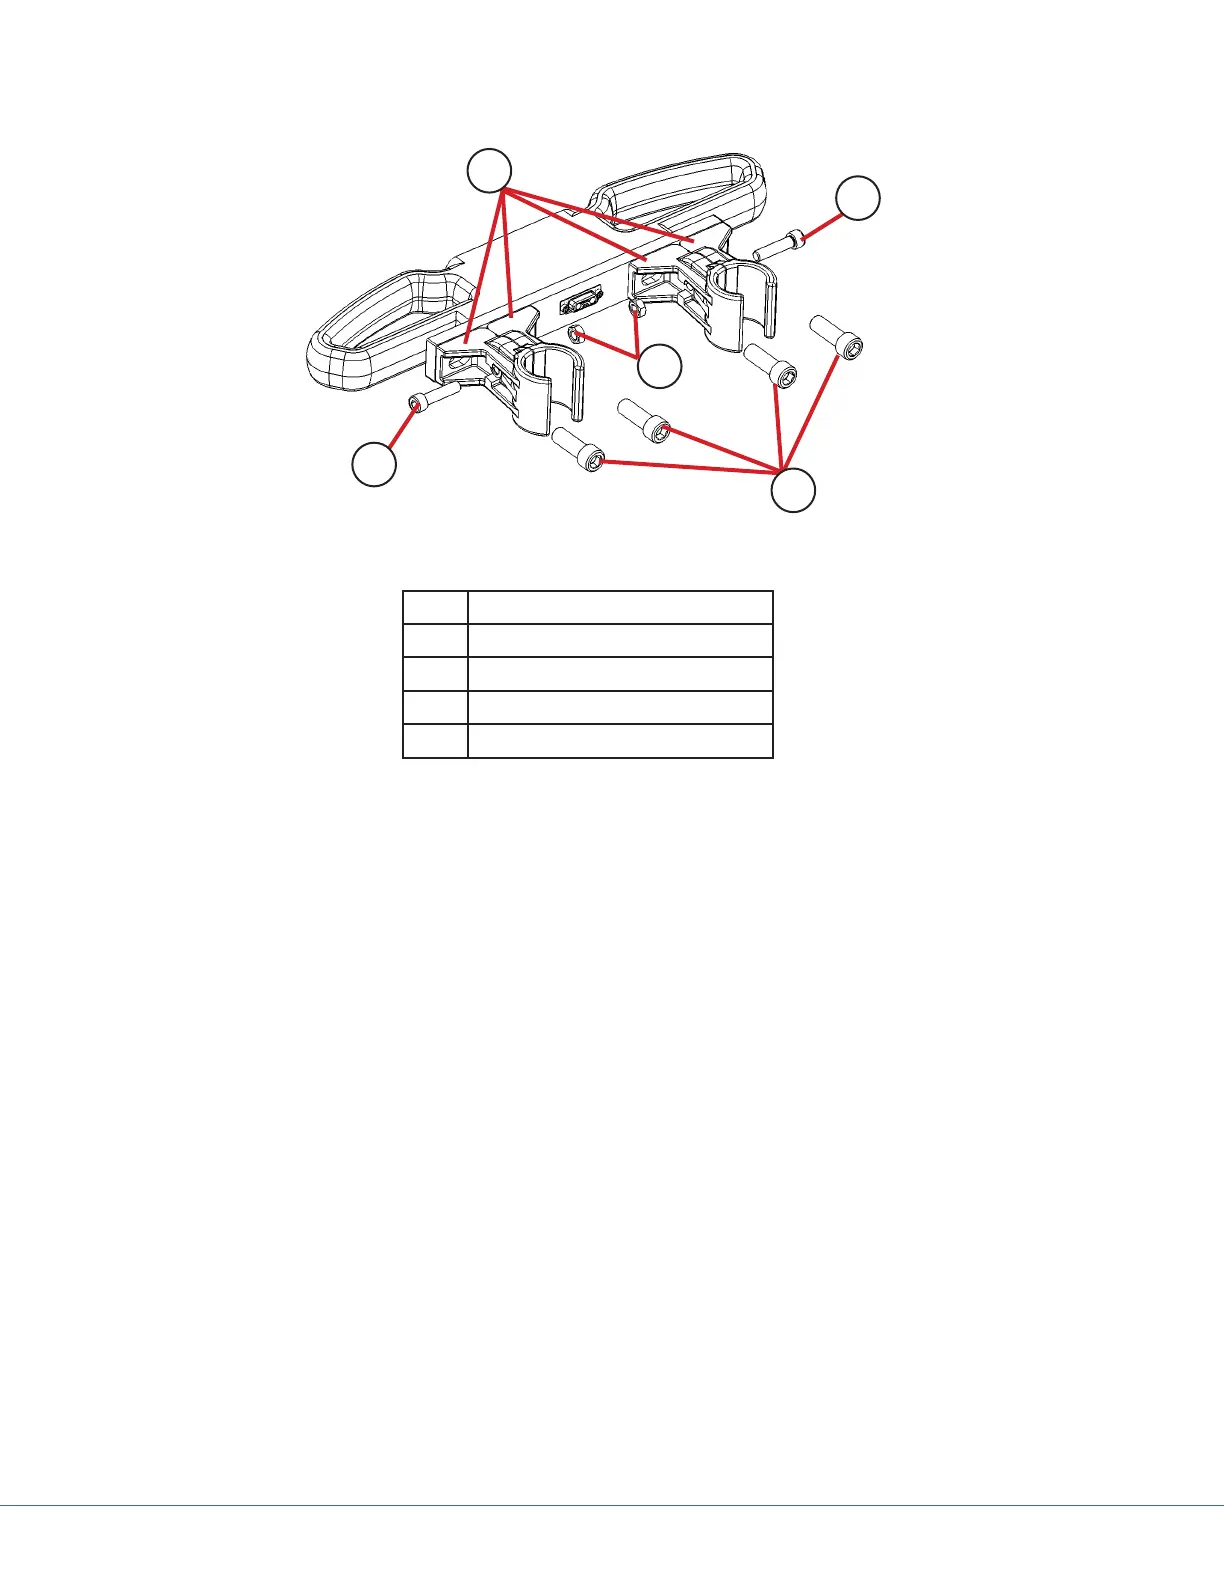
11.1.2 FLEXiS Handle to MFR Bracket Installation
3
1
4
2
2
Handle Assembly
Part Part Name
1 Clamps
2 M6 Clamp Screws
3 Clamp Nuts
4 M10 Mounting Screws
1. Remove the handle to MFR bracket and handle from the packaging. e handle with bracket
should include all the parts seen in the gure above. e clamps may be disassembled.
2. If the bracket comes with clamps attached skip to Step 5, otherwise assemble the clamps.
a. Combine the clamp pieces as shown in the gure above (Item 1). Use the M8 clamp screws
(Item 2) and clamp nut (Item 3) to loosely combine the clamps.
b. Assemble the M10 mounting screws (Item 4) through the clamps into the handle. Do not
tighten completely
3. Loosen the mounting screws (Item 4).
4. Loosen the clamp screws (Item 2) as much as possible without disassembly.
5. Slide each clamp assembly apart and position the bracket on the MFRs of the FLEXiS System.
e clamps should be able to open enough to directly install the bracket to the desired location.
6. Use a level to ensure the shelf is level.
7. Fully tighten the clamp screws (Item 2).
8. Fully tighten the mounting screws (Item 4).