46
S
10.3 Attaching the Monitor
1. Attach the power supply to the Central Support Bracket using cable ties. Tighten the cable ties
to prevent movement of the power supply.
2. Ensure that all monitor cables lay at below the power supply and are routed to the right or le.
Caution Take care not to kink the ber optic cable beyond a 5mm bend radius to
prevent damaging it.
WARNING DO NOT OVERLOAD THE ADJUSTABLE YOKE.
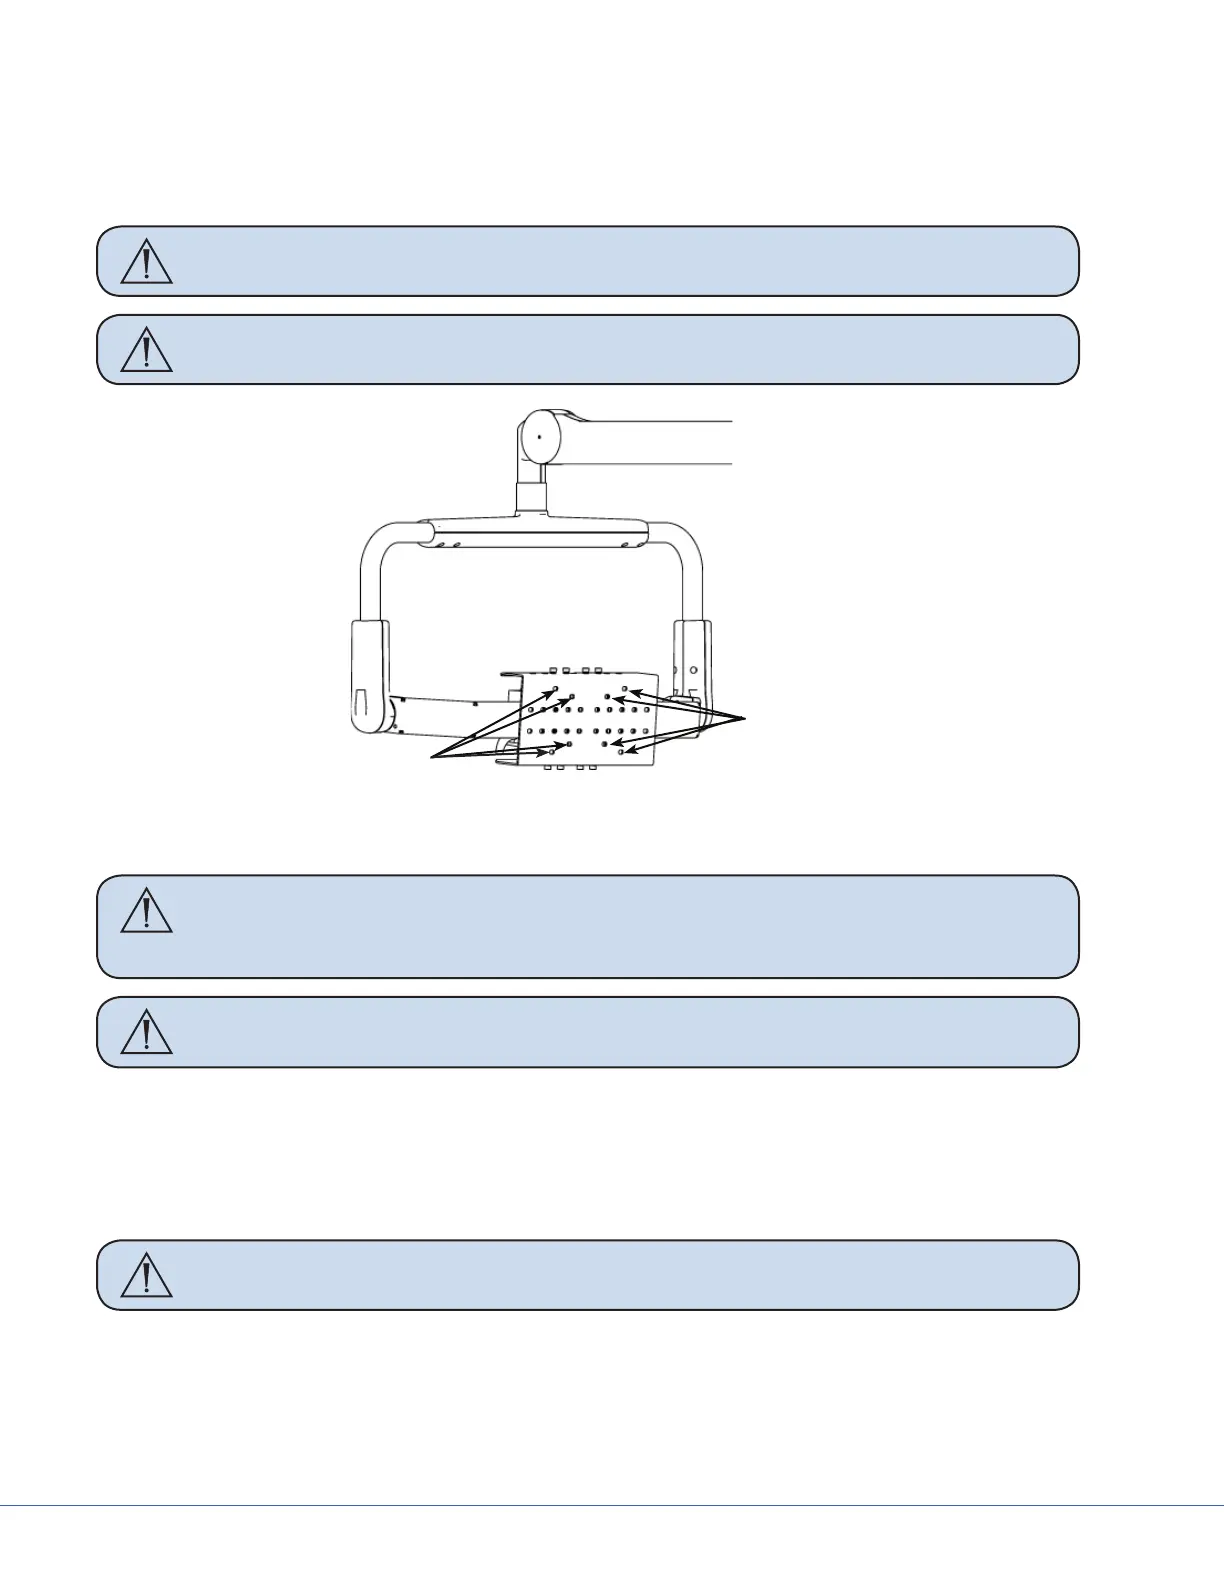
Cable Tie Locations
Cable Tie Locations
Cable tie locations
3. Lay the monitor screen side down on a at surface.
Caution If there are knobs that extrude from the surface of the monitor, take care to
ensure that they hang o the edge of the table to prevent them from being
broken or damaged while installing the Monitor Vertical Adjust Bracket.
Caution Take care not to scratch the monitor screen when placing it face down.
4. Align the holes on the Monitor Vertical Adjust Bracket with the VESA mounting holes on the
back of the monitor, using Table 10.1 as a guide. Ensure that the cutout for the handle assembly
is at the bottom of the monitor.
5. Secure the Monitor Vertical Adjust Bracket to the back of the monitor using four M4 socket
head screws, and tighten using a 3mm Allen wrench.
WARNING Ensure that all screws are present. Missing screws could result in the moni-
tor falling.
6. Align and place the handle assembly on the back of the Monitor Vertical Adjust Bracket using
the screw mounting holes. Take care to ensure that the handle assembly does not interfere with
the base of the monitor.
7. Secure the handle assembly to the Monitor Vertical Adjust Bracket using two M5 socket head
screws and washers; tighten to 35 lb. in. (3.95 Nm) torque.