39
S
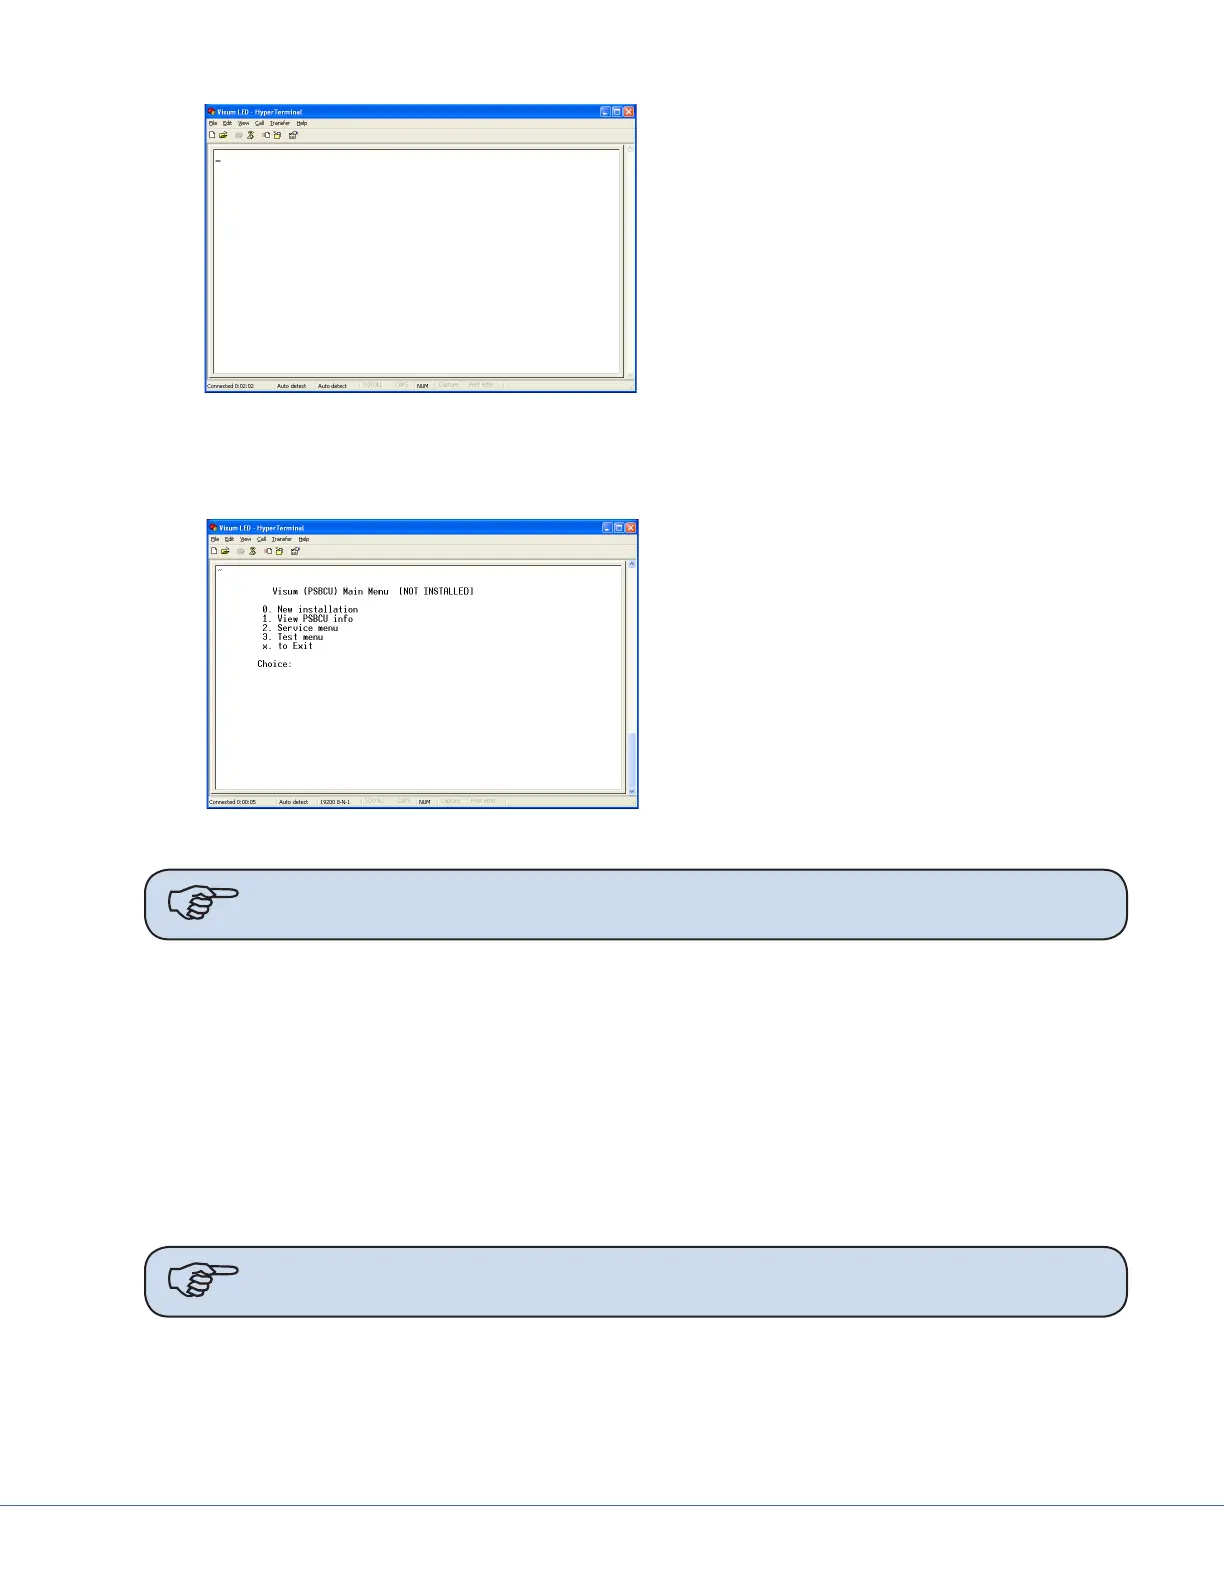
Visum LED - HyperTerminal Screen
is screen indicates that a connec-
tion has been established between
your laptop and the Visum LED
system.
9.4.4 Visum LED Main Menu
Visum LED Main Menu
To view the Main Menu, press “~” on the
laptop keyboard. e Visum LED Main
Menu should display.
e following information can be accessed
from the main menu:
• New Installation
• Service Menu
• View power supply boxCU info
• Test Menu
Note Notice that [NOT INSTALLED] displays aer the menu name in the gure above
to indicate the LED Light System has not been installed.
9.4.5 New Installation
To set up a new installation press “0” on your keyboard. e system will prompt you to provide the fol-
lowing information:
• Region Number
• Account Number
• Location of the Installation (room number or operating room number)
• Light Indication: L1 and L2 or L3 and L4.
• Finished Installation, Are you sure ‘y’ or ‘n’ (program is case sensitive)
Note Obtain the Region Number and Account Number from your Project Manager if
this information is unknown to you.
e system completes the installation aer your response to the last inquiry. Enter <x> to exit the
installation.
e installation is successful if the LED lights on the Wall Control Unit are not ashing.