27
S
8. Installing Light Heads
8.1 LED and Halogen
Always install the light heads before installing the light handle assembly and In-Light Camera. e
camera light head must be installed on the uppermost Light Spring Arm.
In the case of LED only, the physical dierence between a 5-pole Spring Arm and a 9-pole Spring Arm
is that the 5-pole slip ring is keyed and the 9-pole slip ring is not. e keys resemble rectangles when
viewed from the end of the slip ring.
Note Two people should li the light head to attach it to the Spring Arm.
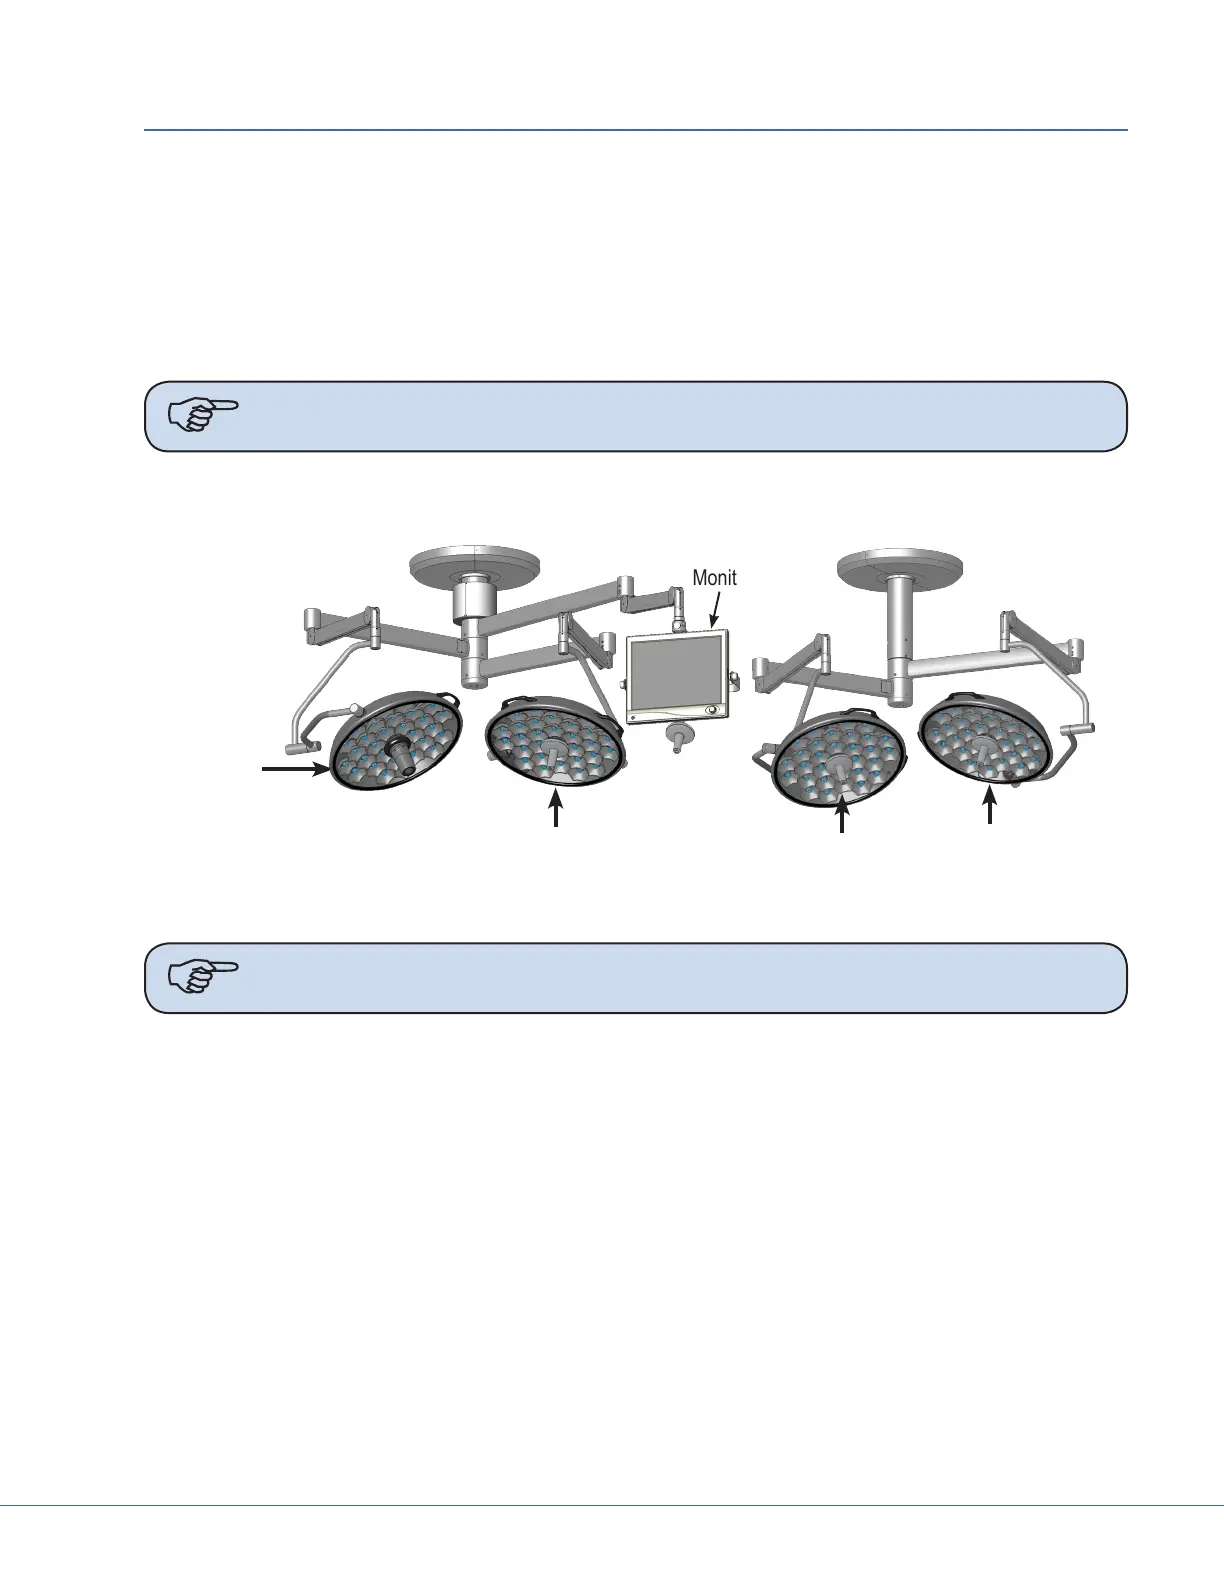
Light 4
Dual Arm Visum LED Light Suspension
Light 1 w/
StrykeCam
Light 2
Monitor
Triple Arm Visum
LED Light Suspension
Light 3
Visum LED Light Suspension
Note StrykeCam 2 is always associated with Light 1 and is always installed above Light
Head 2.
8.1.1 Standard Light
8.1.1.1 5-Pole Light Head
1. Locate the 5-pole Spring Arm and remove the M3 screw.
2. Slide the Safety Segment Cover up to reveal the Safety Segment and re-insert the M3 screw to
hold the cover up.
3. Remove the Safety Segment.
4. Install the 5-pole Light Head.
a. Align the top of the Cardanic Suspension with the bottom of the Spring Arm.
b. Align the rectangle-like keys along the outer wall of the 5-pole slip ring, (located in the light
head) with the notches of the Spring Arm Slip Ring.
c. Raise the light head into the Spring Arm.
5. Reinstall the Safety Segment.