138
S
Mid Brake
20. Reattach bottom the plate.
17.10.2 Replacing the Brake Button
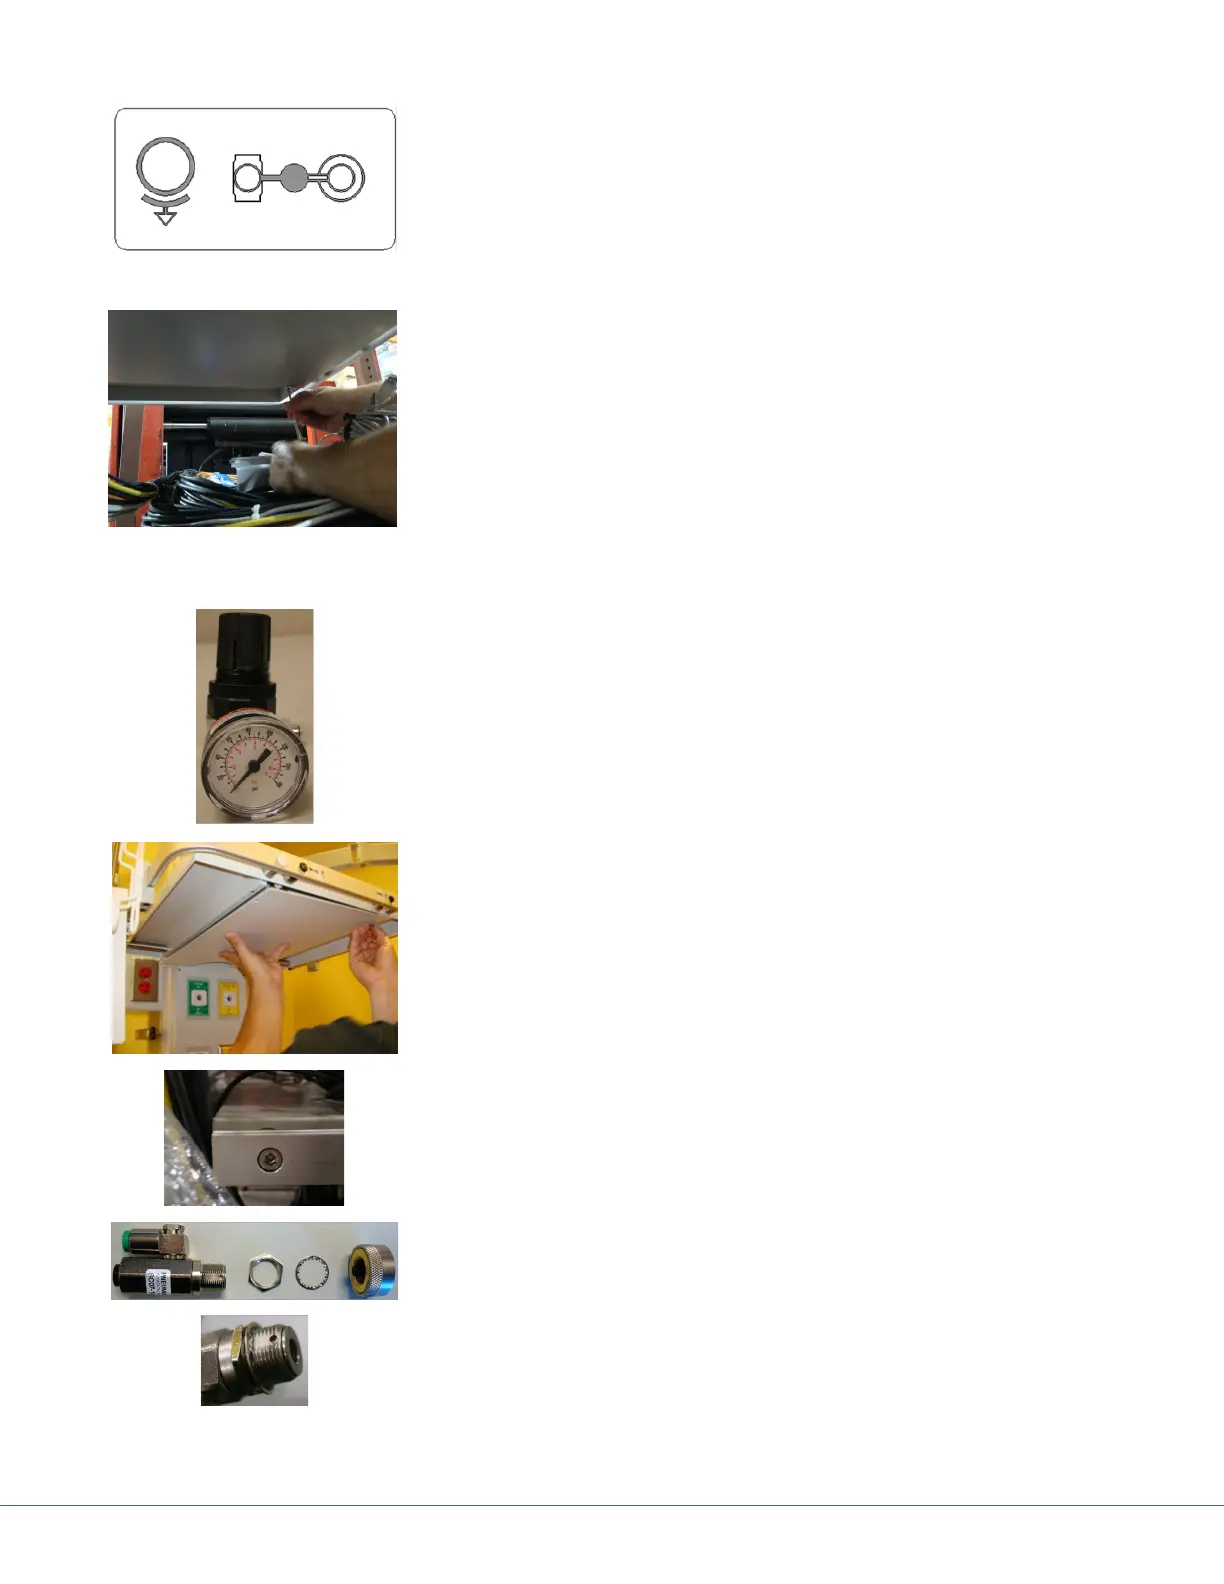
1. Make sure the air supply to the brake line (regulator located
on the Riser Bracket) is o.
2. Remove the four screws and washers from the plate on the
bottom shelf.
3. Remove the brake tubing from the defective brake by press-
ing the plastic ring toward the body of brake button to release
the tubing.
4. Loosen the four hex screws on the shelf rail.
5. Remove the Brake Button extension.
6. Unscrew the external ring and remove the defective Brake
Button.
7. Assemble the Brake Solenoids to the shelf.
8. read the lock nut all of the way onto the Brake Solenoid.
9. Add the lock washer.
10. Insert the Solenoid into the shelf.